Introduction
Hey there! Welcome to 'Chew’s PC build log! ![]()
The OG, excessively long Build Log is o’er at LTT. This one here will be slightly condensed? ![]()
(With the operative word being “slightly.” ![]() )
)
What’s Old News
- Name
- Parts List
- Revision History
- Post-Hardware Installation List (Windows OS)
What’s New News
- Future Upgrades!
Name
Names are important. A good name expresses the personality of its bearer well, and likewise, a good title-bearer should live up to its name. I built Trolley-PC in March 2020, but waited until the Fractal Design Define 7 Compact Upgrade in October 2020 before naming my PC, 'cos I couldn’t think of a suitable name for it.
What's up with "Hoshī"?
The name crossed my mind as I was listening to 星降る夜のラピス (The Starry Night’s Lapis), a song collab by TUMENECO and GET IN THE RING. It is absolutely one of my favorite songs – perhaps my favorite, period. I love everything about the song – from the arrangement, to the vocals, to the lyrics – as well as other contextual factors – like it being a collaborative effort between my two favorite Touhou doujin circles, or it having two versions sung by my two favorite Touhou vocalists みぃ (Mie) and yukina.
At the 2:01 mark, the song goes: “ねえ、星が綺麗。” That particular part of the song struck me vividly.
- The lyrics bear an uncanny resemblance to the romantic phrase, “月が綺麗。” Translated literally, it means, “The moon is beautiful.” Figuratively, however, 月 (つき, or tsuki) sounds much like 好き (すき, or suki); the former means “Moon,” the latter means “Fondness,” “Like,” or “Love” (contexual). Hence, “月が綺麗。” could also be interpreted as “好きが綺麗。” or “Love is beautiful.” It’s a poetic way of confessing attraction to someone.
- In the song’s case, 星 (ほし, or hoshi) sounds similar to 欲しい (ほしい, or hoshī; extended ī sound); the former means “Star,” the latter means “Want,” “Wish,” or “Desire.” Thus, “星が綺麗。” / “The stars are beautiful.” could also suggest “欲しいが綺麗。” / “Want is beautiful.” It makes a sublime sort of sense in relation to the song. (Hehe, sub-lime, ayyy…)
欲しい, or Hoshī, is very appropriate for my build. The entire purpose of my PC revolves around frivolous, unadulterated want – as opposed to, say, the need for a server, workstation, or a backup system.
- I wanted to own my first desktop PC.
- I wanted to experience building my own PC with parts that I picked out.
- I wanted to use the PC to play games at graphics settings that my laptop couldn’t handle.
- I wanted PC building bragging rights.
Also, the name’s short and sweet. Purposely understated and unassuming, and a perfect fit for my build. ![]()
TLDR:
Deep breath.
I chose a weeb name because I AM A WEEB AND I’M PROUD TO BE A WEEB.
Clears throat.
Parts List
| Component | Selection | Price |
|---|---|---|
| CPU | AMD Ryzen 5 3600X | $159.99 |
| CPU Cooler | Noctua NH-D15 chromax.black | $99.95 |
| Motherboard | ASUS PRIME X570-PRO | $210.00 |
| Graphics Card | SAPPHIRE NITRO+ Radeon RX 6950 XT PURE | $959.99 |
| Memory | G.Skill Trident Z Neo 32 GB (2 x 16 GB) DDR4-3600 CL16 | $139.99 |
| Storage | WD_BLACK SN770 500 GB M.2 NVMe SSD Seagate BarraCuda 1 TB 7200RPM HDD Seagate BarraCuda 4 TB 7200RPM HDD Inland Professional 240GB SATA SSD |
$10.82 $0.00 |
| Power Supply | EVGA SuperNOVA 1000 P6 CyberPower CP1500PFCLCD (UPS) |
$224.99 $199.49 |
| Case | Fractal Design Define 7 Compact | $88.99 |
| Case Fans | 1 × Noctua NF-F12 chromax.black 4 × Noctua NF-A14 chromax.black |
$94.50 |
| Operating System | Windows 10 Education 64-bit | $0.00 |
| Monitor | Sceptre C325B-QWD168 Sceptre E255B-1658A |
$340.97 $163.16 |
| Keyboard | K-4398 (43Studio 4398 Keyboard) (Modded Silent POM (210g) Switches) Eighty #391 (Mode Designs First Edition Eighty) (Modded Silent L7 (TS-150g) Switches) REALFORCE R2 TKL (BKE Extreme Redux (90g) Rubber Domes) MGK64 - Den-Fi’s GK64 (Barebones) Den-Fi’s NIU Mini (Kailh BOX Navy Switches) The GMMK TKL (Barebones) Den-Fi’s Qisan Magicforce Numpad (Gateron Blue Switches) |
$260.37 $69.00 |
| Mouse | Logitech G703 | $44.99 |
| Headphones | HIFIMAN ANANDA Drop + HIFIMAN HE-35X Antlion ModMic Wireless |
$550.00 $55.00 $90.00 |
| DAC/AMP | Fostex HP-A4BL DAC/AMP | |
| Wireless Adapter | ASUS PCE-AX58BT | $61.79 |
| Grand Total (Shipping + Taxes Excluded) (Keyboard Expenses Excluded) |
$3,823.99 + + |
Revision History
Last Updated: 01/29/2023
- [02/19/2020]: PC Parts List
- [03/29/2020]: Trolley-PC Build
- [04/12/2020]: EVGA DG-75 Case Update
- [09/29/2020]: Noctua NH-D15 CPU Cooler Update
- [10/07/2020]: Fractal Design Define 7 Compact Case Update
- [12/06/2020]: Carbon CableMod Extensions Update
- [02/13/2021]: ASUS PCE-AX58BT PCI-E Wireless Adapter Update
- [03/02/2021]: ASUS PRIME X570-PRO Motherboard Update
- [03/03/2021]: Minor Adjustments Update
- [06/19/2021]: Expansion n’ Extensions n’ Stuff!
- [01/12/2022]: Desk Stuff
- [01/28/2022]: Extra Storage
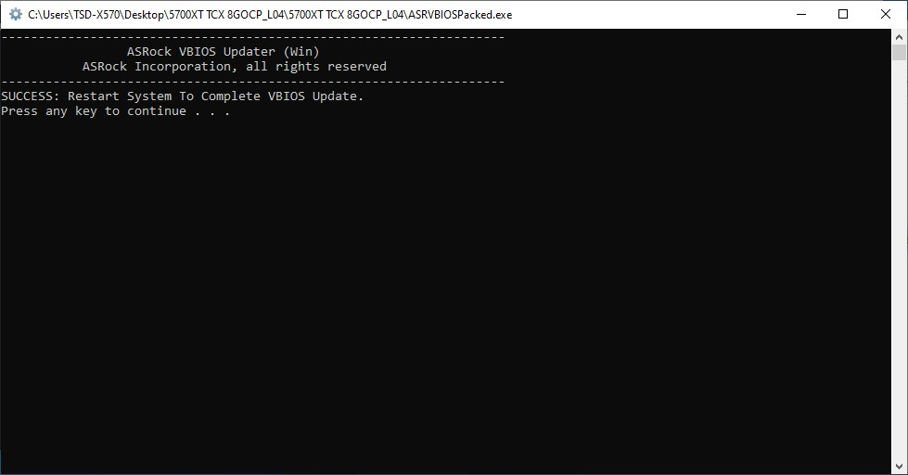
- [08/05/2022]: vBIOS Update
- [10/12/2022]: Performance Stuff
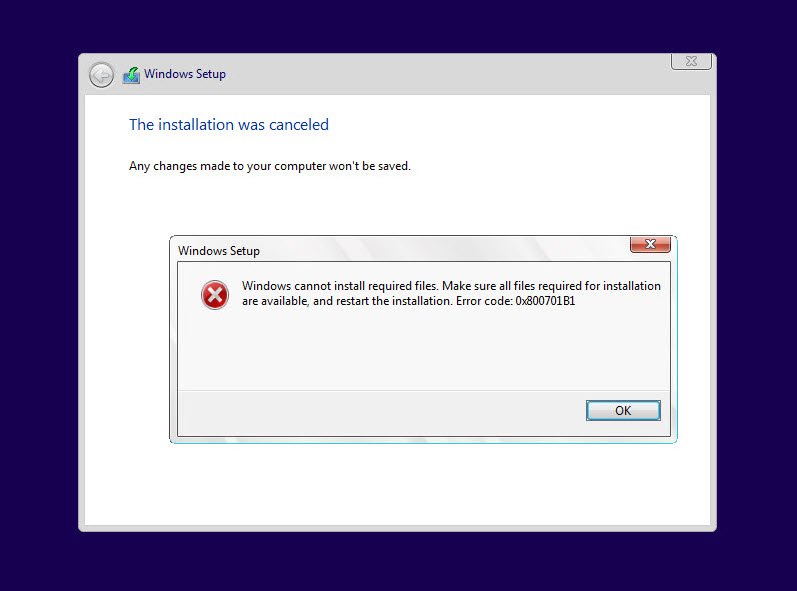
- [01/29/2023]: Forced Upgrades
Trolley-PC Build
Thermaltake Case + PC Parts
My roommate generously lent me his old Thermaltake case for an indefinite amount of time.
Gotta take out his old parts first, though.

POST! ![]()
Nothing was DOA, everything seemed to work fine.
Will need to check with CPU-Z and run benchmarks to be sure.
…I never ran any sorta benchmarks, lol.

Trolley-PC!
Old Thermaltake case was missing standoff screws, PCIe slot screws, and the PCIe lock thingy, so I couldn’t / didn’t use it.
Shoutout to my roommate again, whom graciously lent me his wired keyboard for first time installations.
EVGA DG-75 Case Update
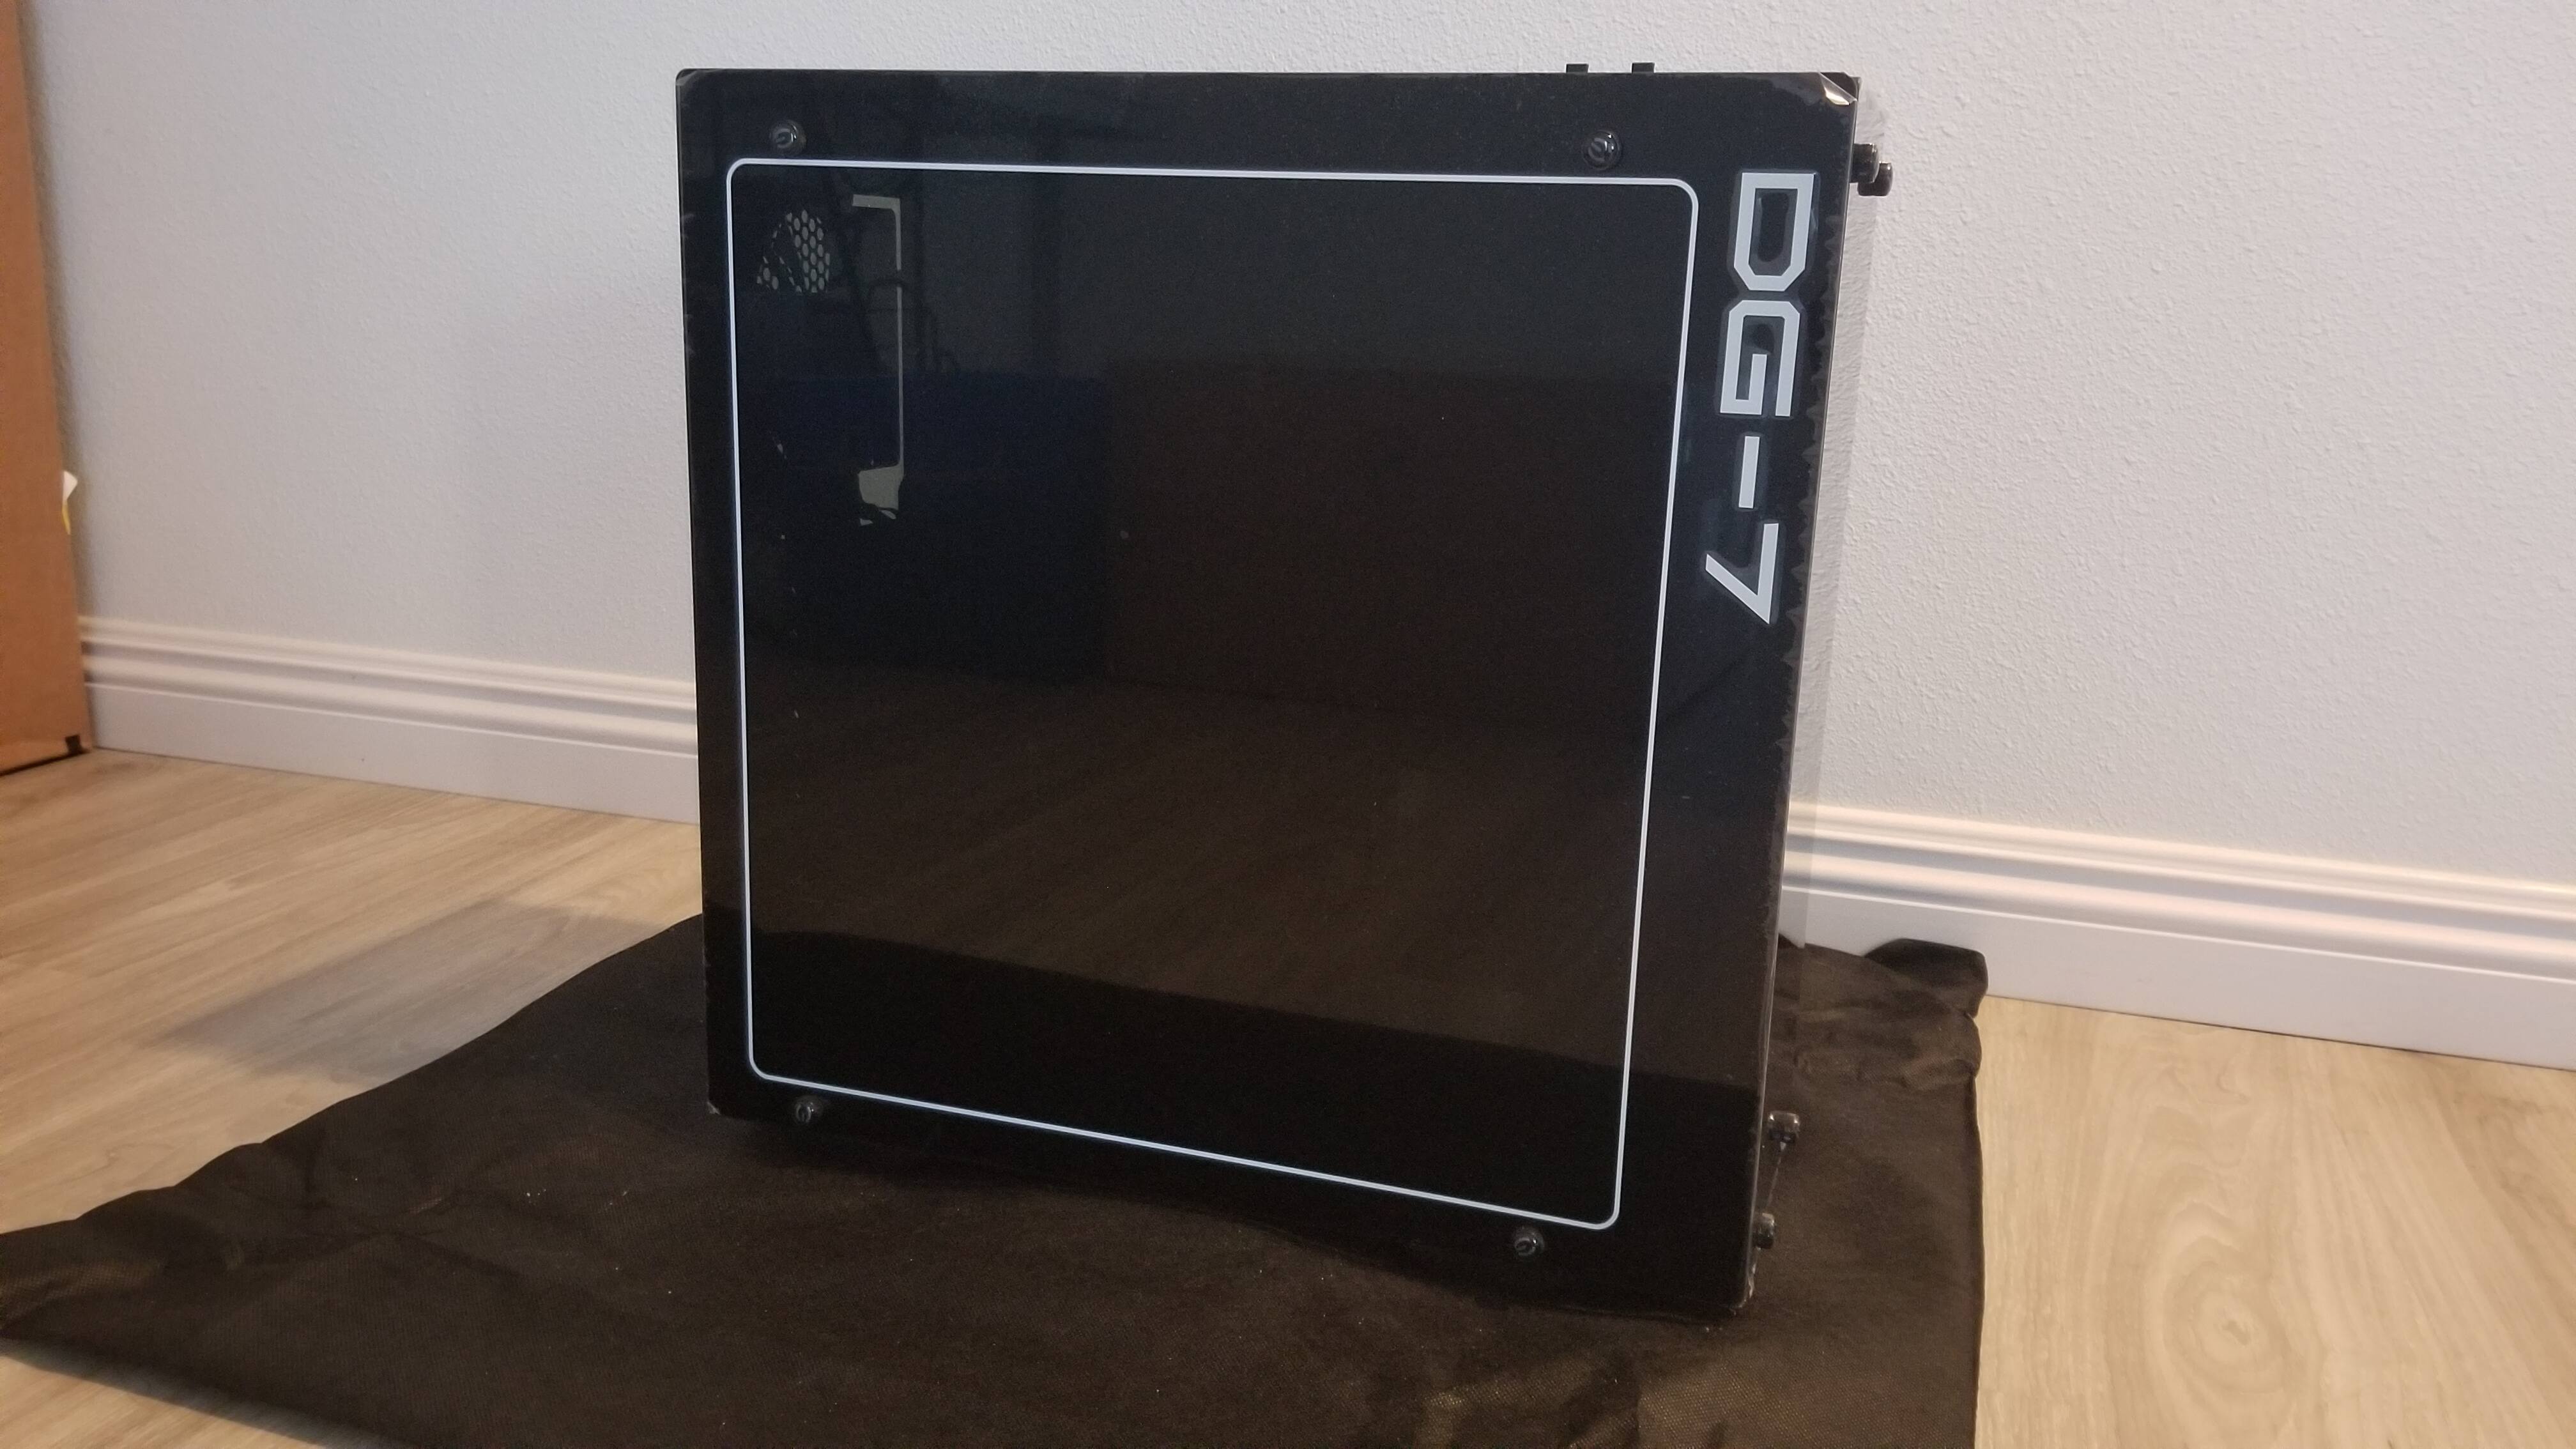
EVGA DG-75 Case
'Chew’s first PC case! A total hotbox. ![]()
Build materials and quality was a’ight, tho. Especially for a “budget” / $59.99 case.
Case was sold to my co-worker earlier this year. ![]()
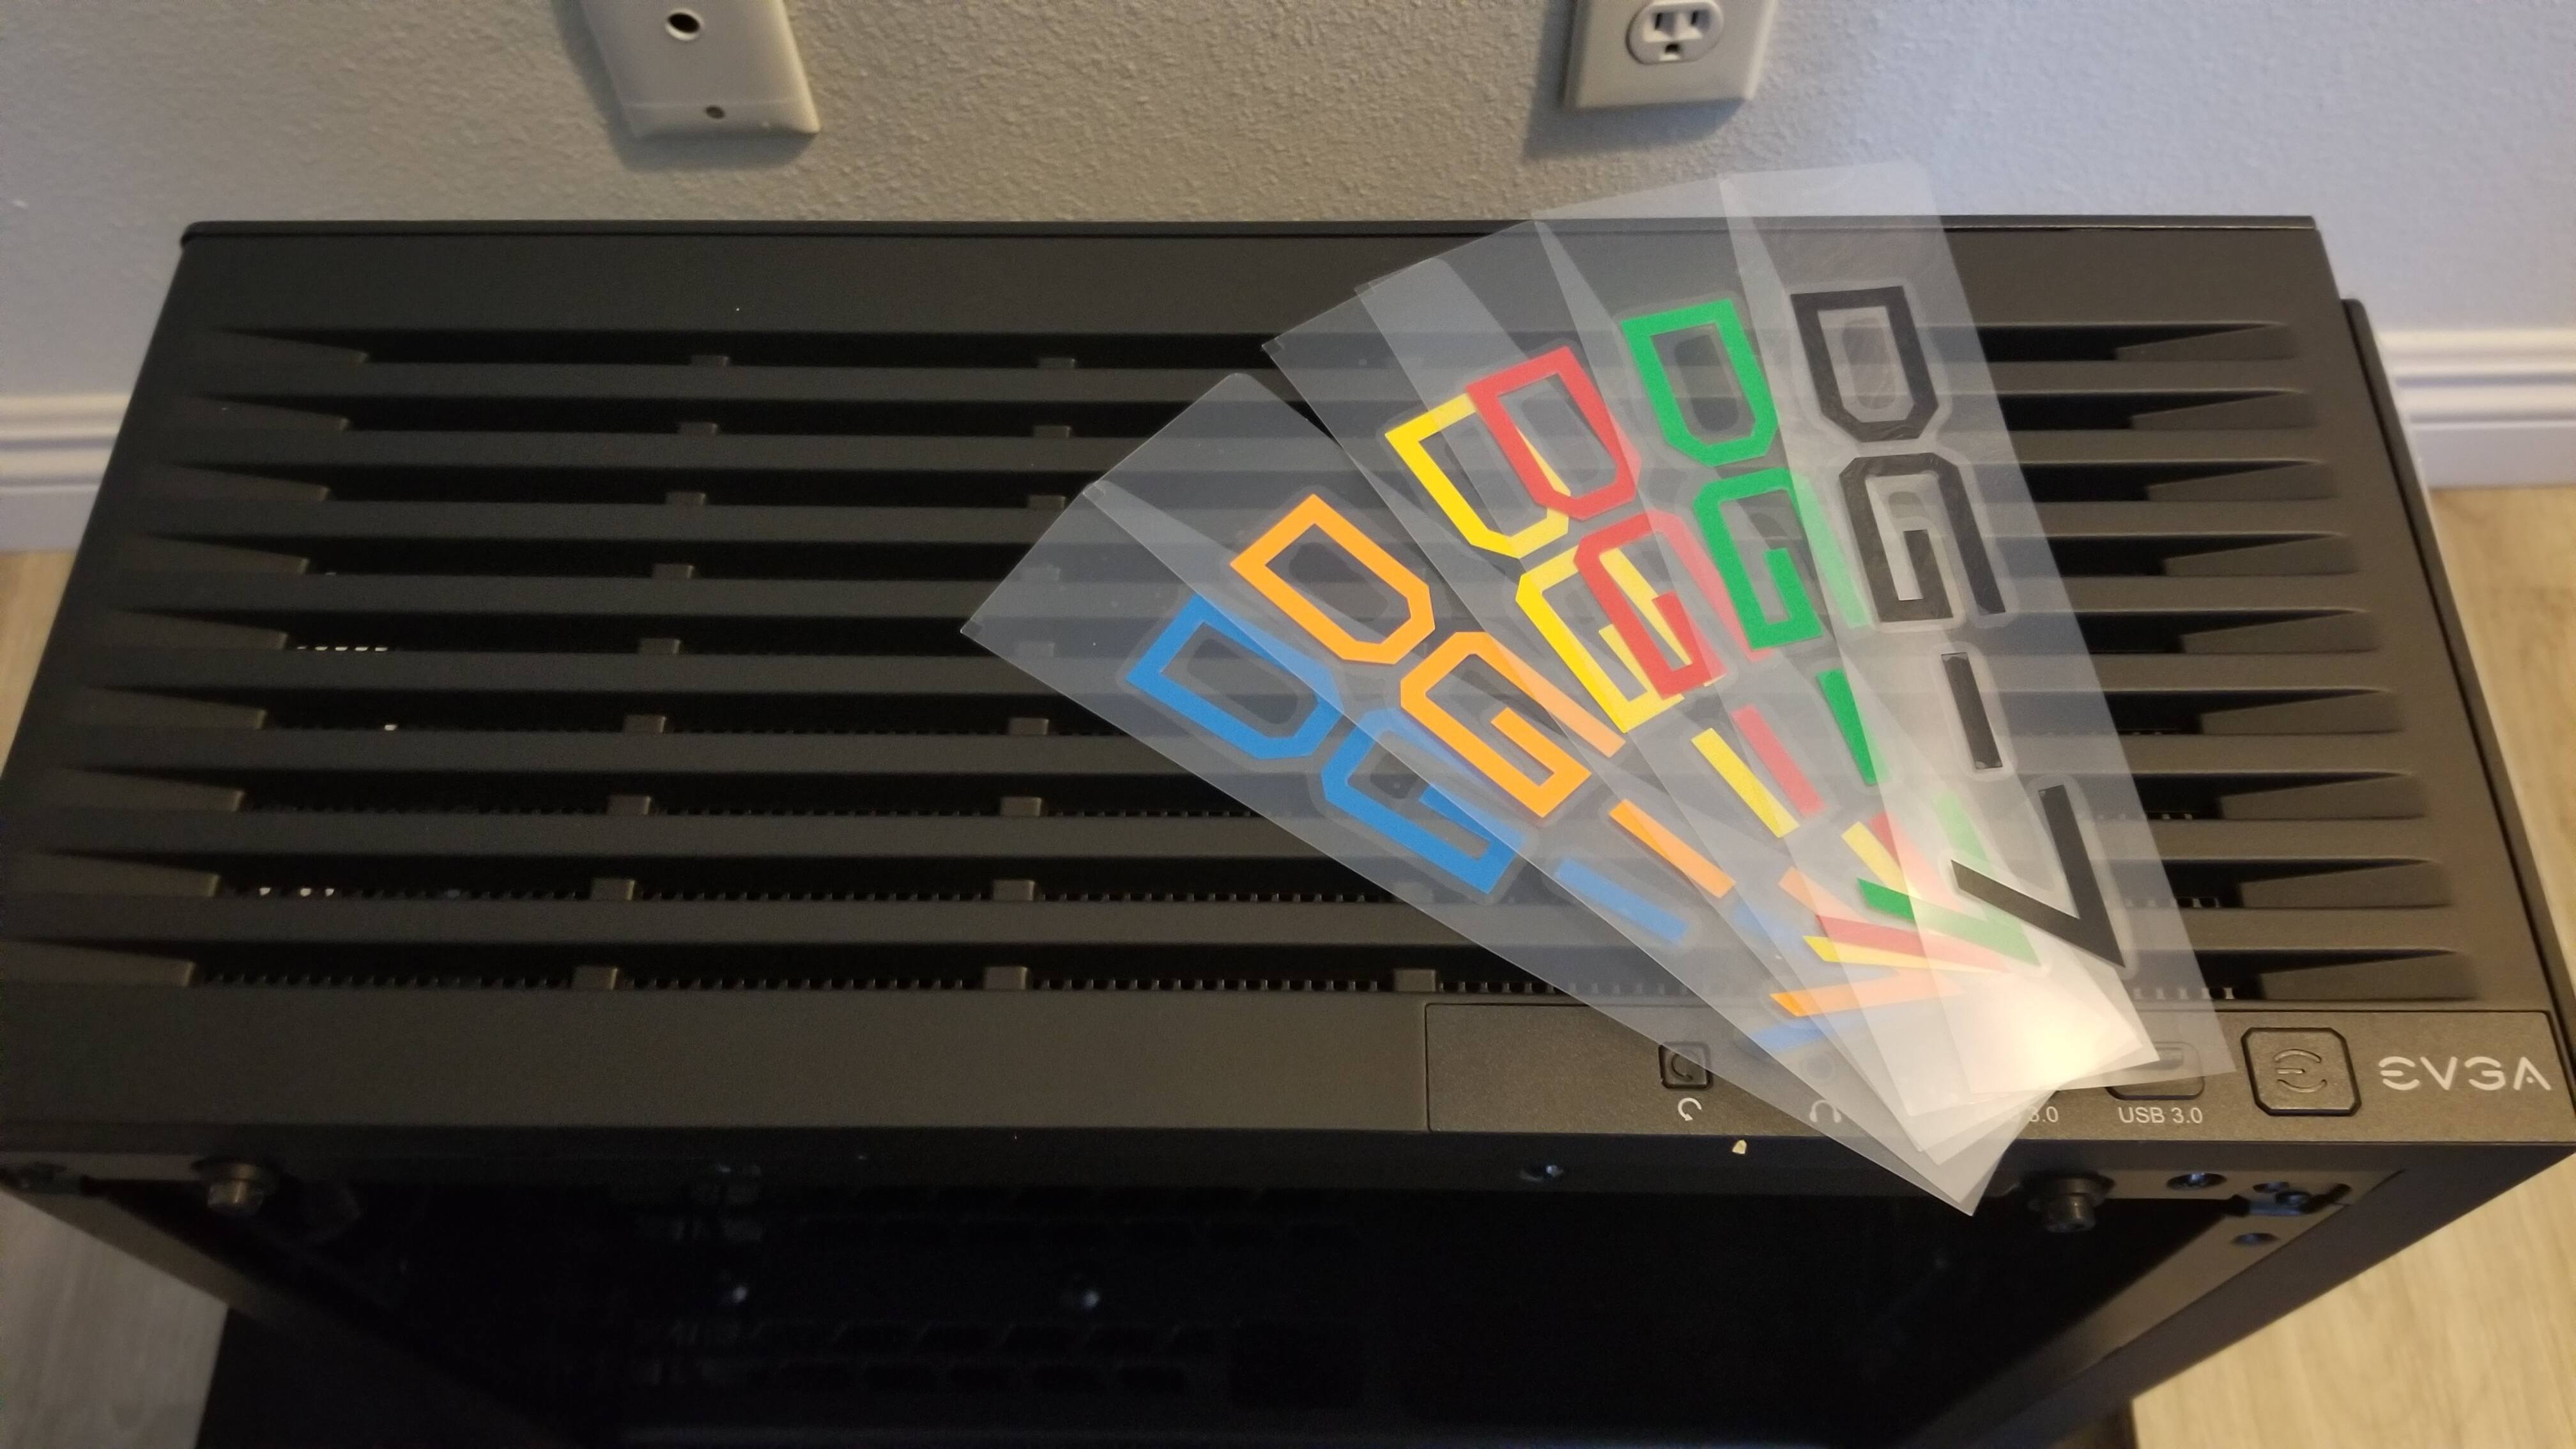
EVGA DG-75 Decals
Thanks, EVGA. I’m never gonna use 'em. ![]()
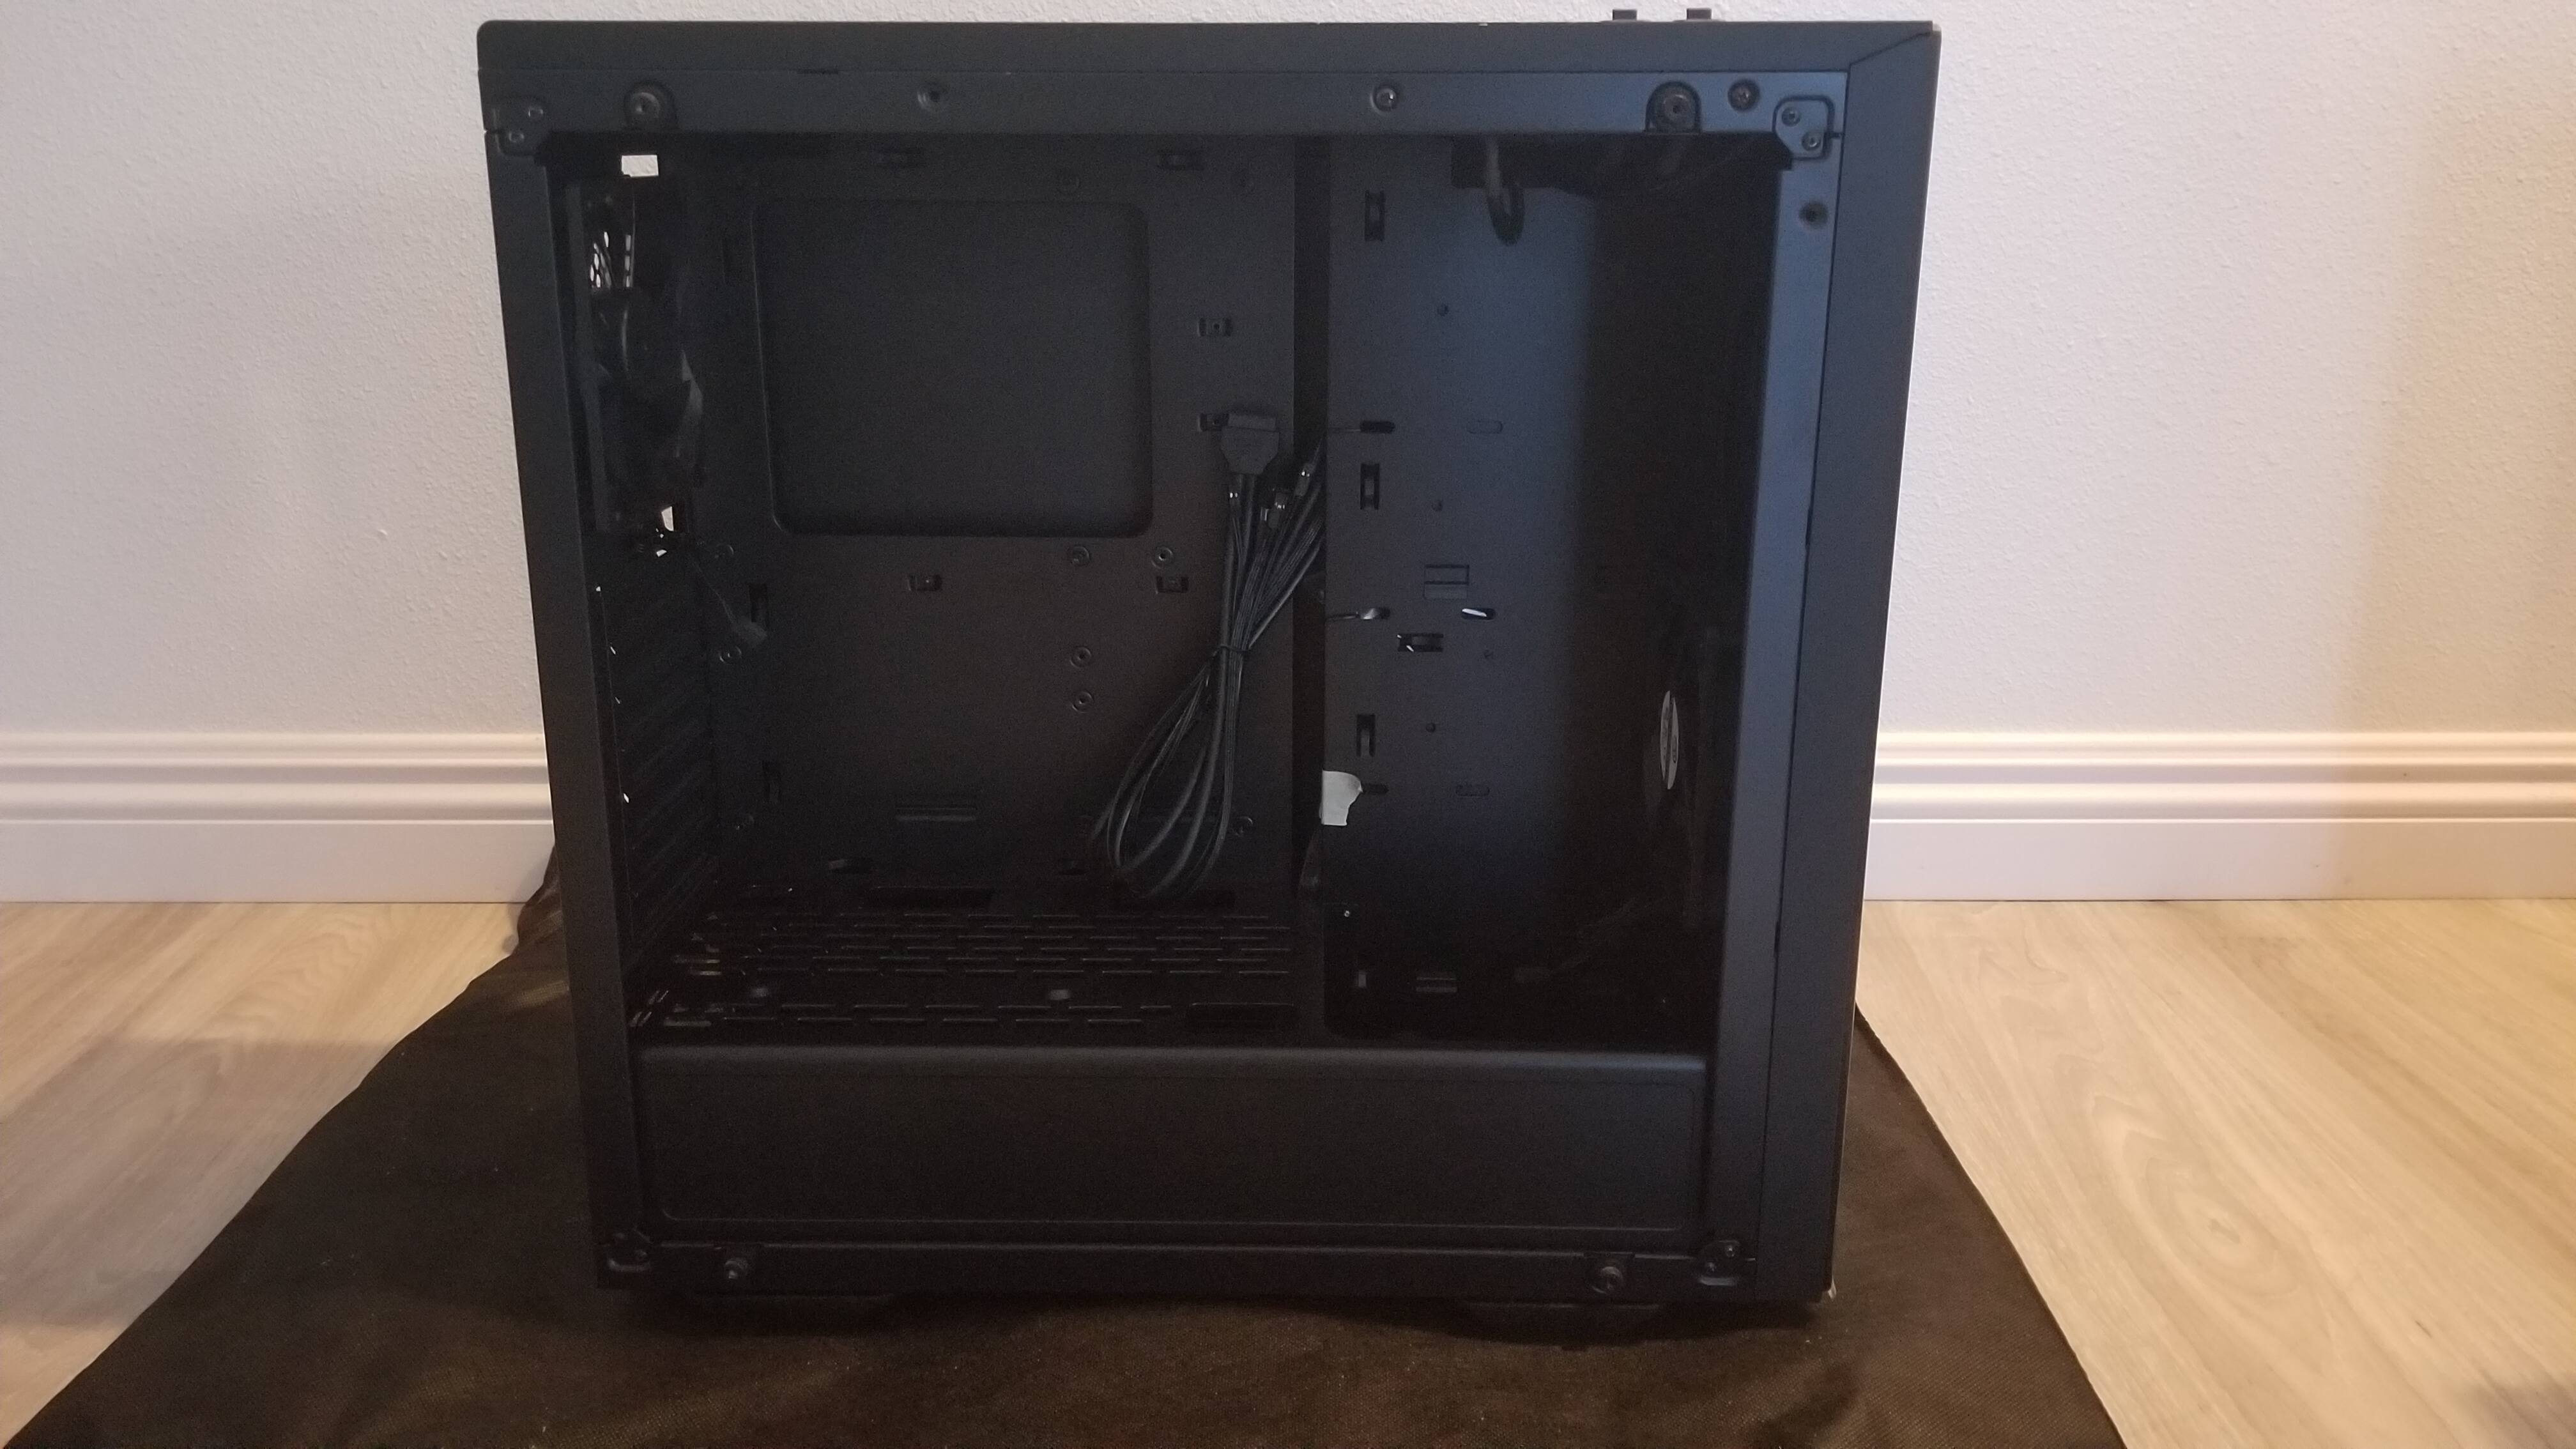
EVGA DG-75 Interior
When I saw the interiors online, I thought, “Cable managing this thing is gonna be a pain in the butt.”
Also the back/side-panel was kinda difficult to remove, I had to get my roommate’s help with it.
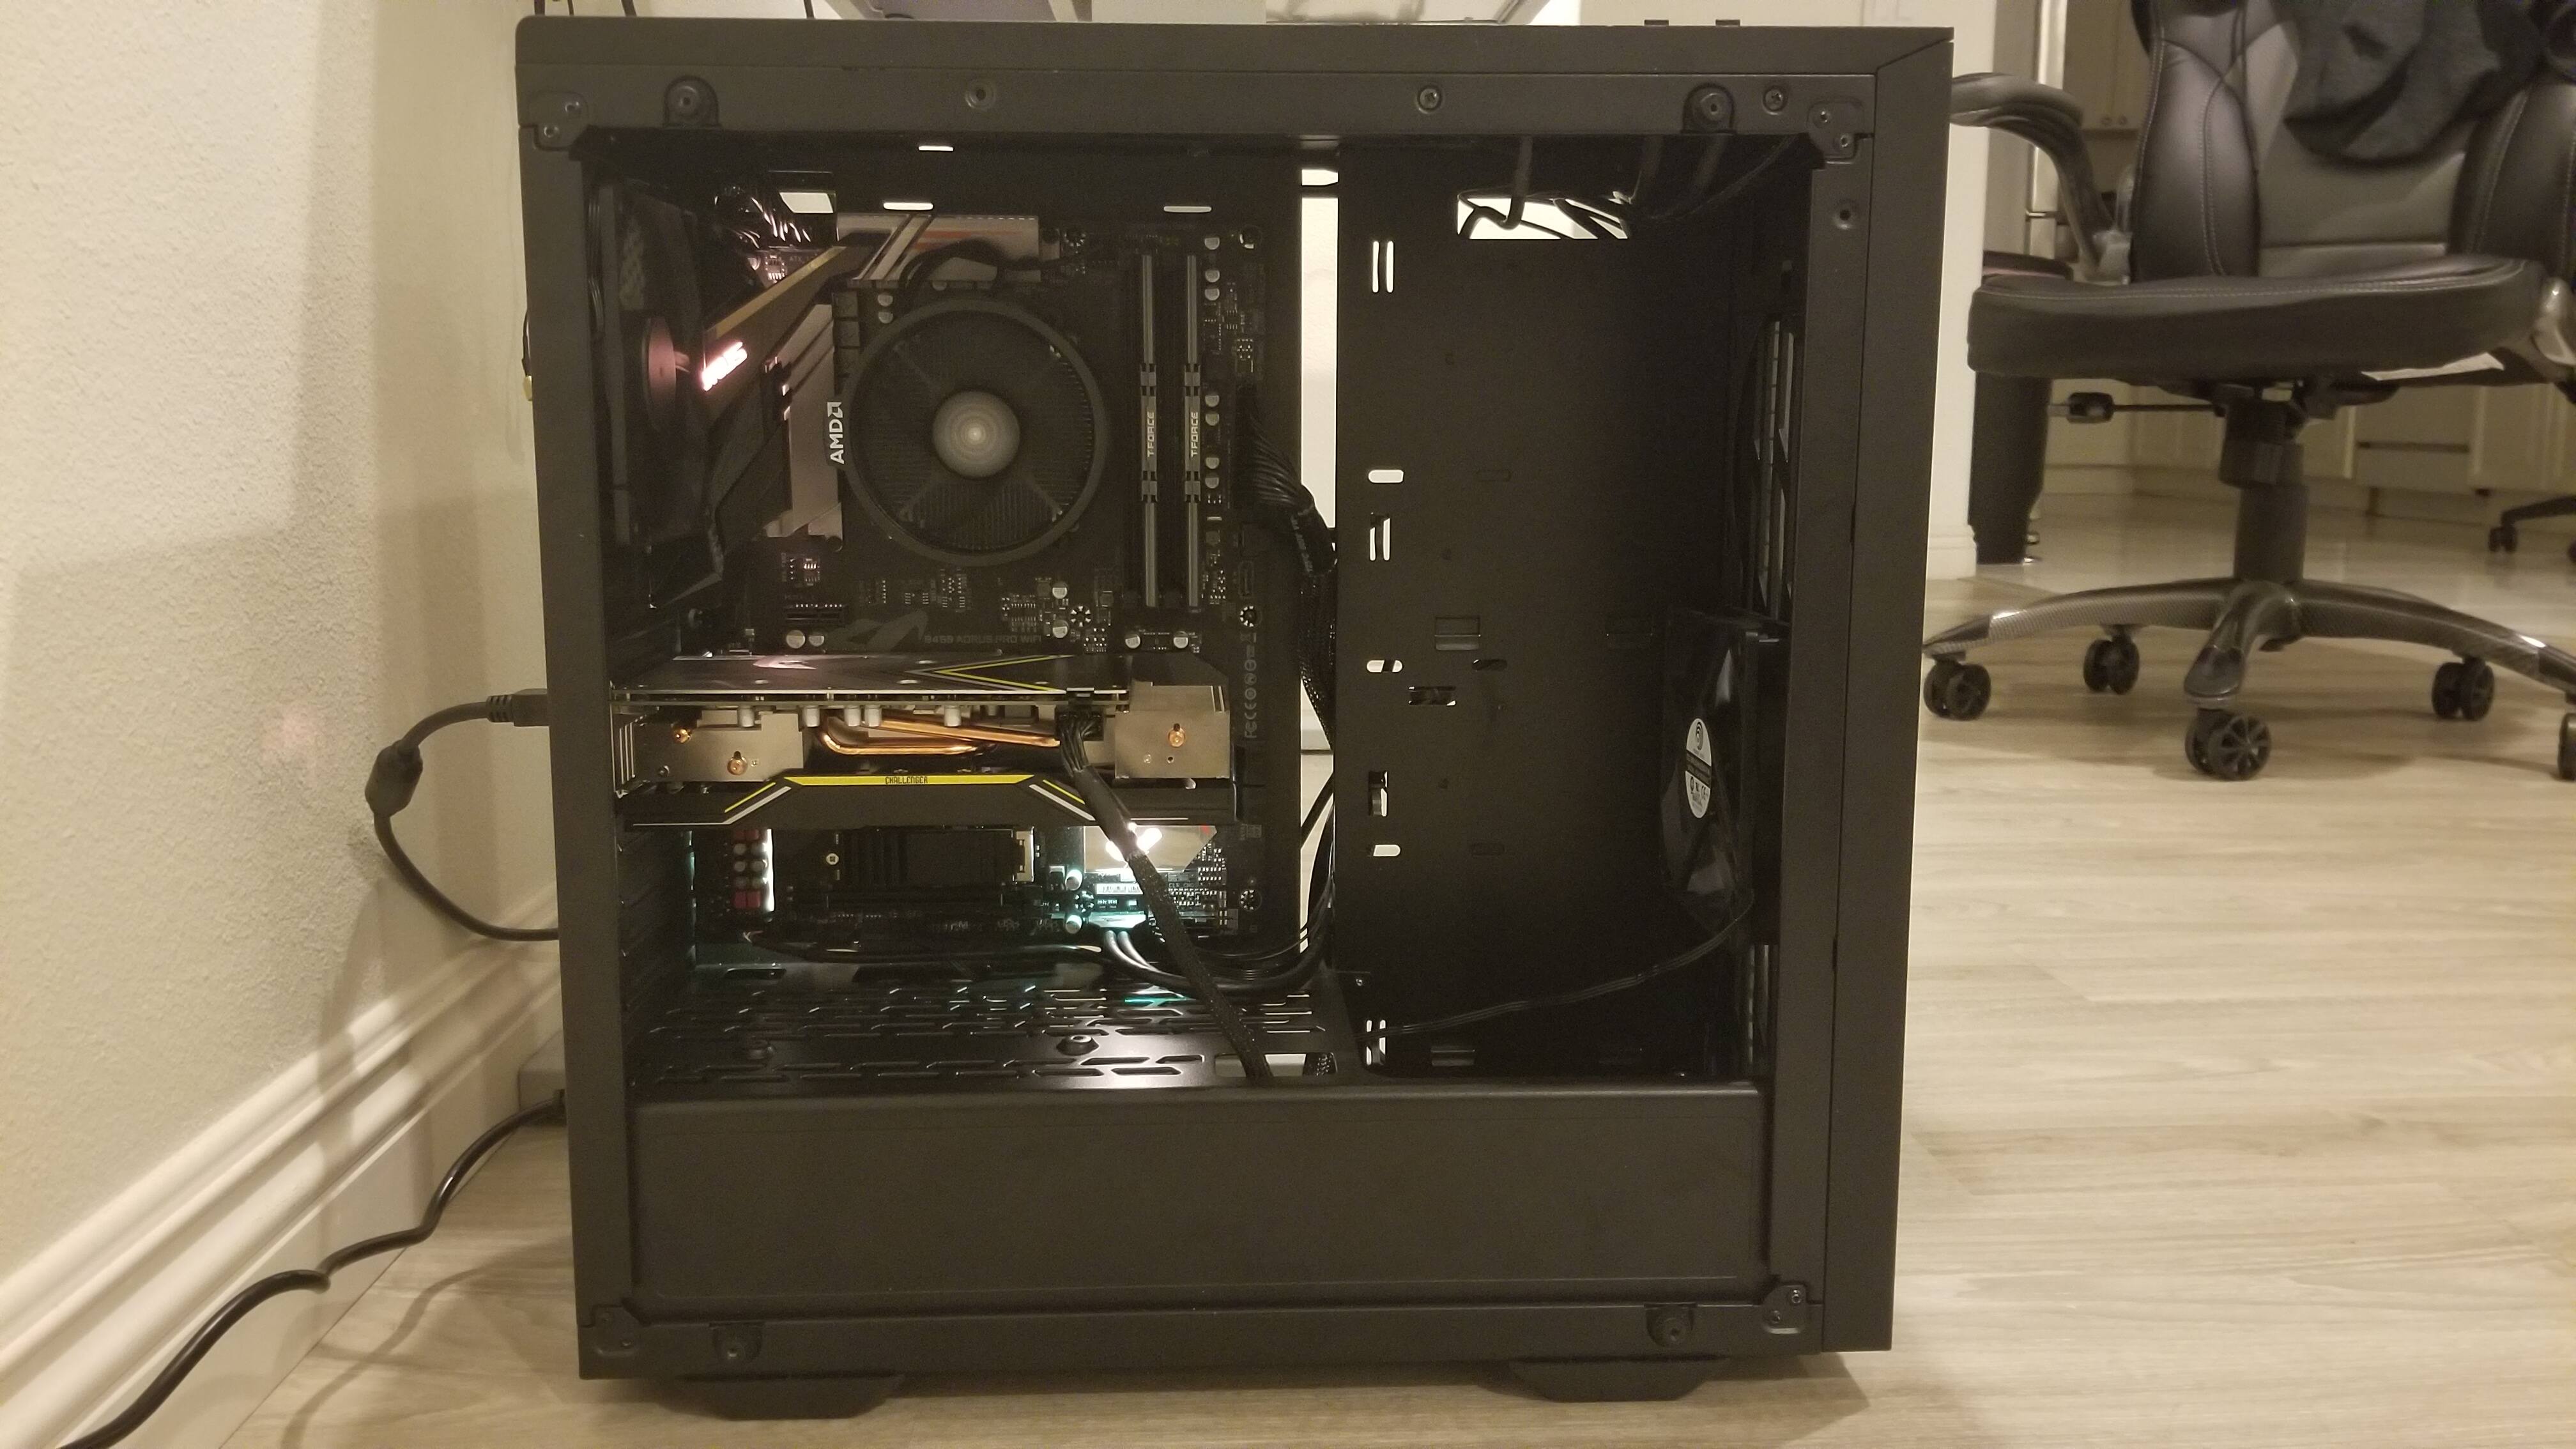
Finished Build Interior - Side 1
UGH. The nostalgia. ![]()
M-M-Muh first PC (in a case)! ![]()
Finished Build Interior - Side 2
Cable managing this thing was a pain in the butt. ![]()
ESCHEW-PC - Up n’ Running!
…The first thing I do is check for WUs on Folding@home and log in to RPG MO, kek.

ESCHEW-PC - Finished
And from then on, 'Chew never, ever liked TG side panels. ![]()
Noctua NH-D15 CPU Cooler Update
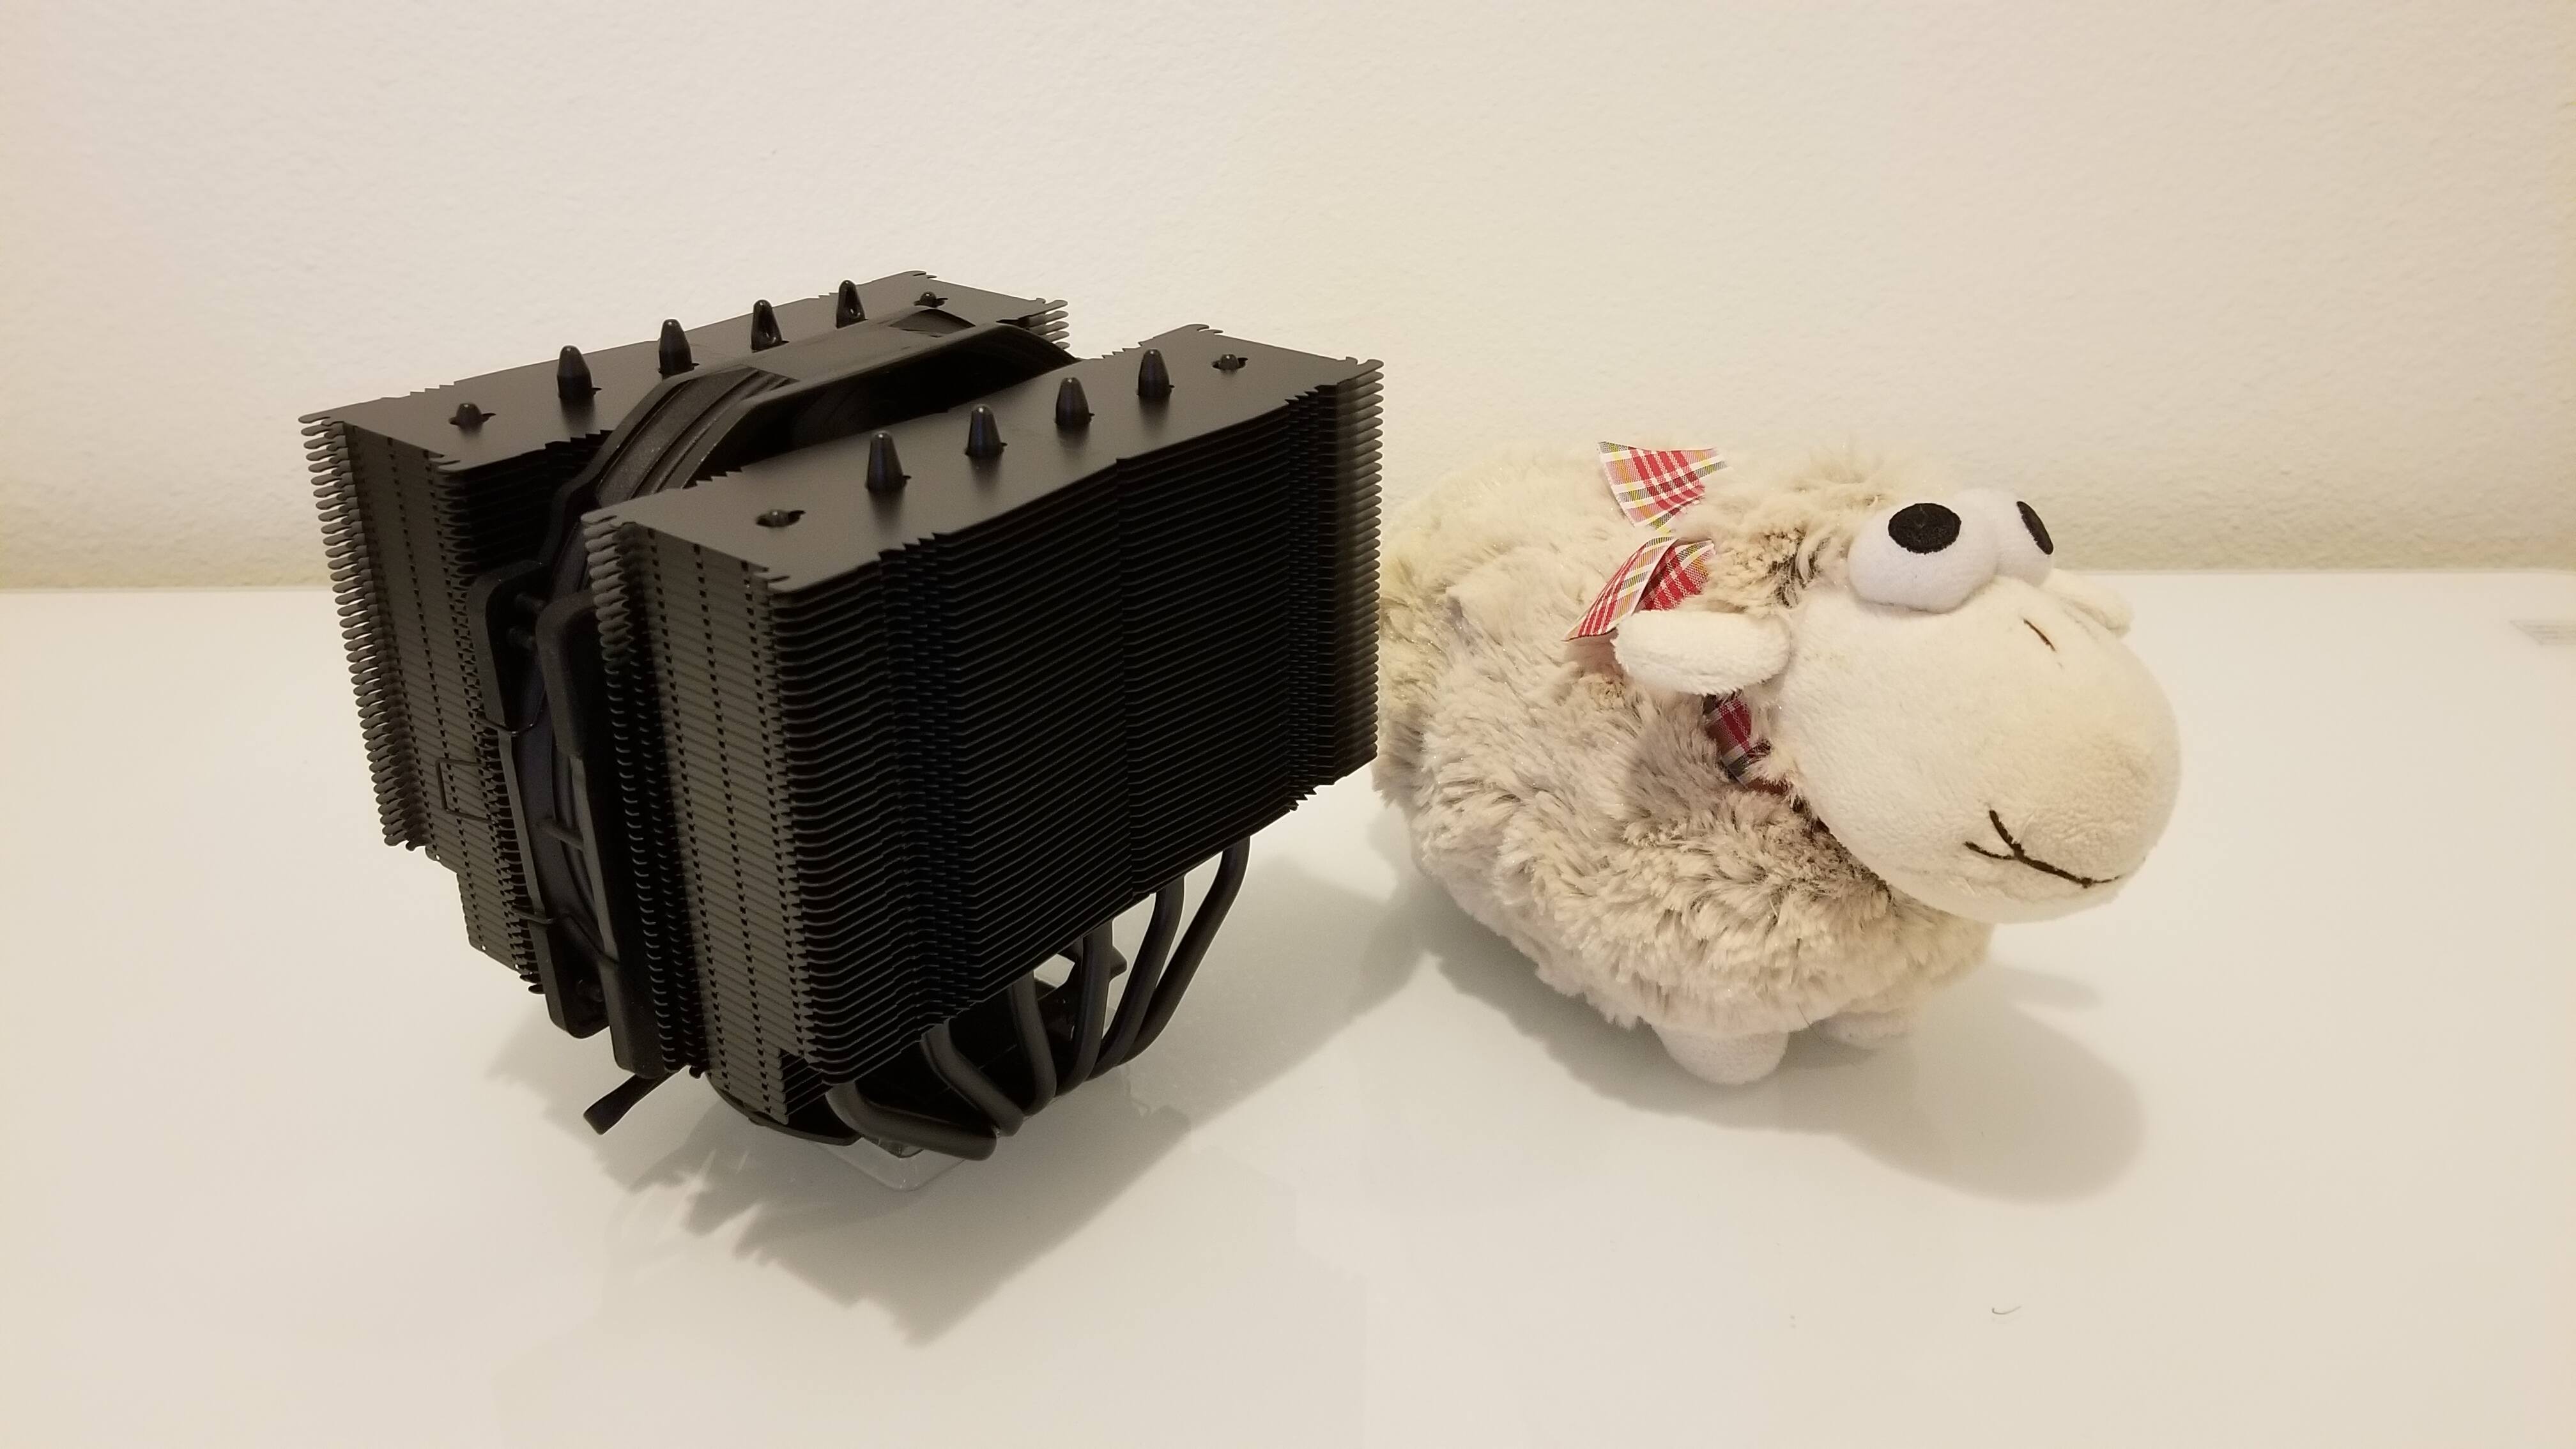
Noctua NH-D15 chromax.black + Simon
Sheep is Simon. Simon says “Hi.” He has lovely derpy eyes. ![]()
ESCHEW-PC
First time actually popping open the PC since it was built in April.
…I don’t recall what the wire leading off to the right was supposed to be. ![]()
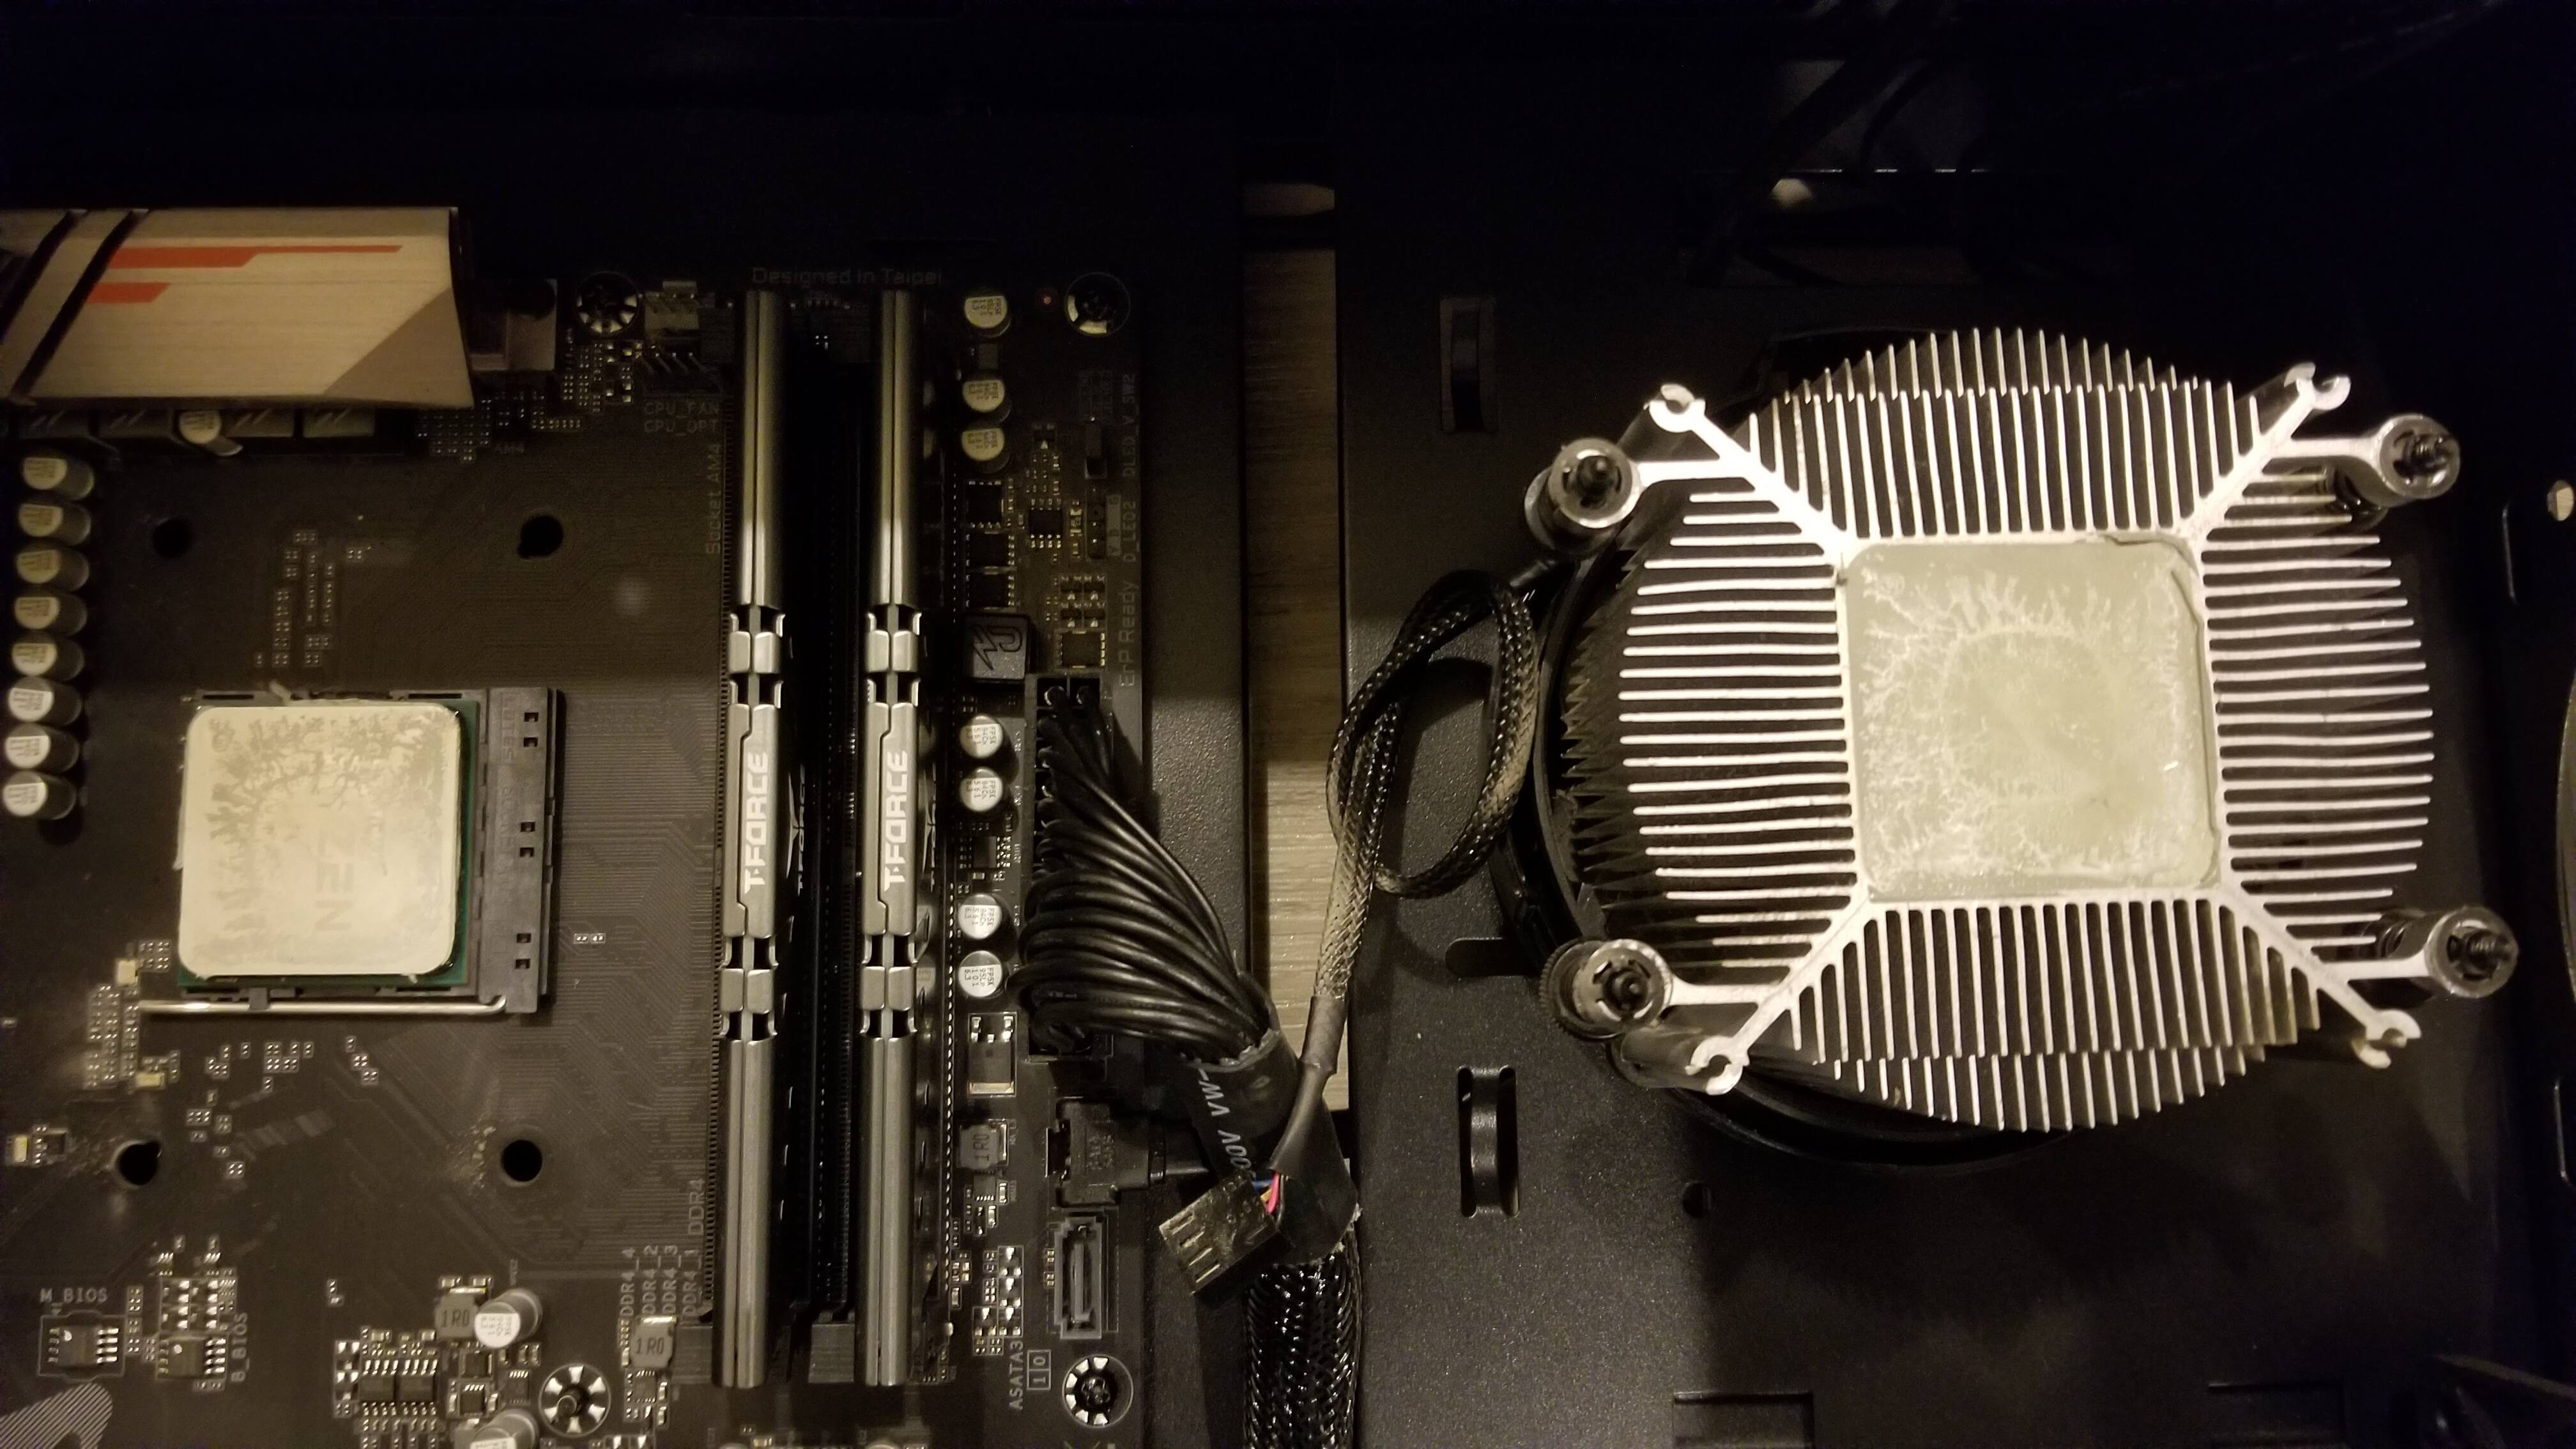
CPU + CPU Cooler + Stock Thermal Paste
Thermal paste looks kinda scarce. ![]()
![]()
Sorta expected to see more thermal paste residue on the CPU and CPU cooler. Granted, I was using the stock cooler and didn’t have extra thermal paste lying around… Ehhh…
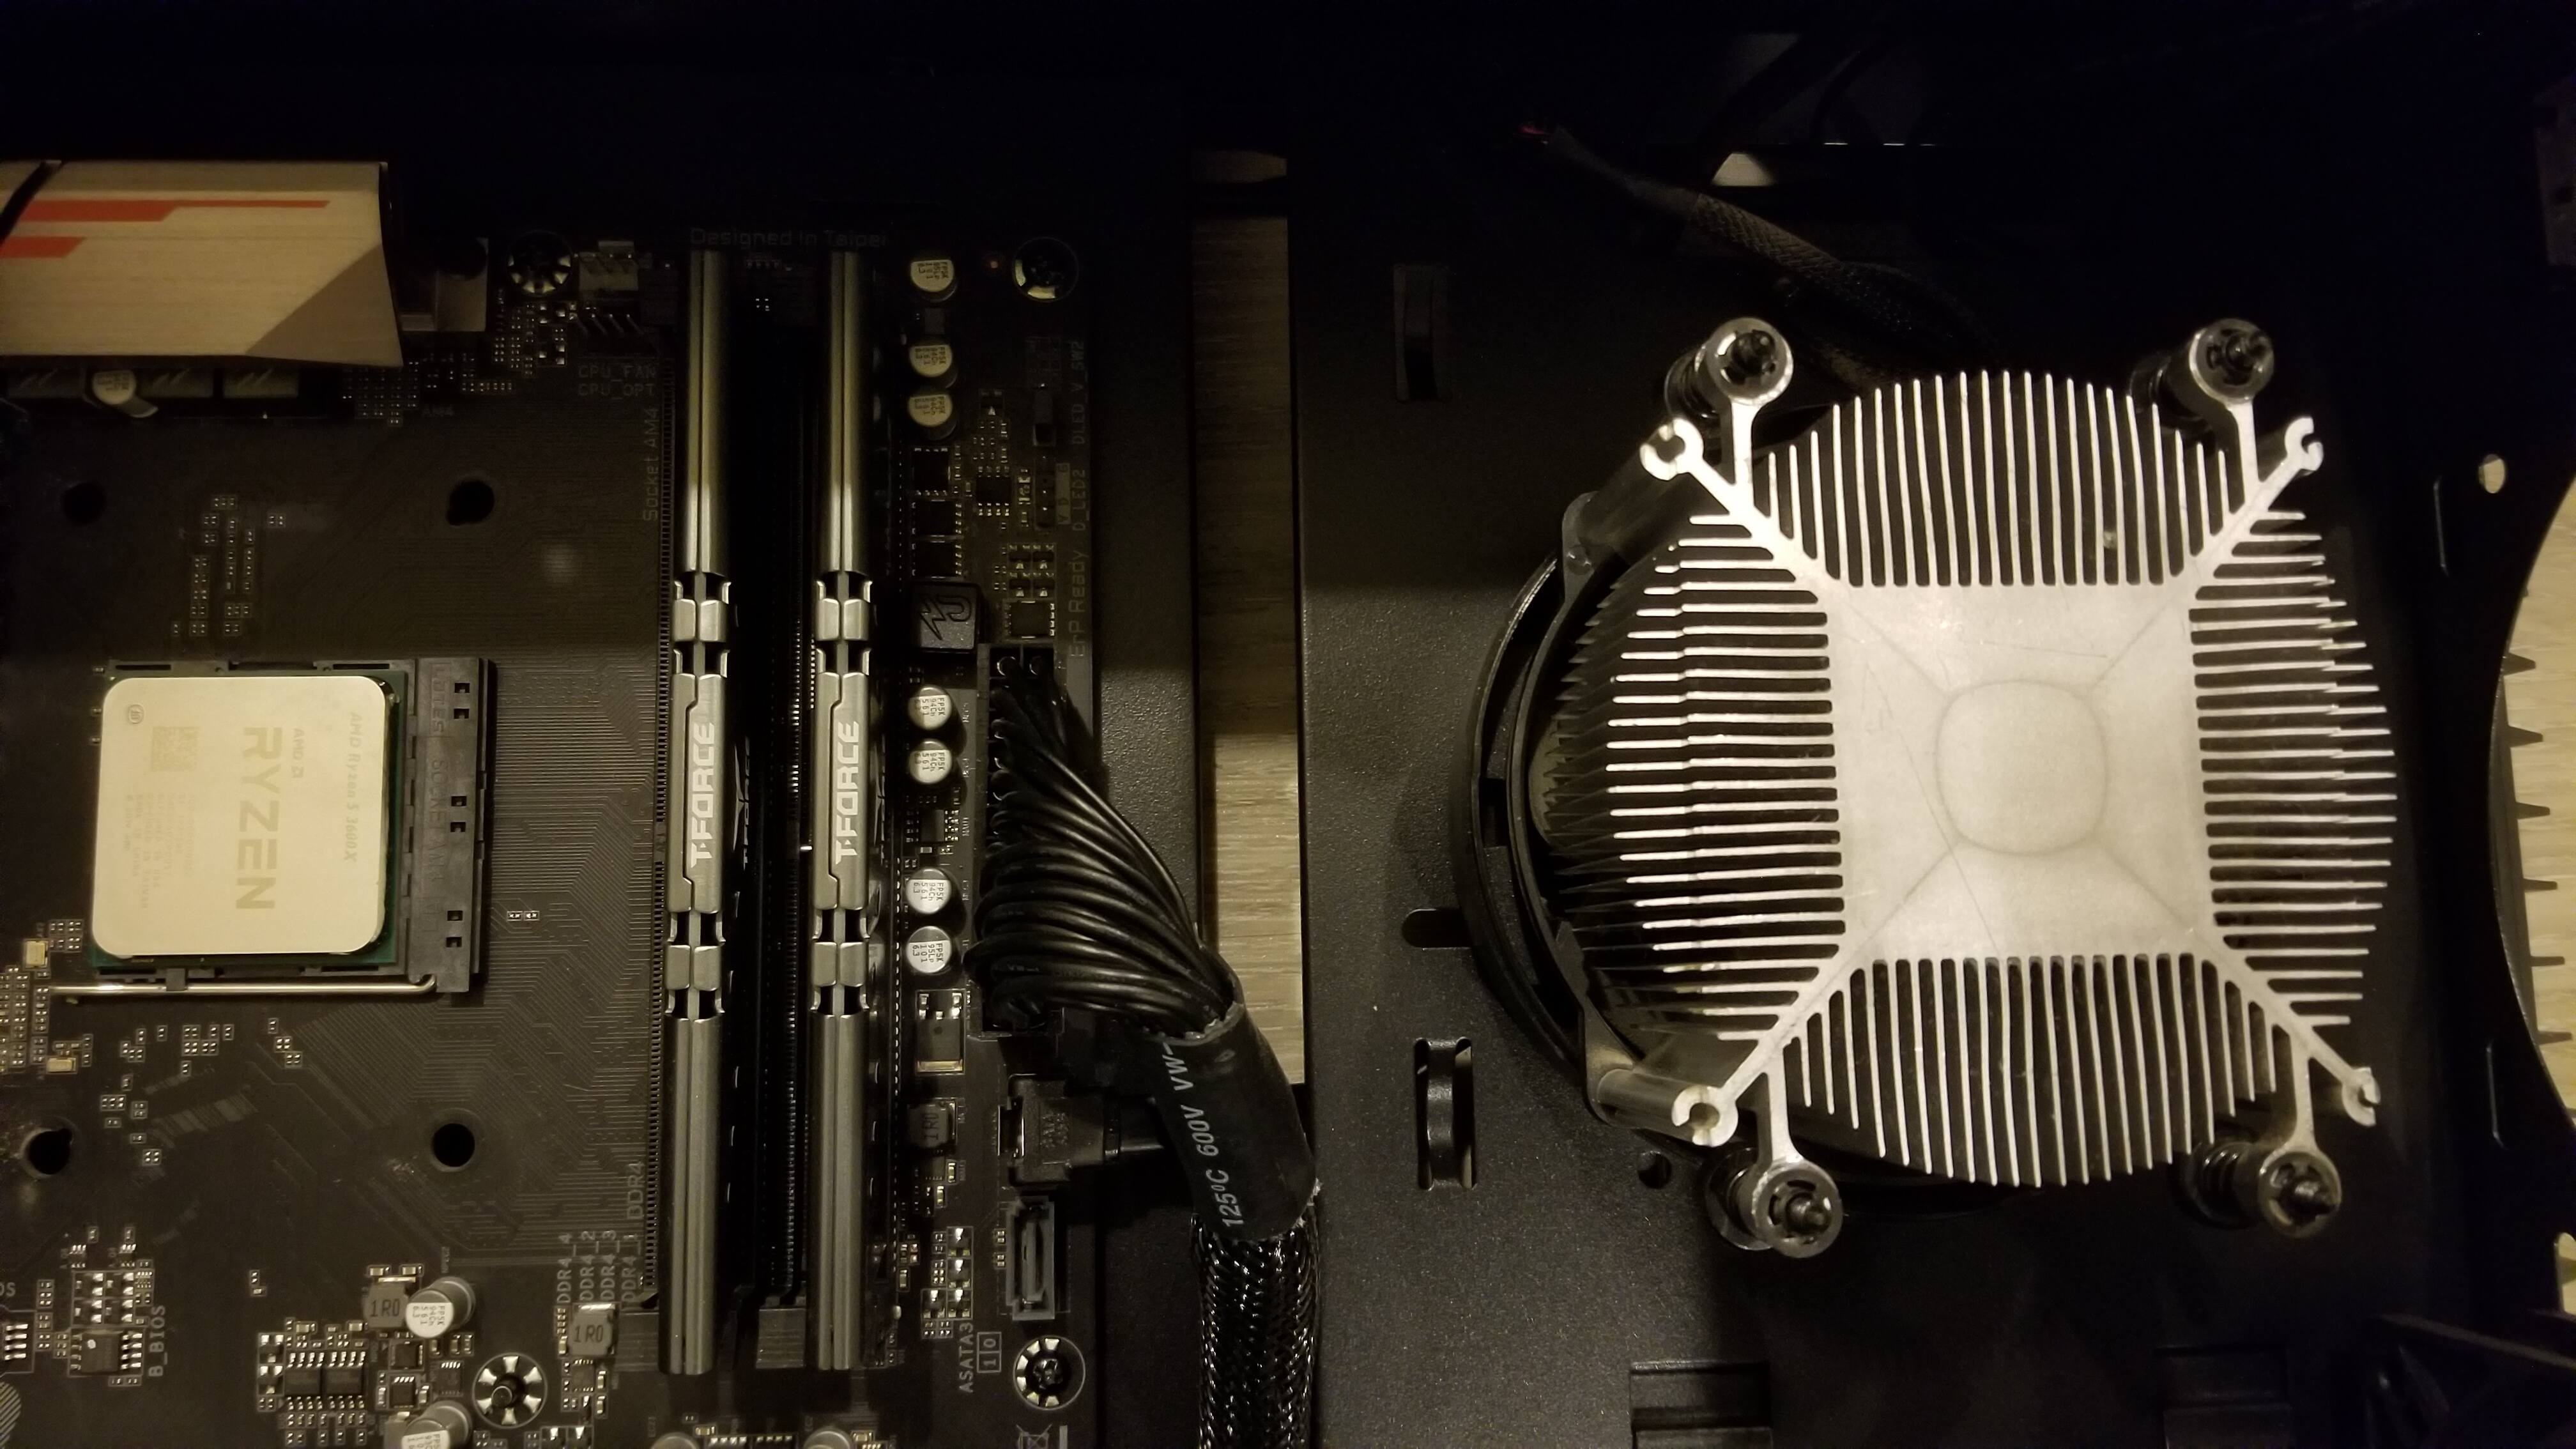
CPU + CPU Cooler - Cleaned
Cleaning off that sticky whitish residue. ![]()
Shoutout to my roommate, whom gave me an entire bottle of isopropyl alcohol ‘cos – the newb that I was am – I flippin’ forgot to get some. ![]()
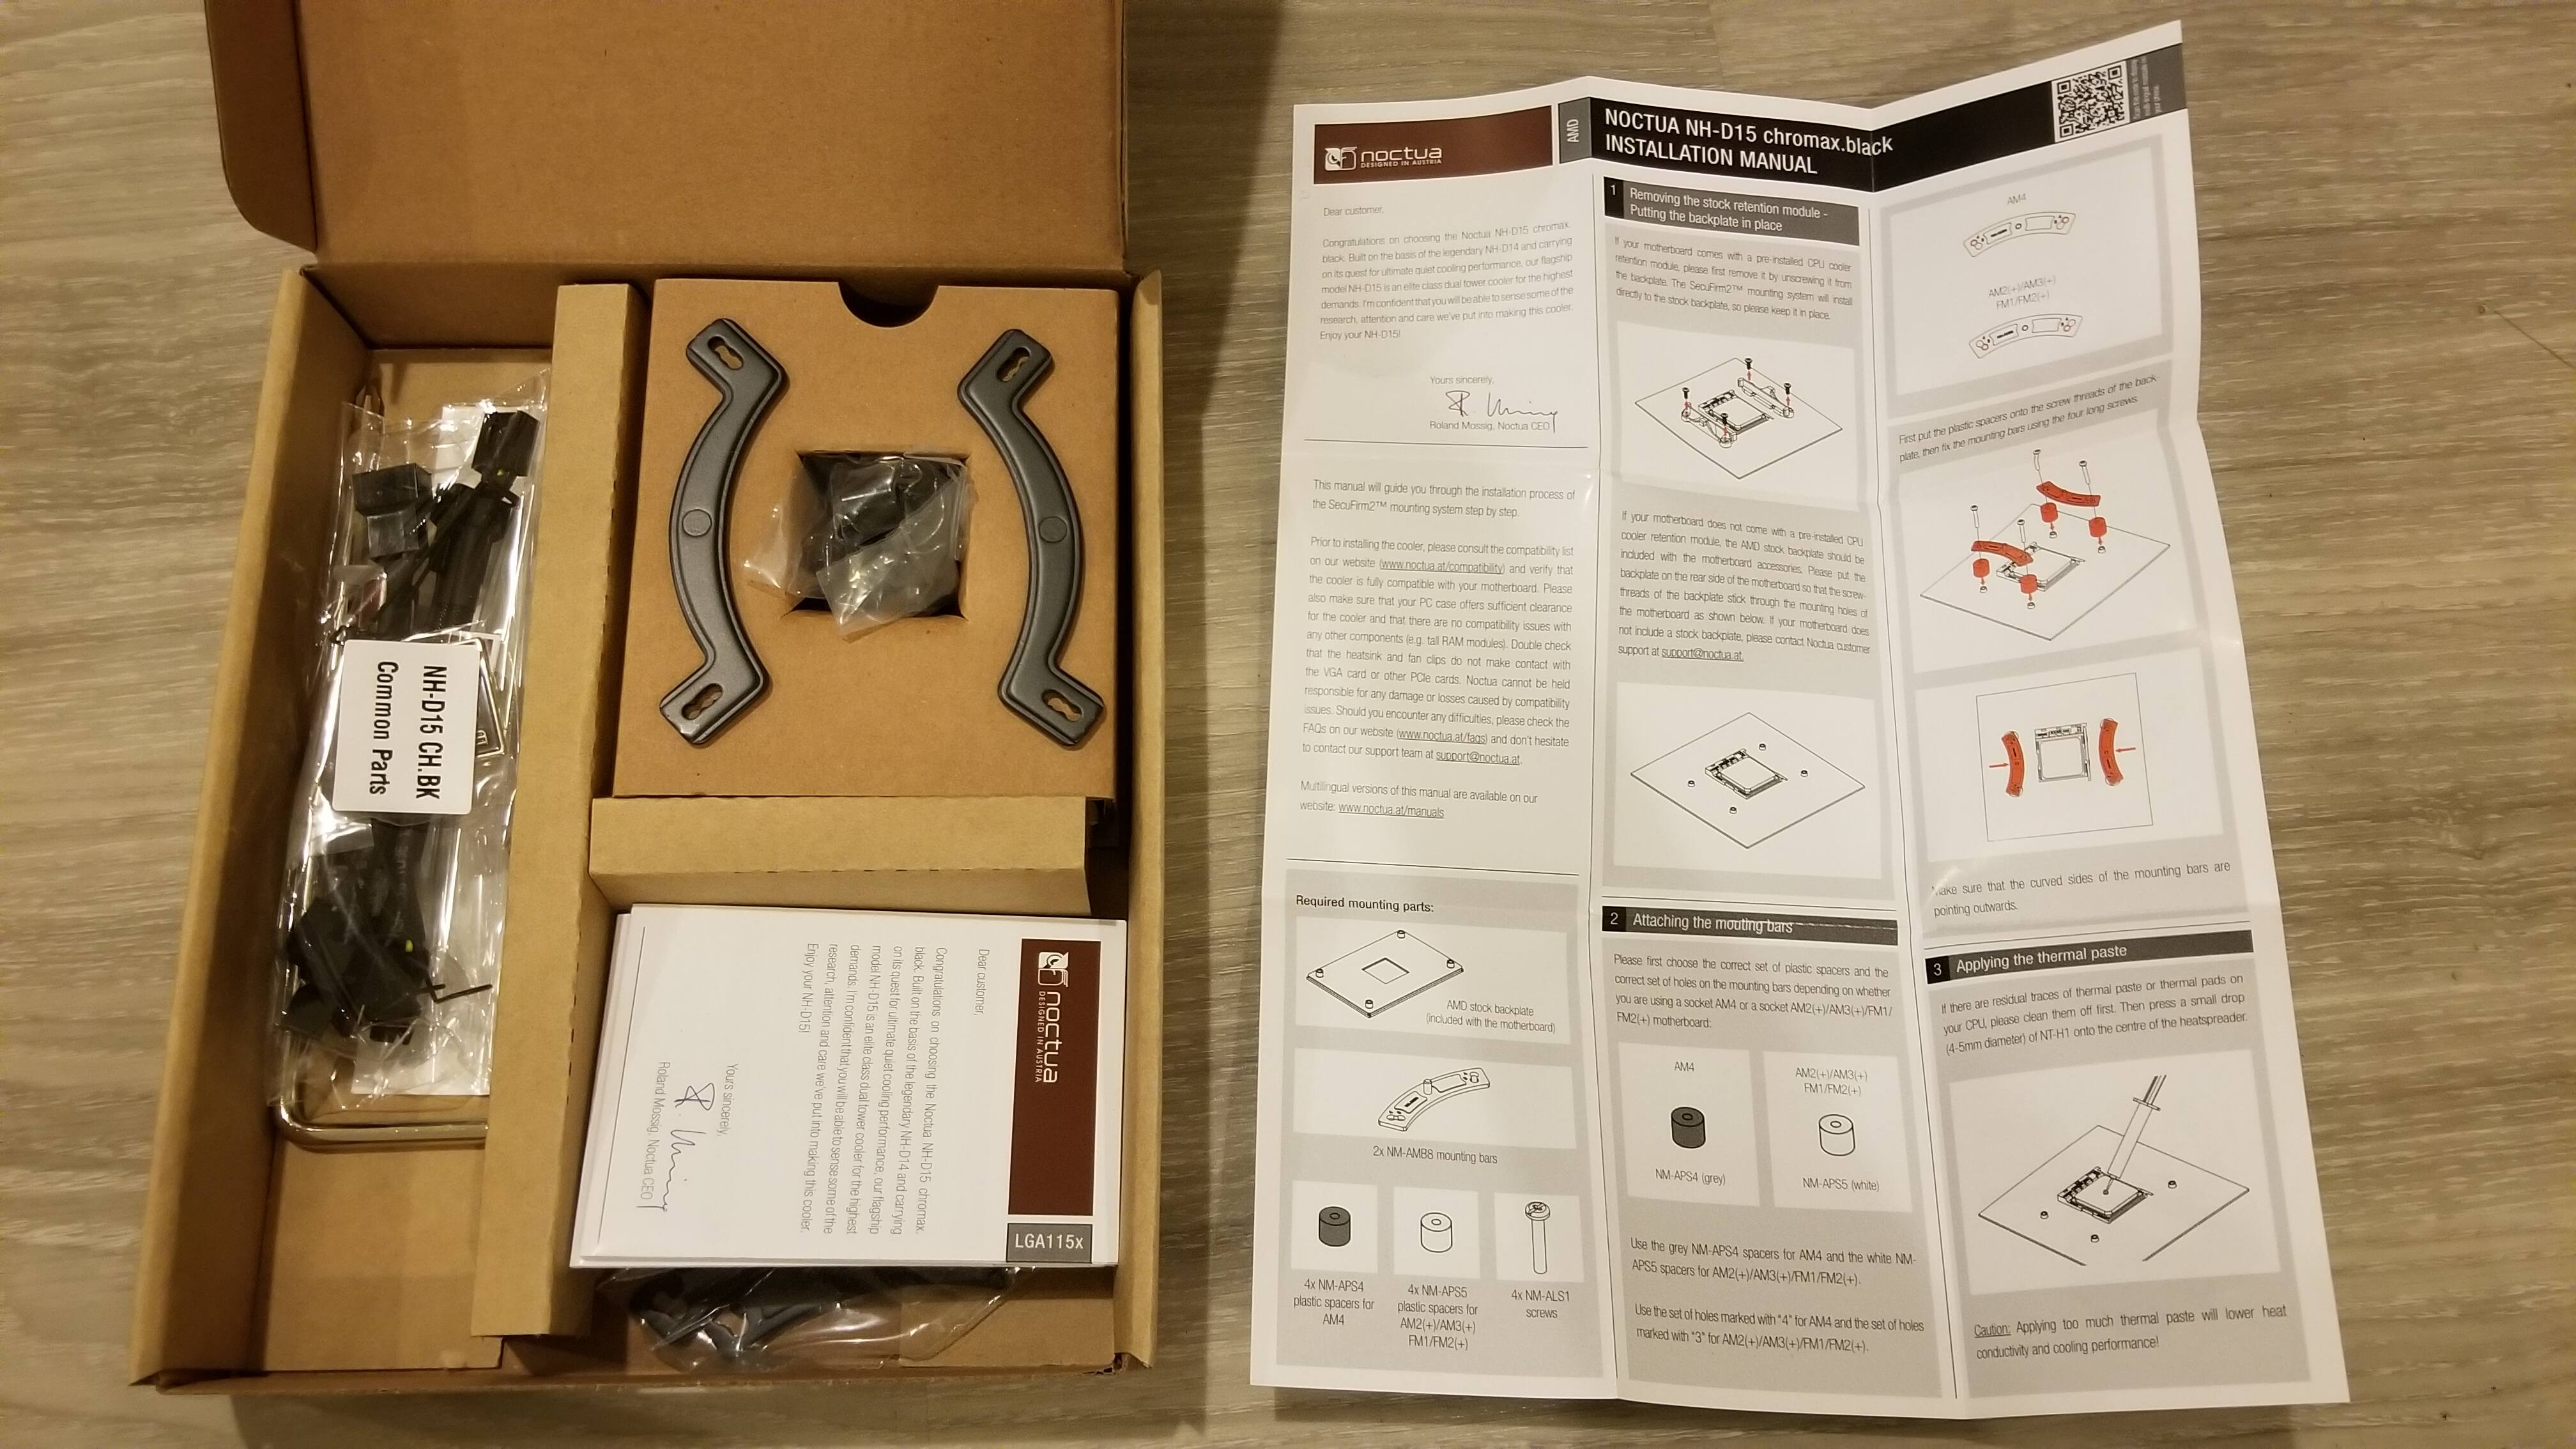
RTFM
Reading the flippin’ manual… ![]()
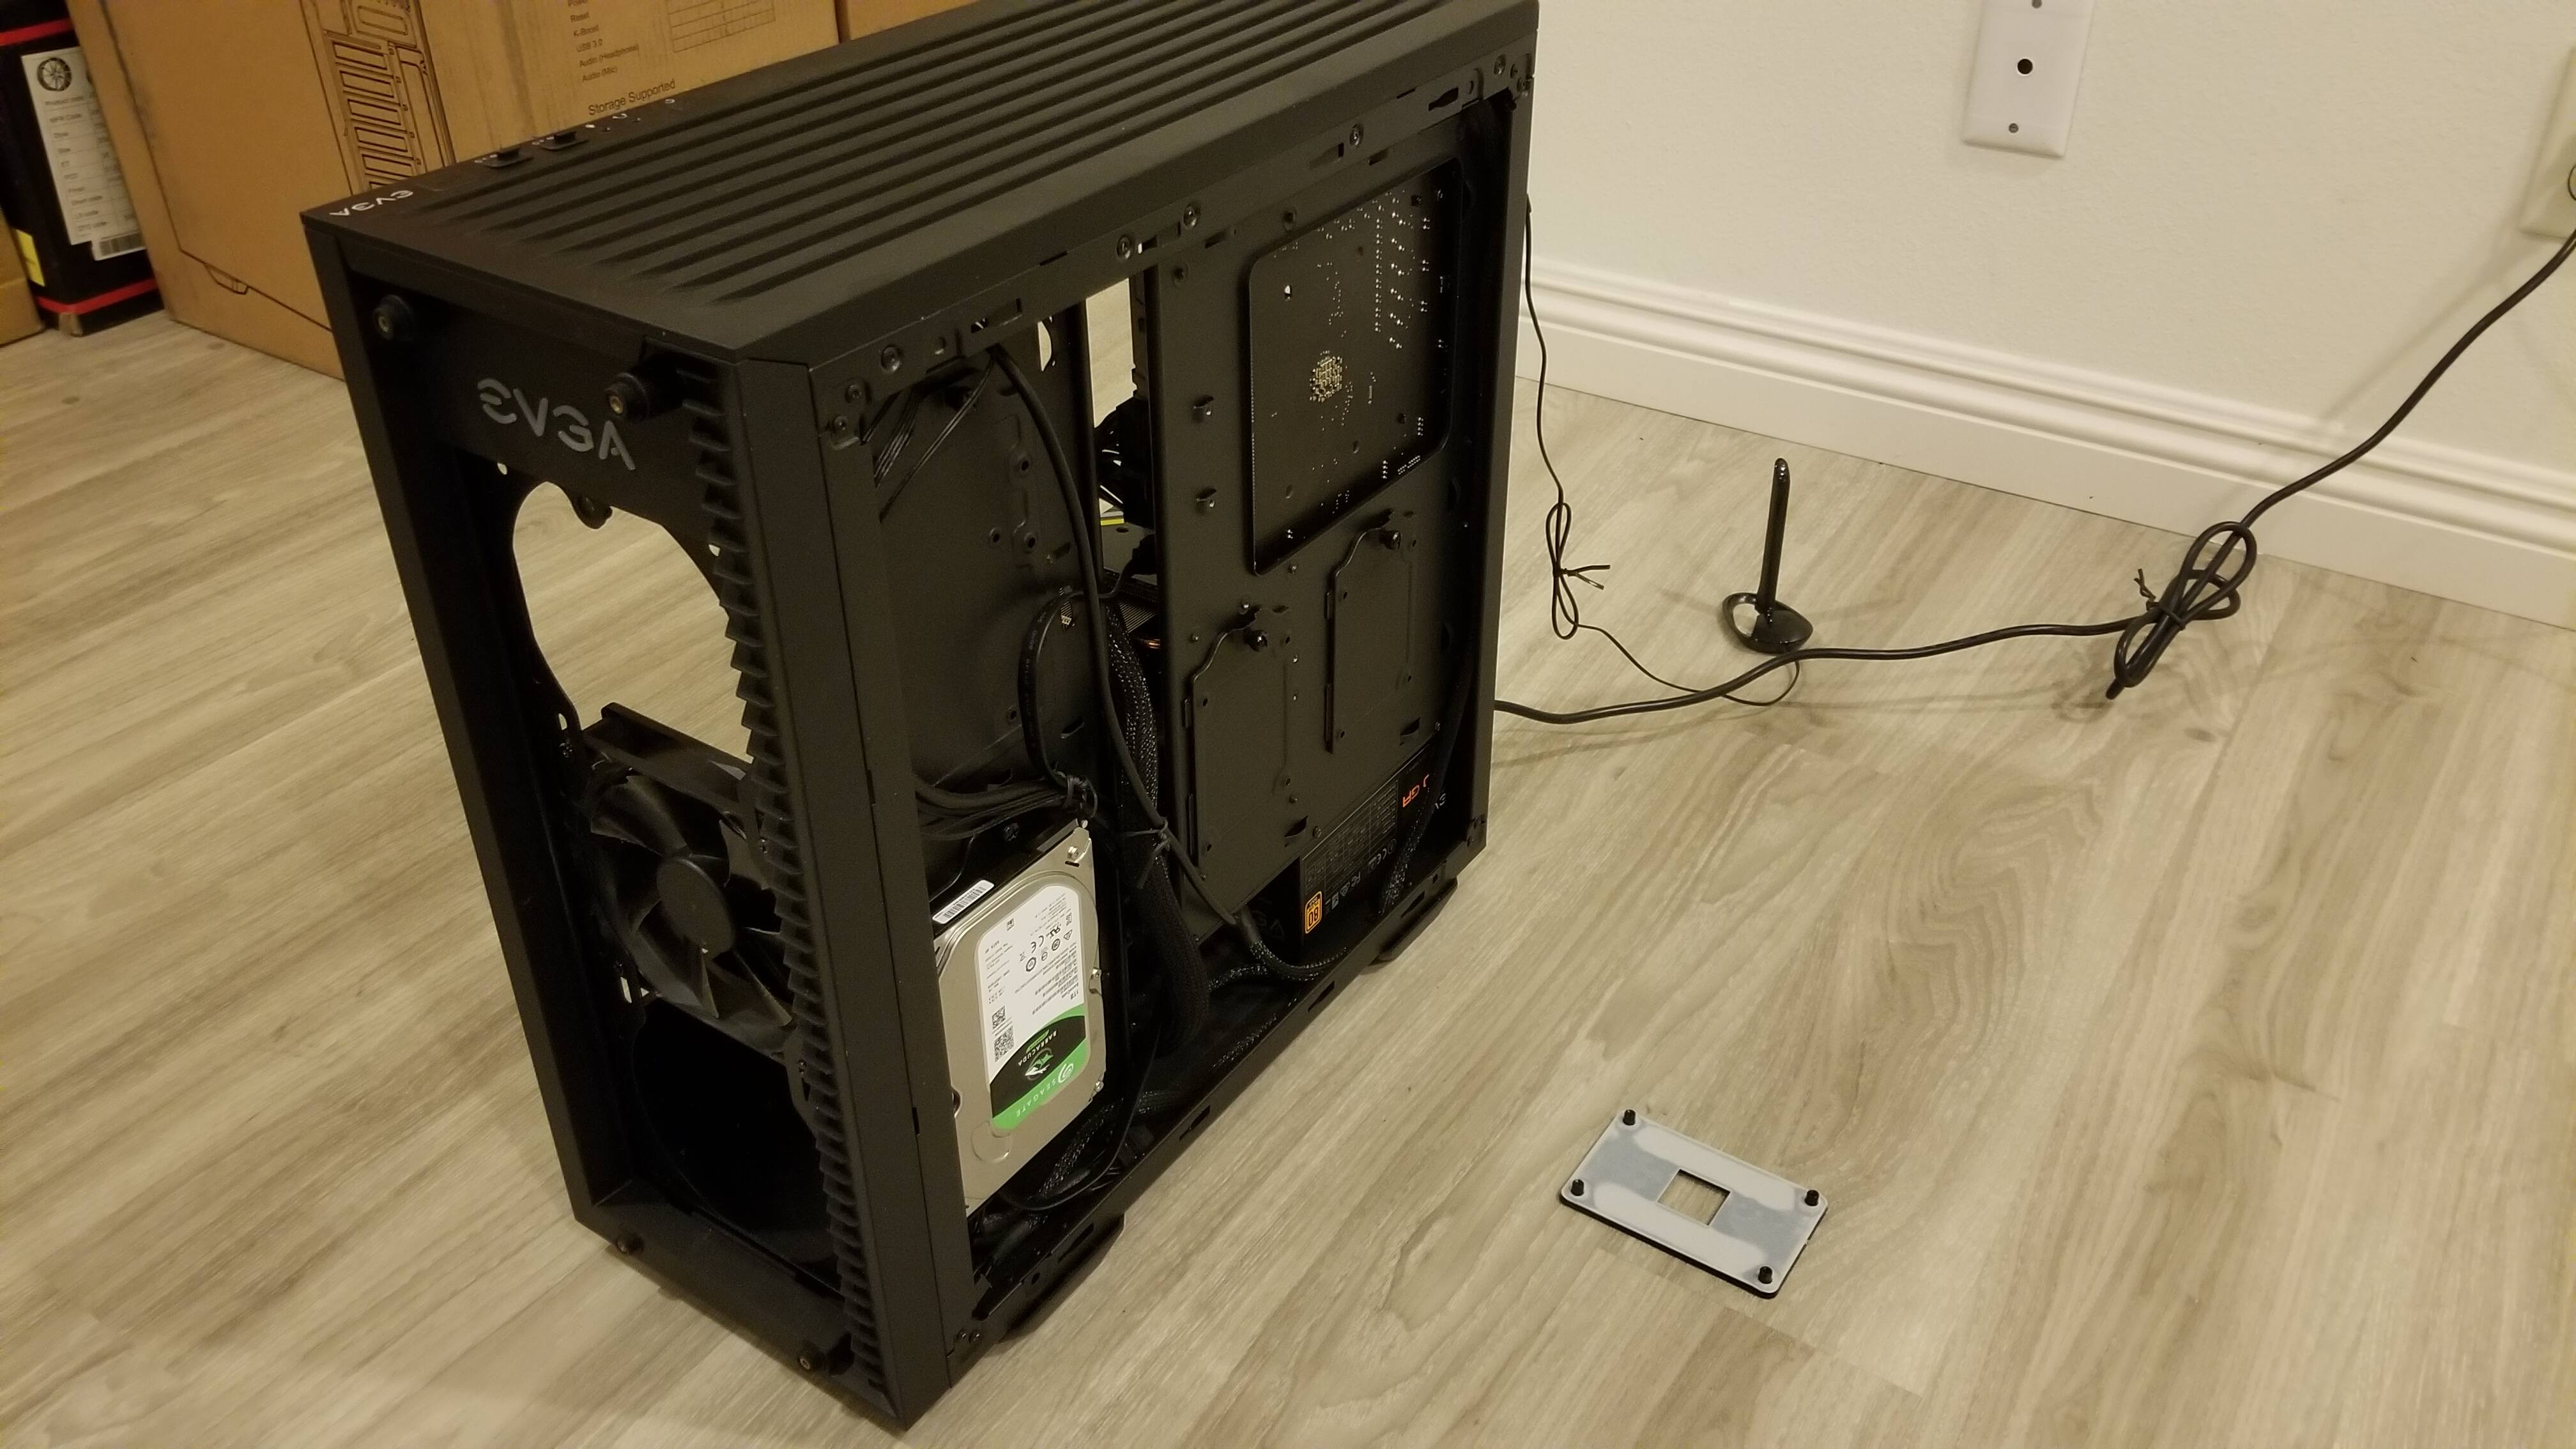
THUNK!
Dafuq, wut just fell out.
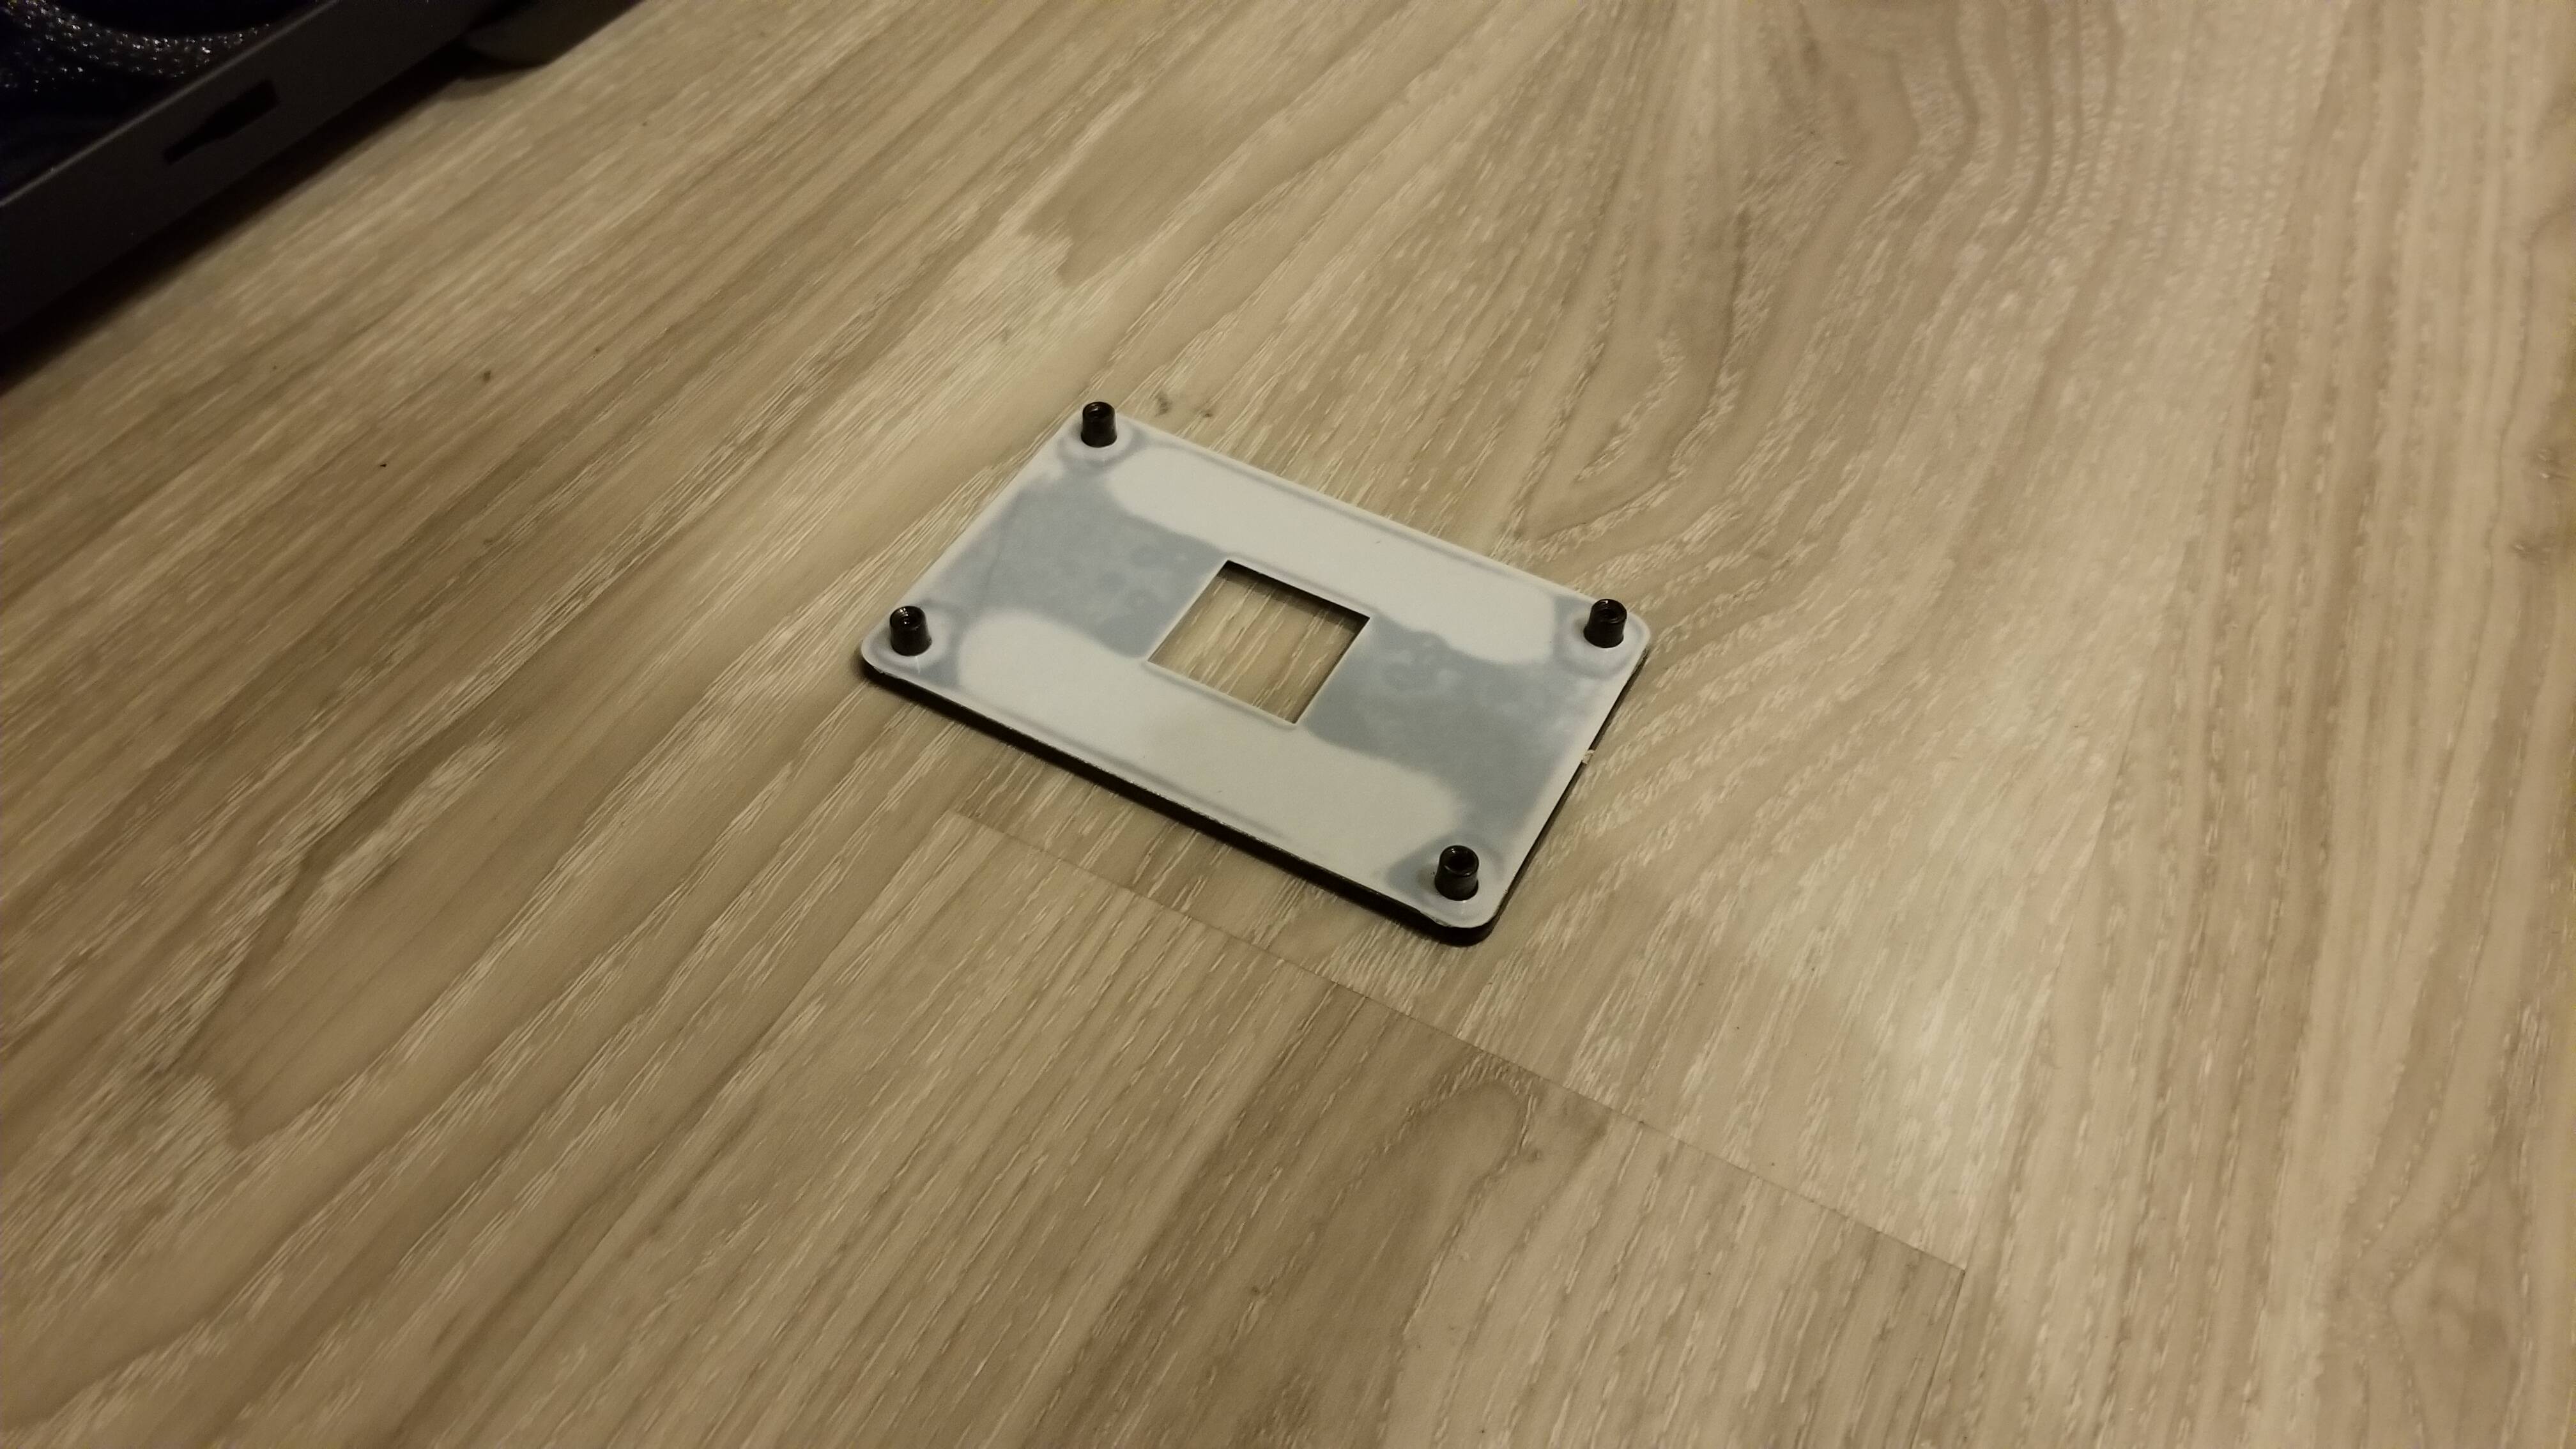
AM4 Bracket Backplate
That day, 'Chew learned the existence of a CPU Cooler / Bracket Backplate.
…Half a year after starting her PC building hobby. ![]()
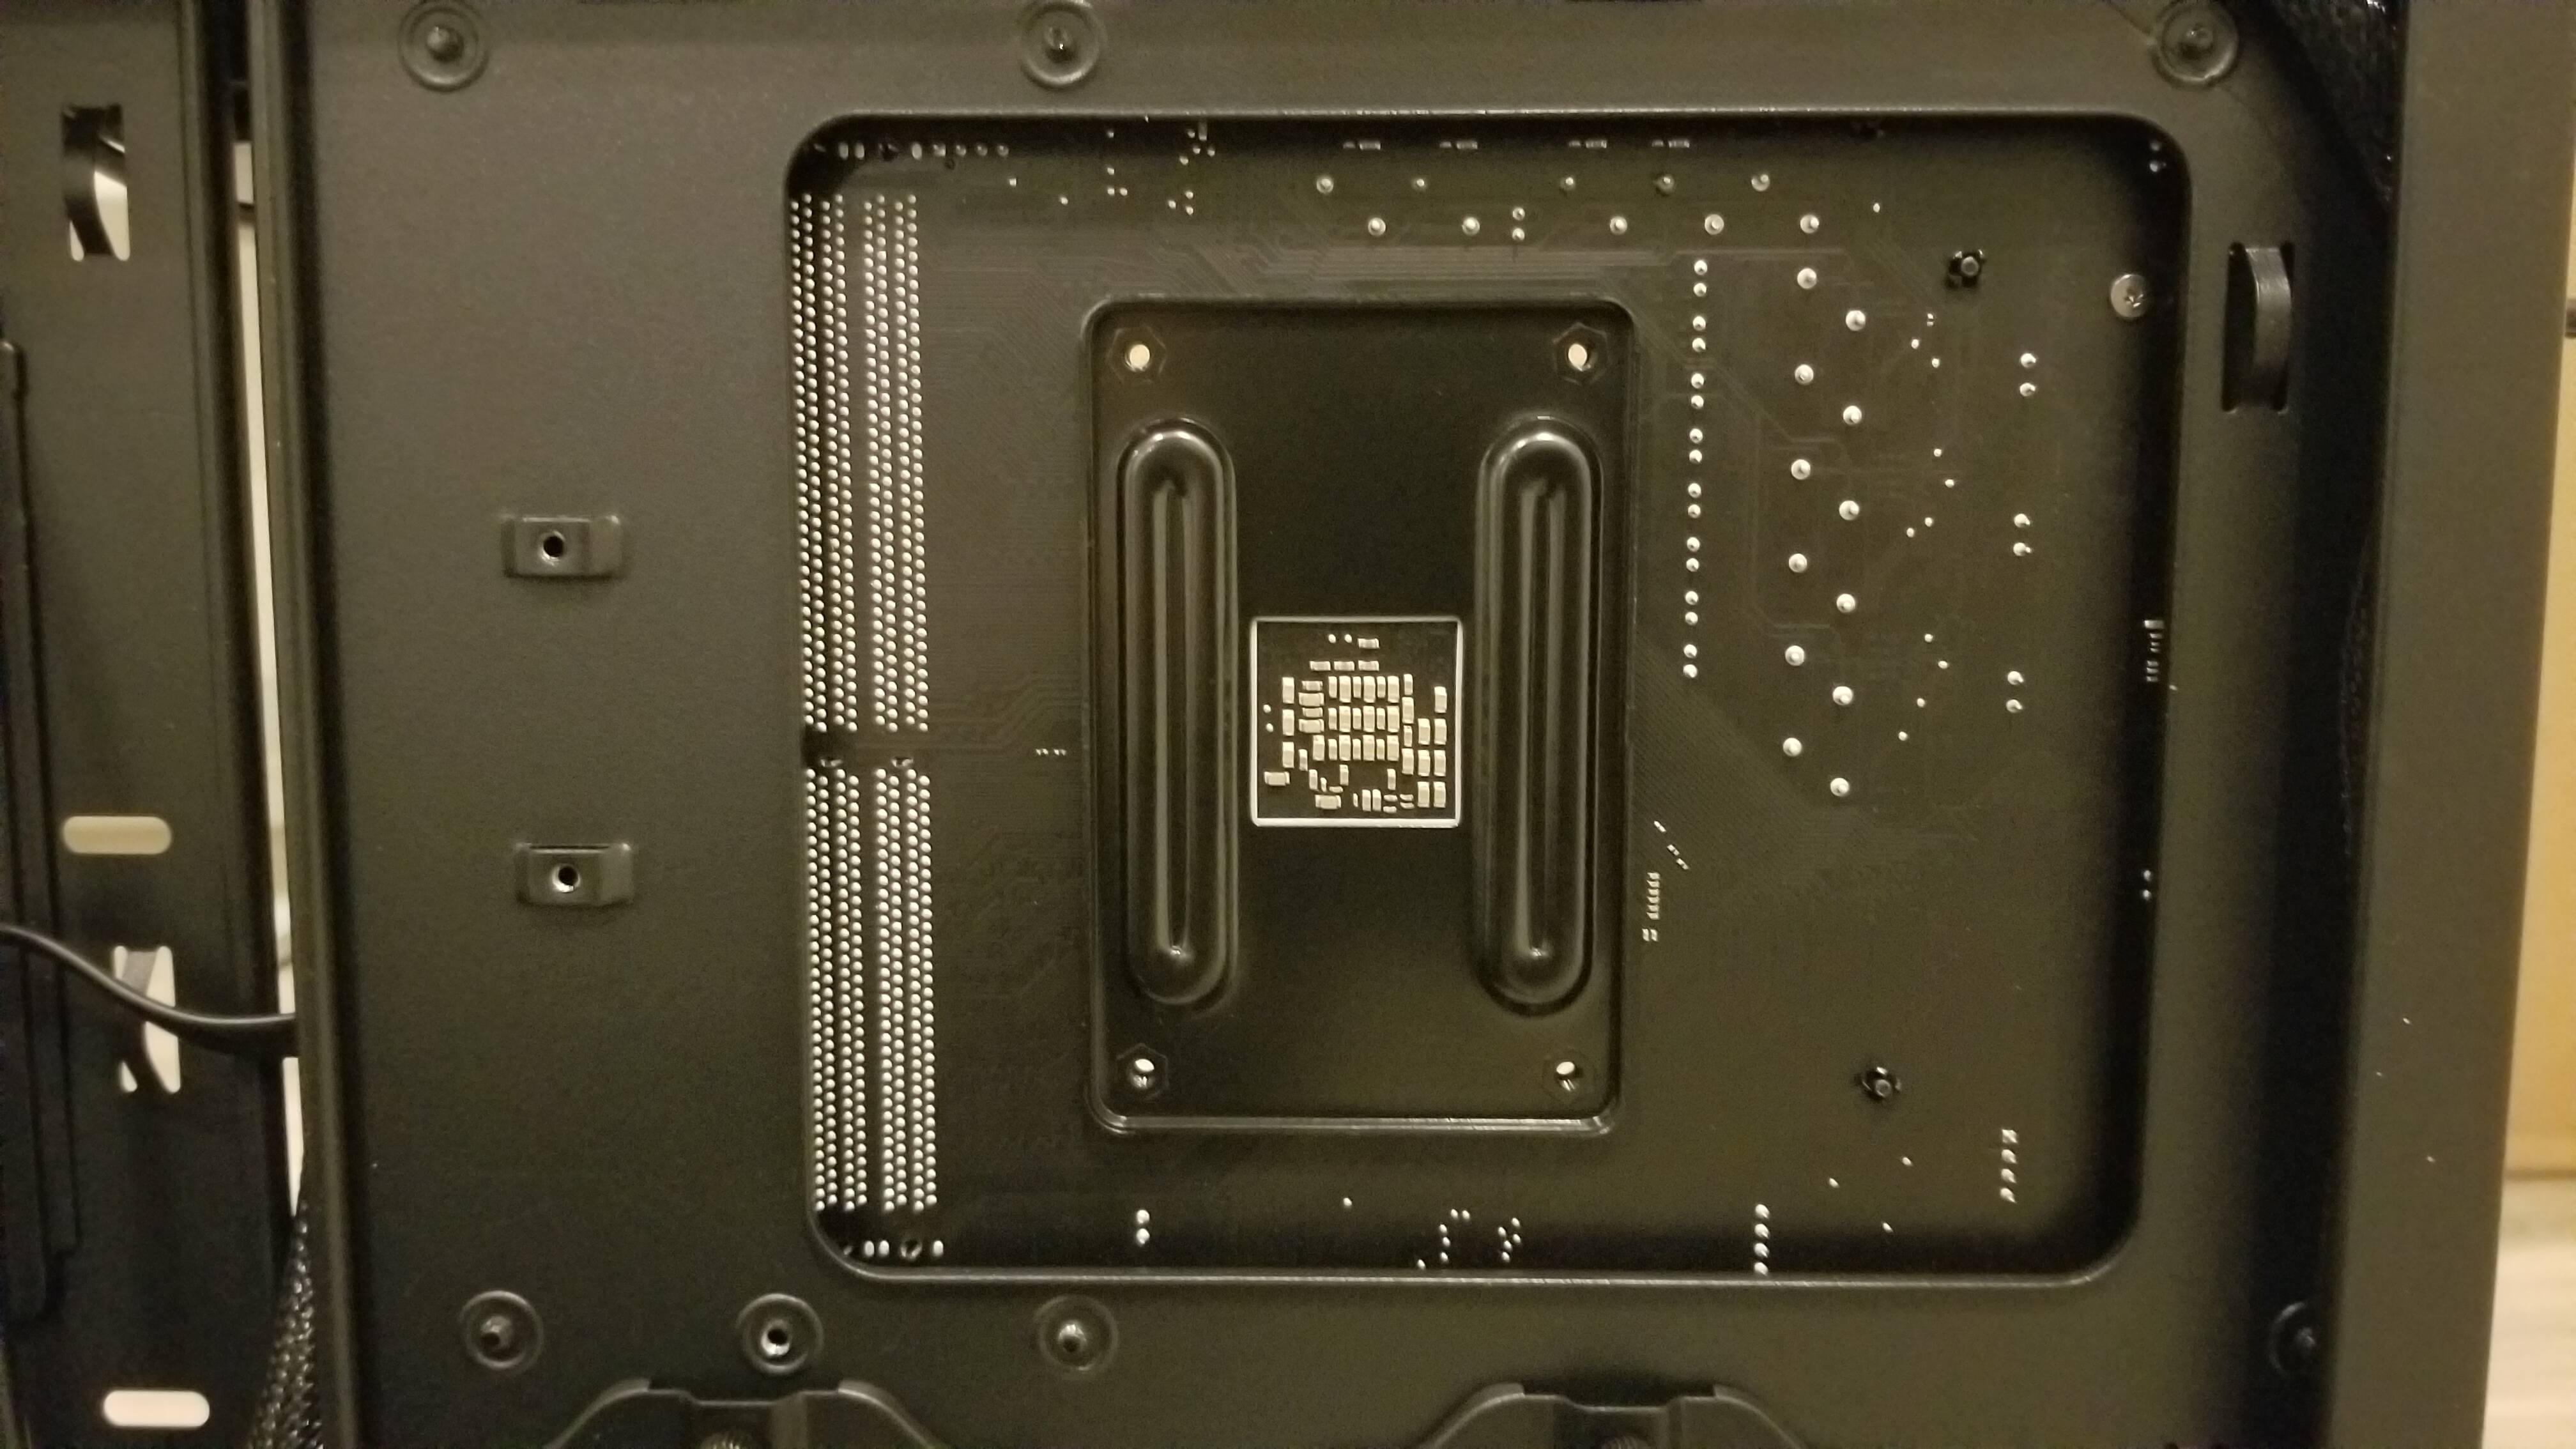
AM4 Bracket Backplate - Back in Place
OK, moving on from that embarrassment… ![]()

Mounting Bar / Bracket Installation
Would’ve been infinitely easier if I had three hands or if I bothered to get some electrical tape. ![]()
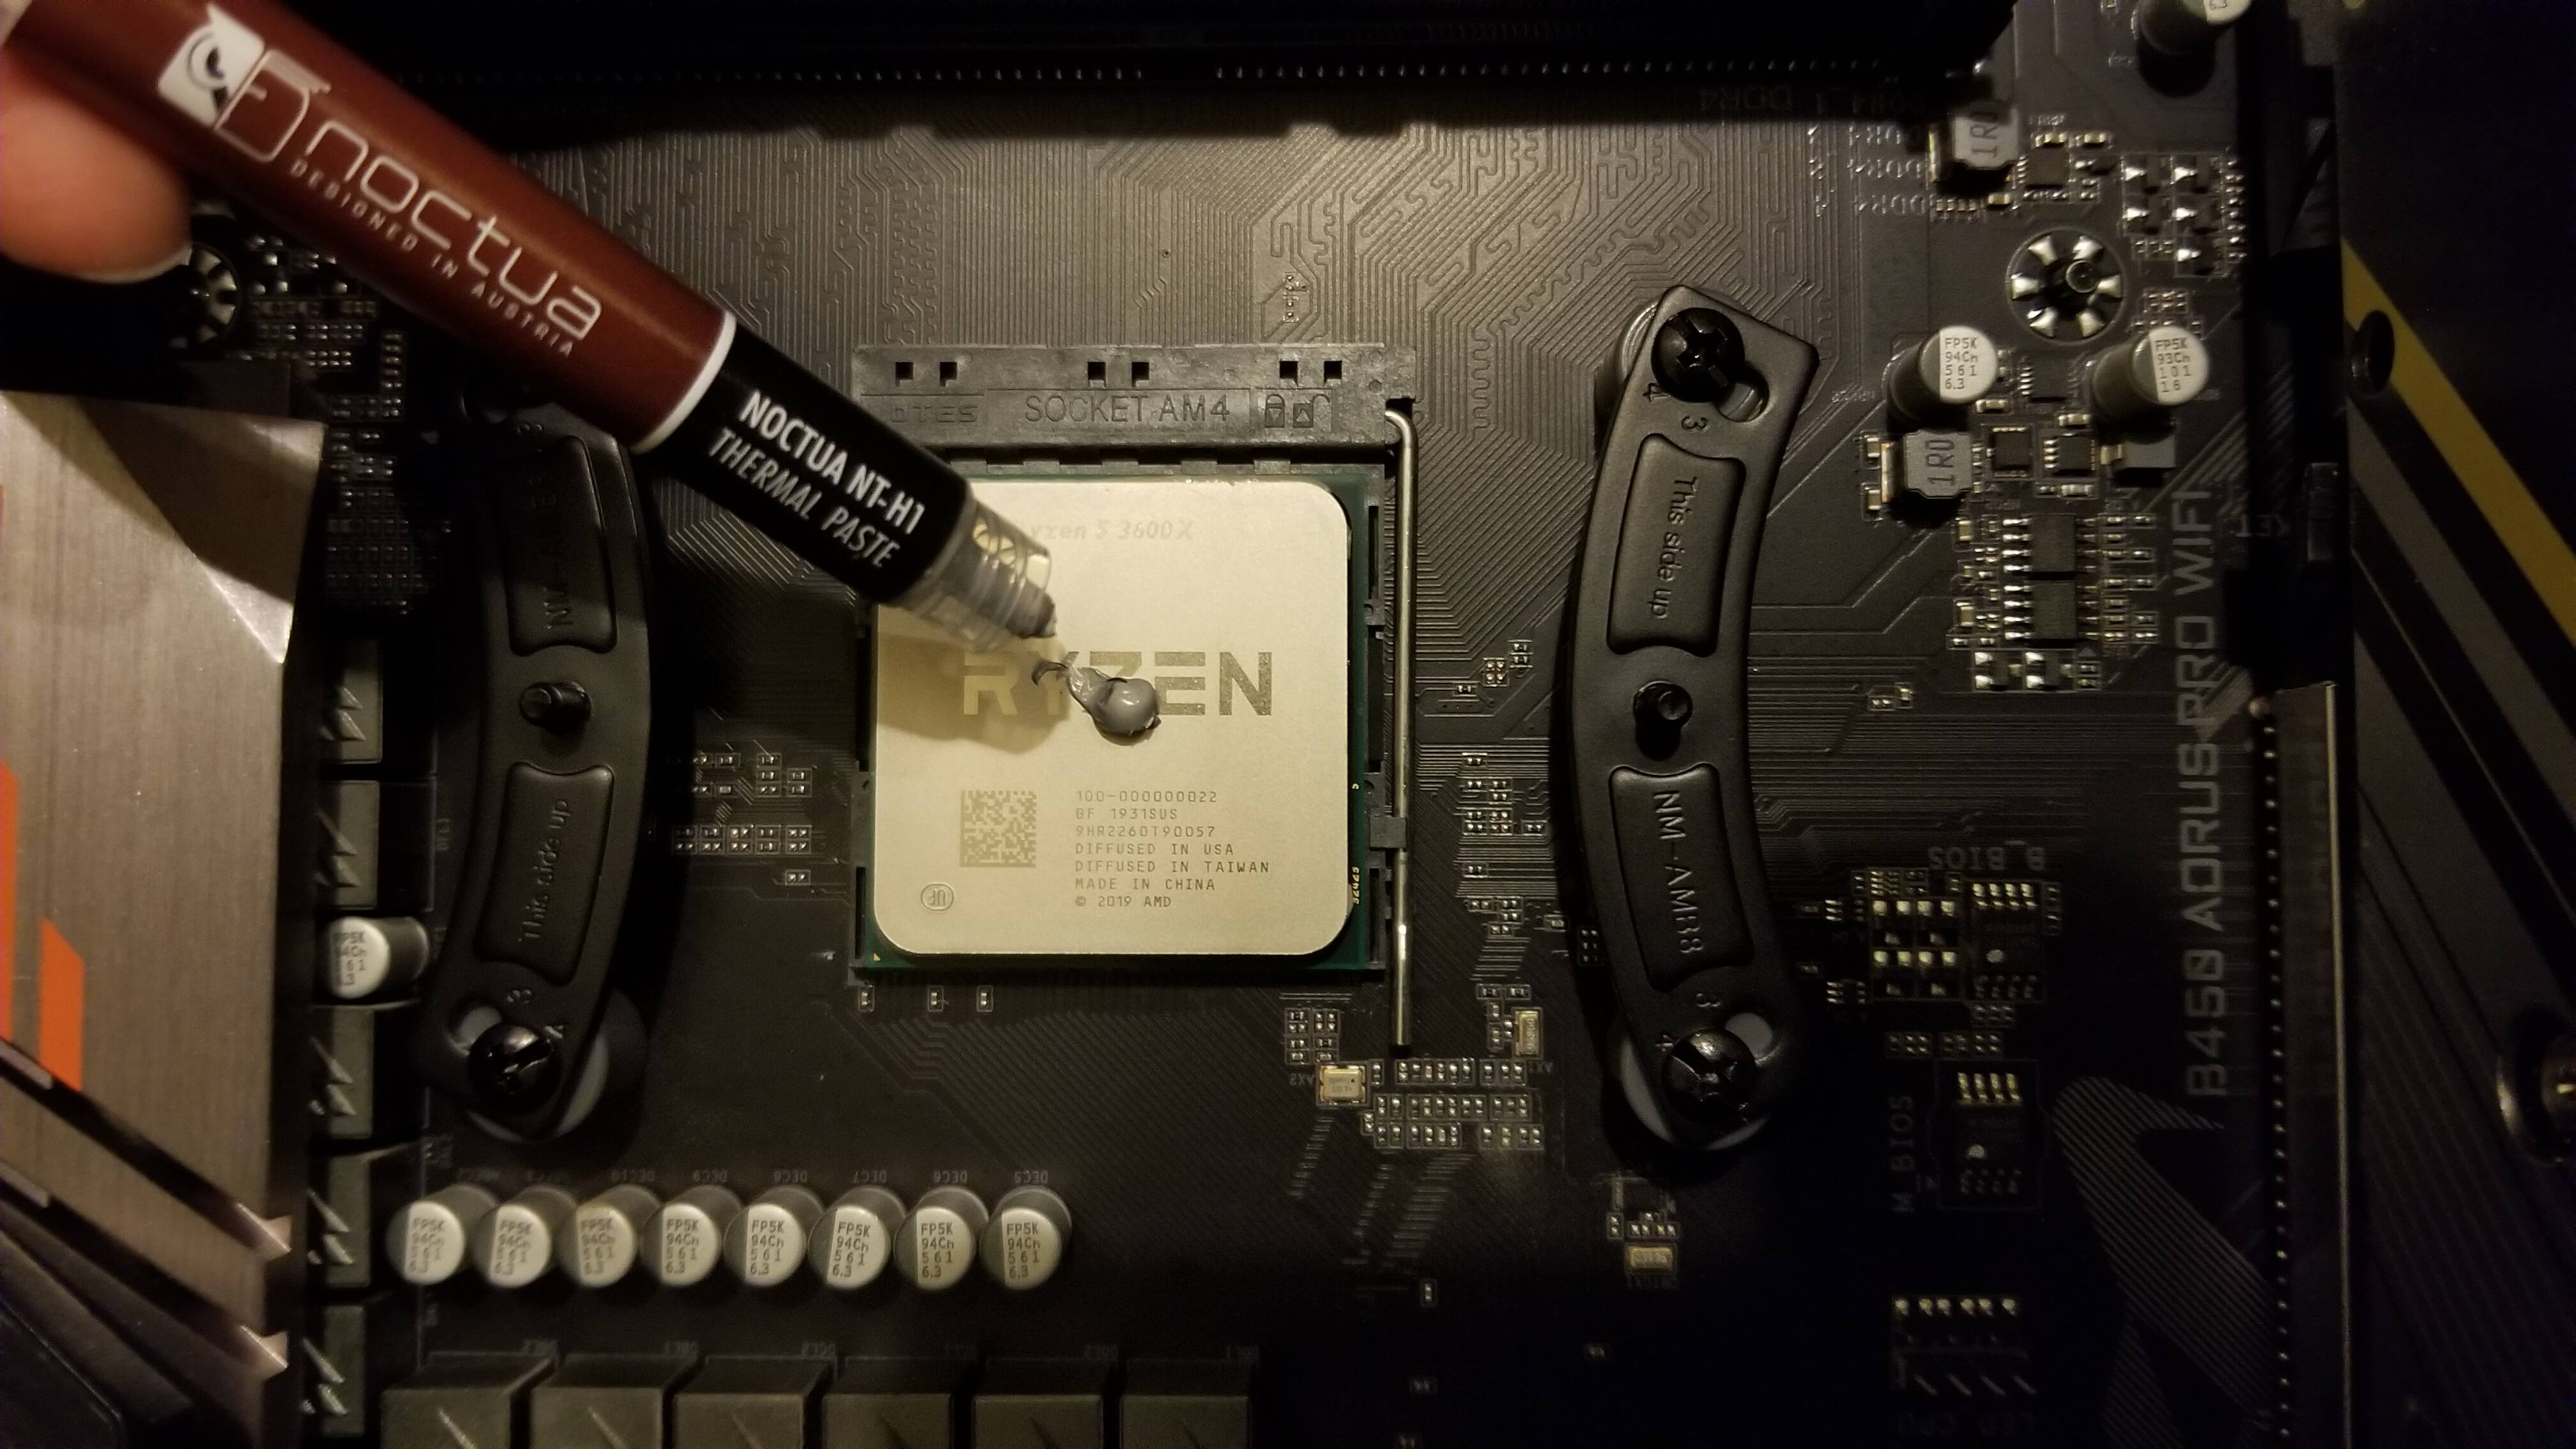
Noctua NT-H1 Thermal Paste
SQUIRT. ![]()
Sq00dle sq00t. ![]()
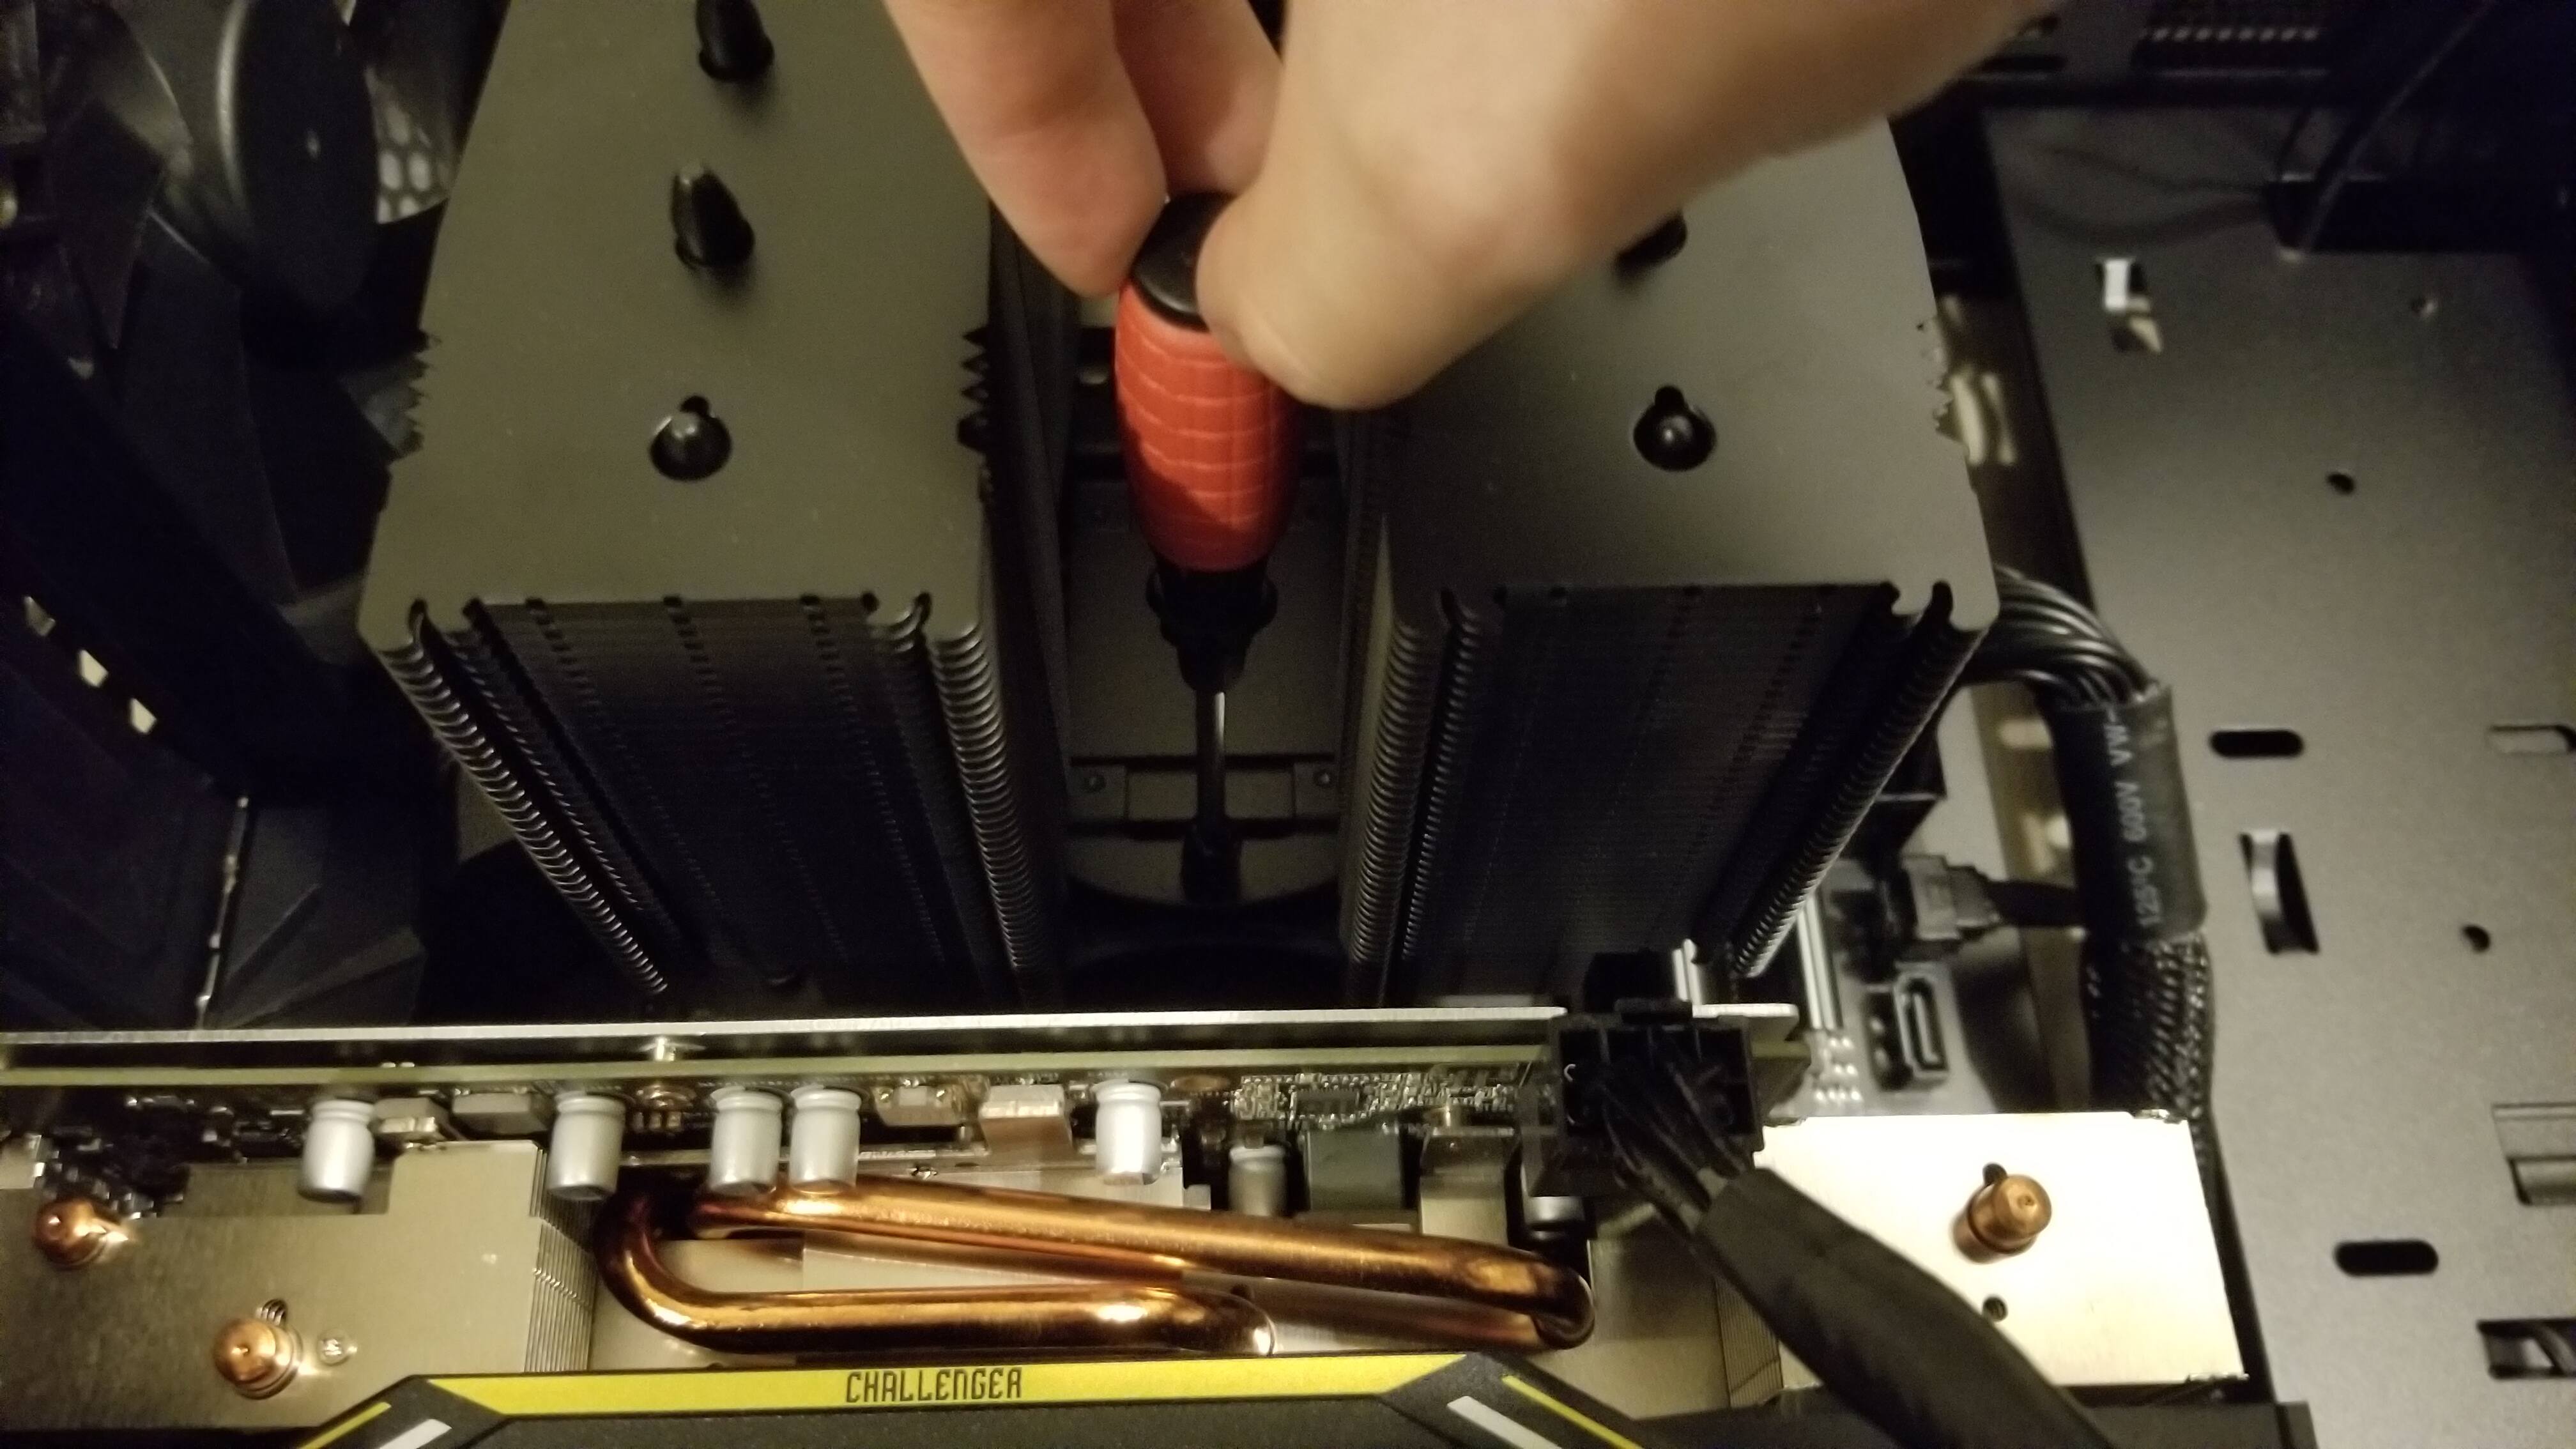
NH-D15 - Installation
Tiny tool.
Screw with confidence. ![]()
EVGA DG-75 + Noctua NH-D15
According to the DG-75’s specs, they aren’t supposed to fit together.
Max CPU Cooler Height: 150mm. NH-D15 Cooler Height (w/Fan): 165mm.
TG side panel closed up just fine, tho. ![]()
WTF is that wire going to the right tho?!
Fractal Design Define 7 Compact Case Update
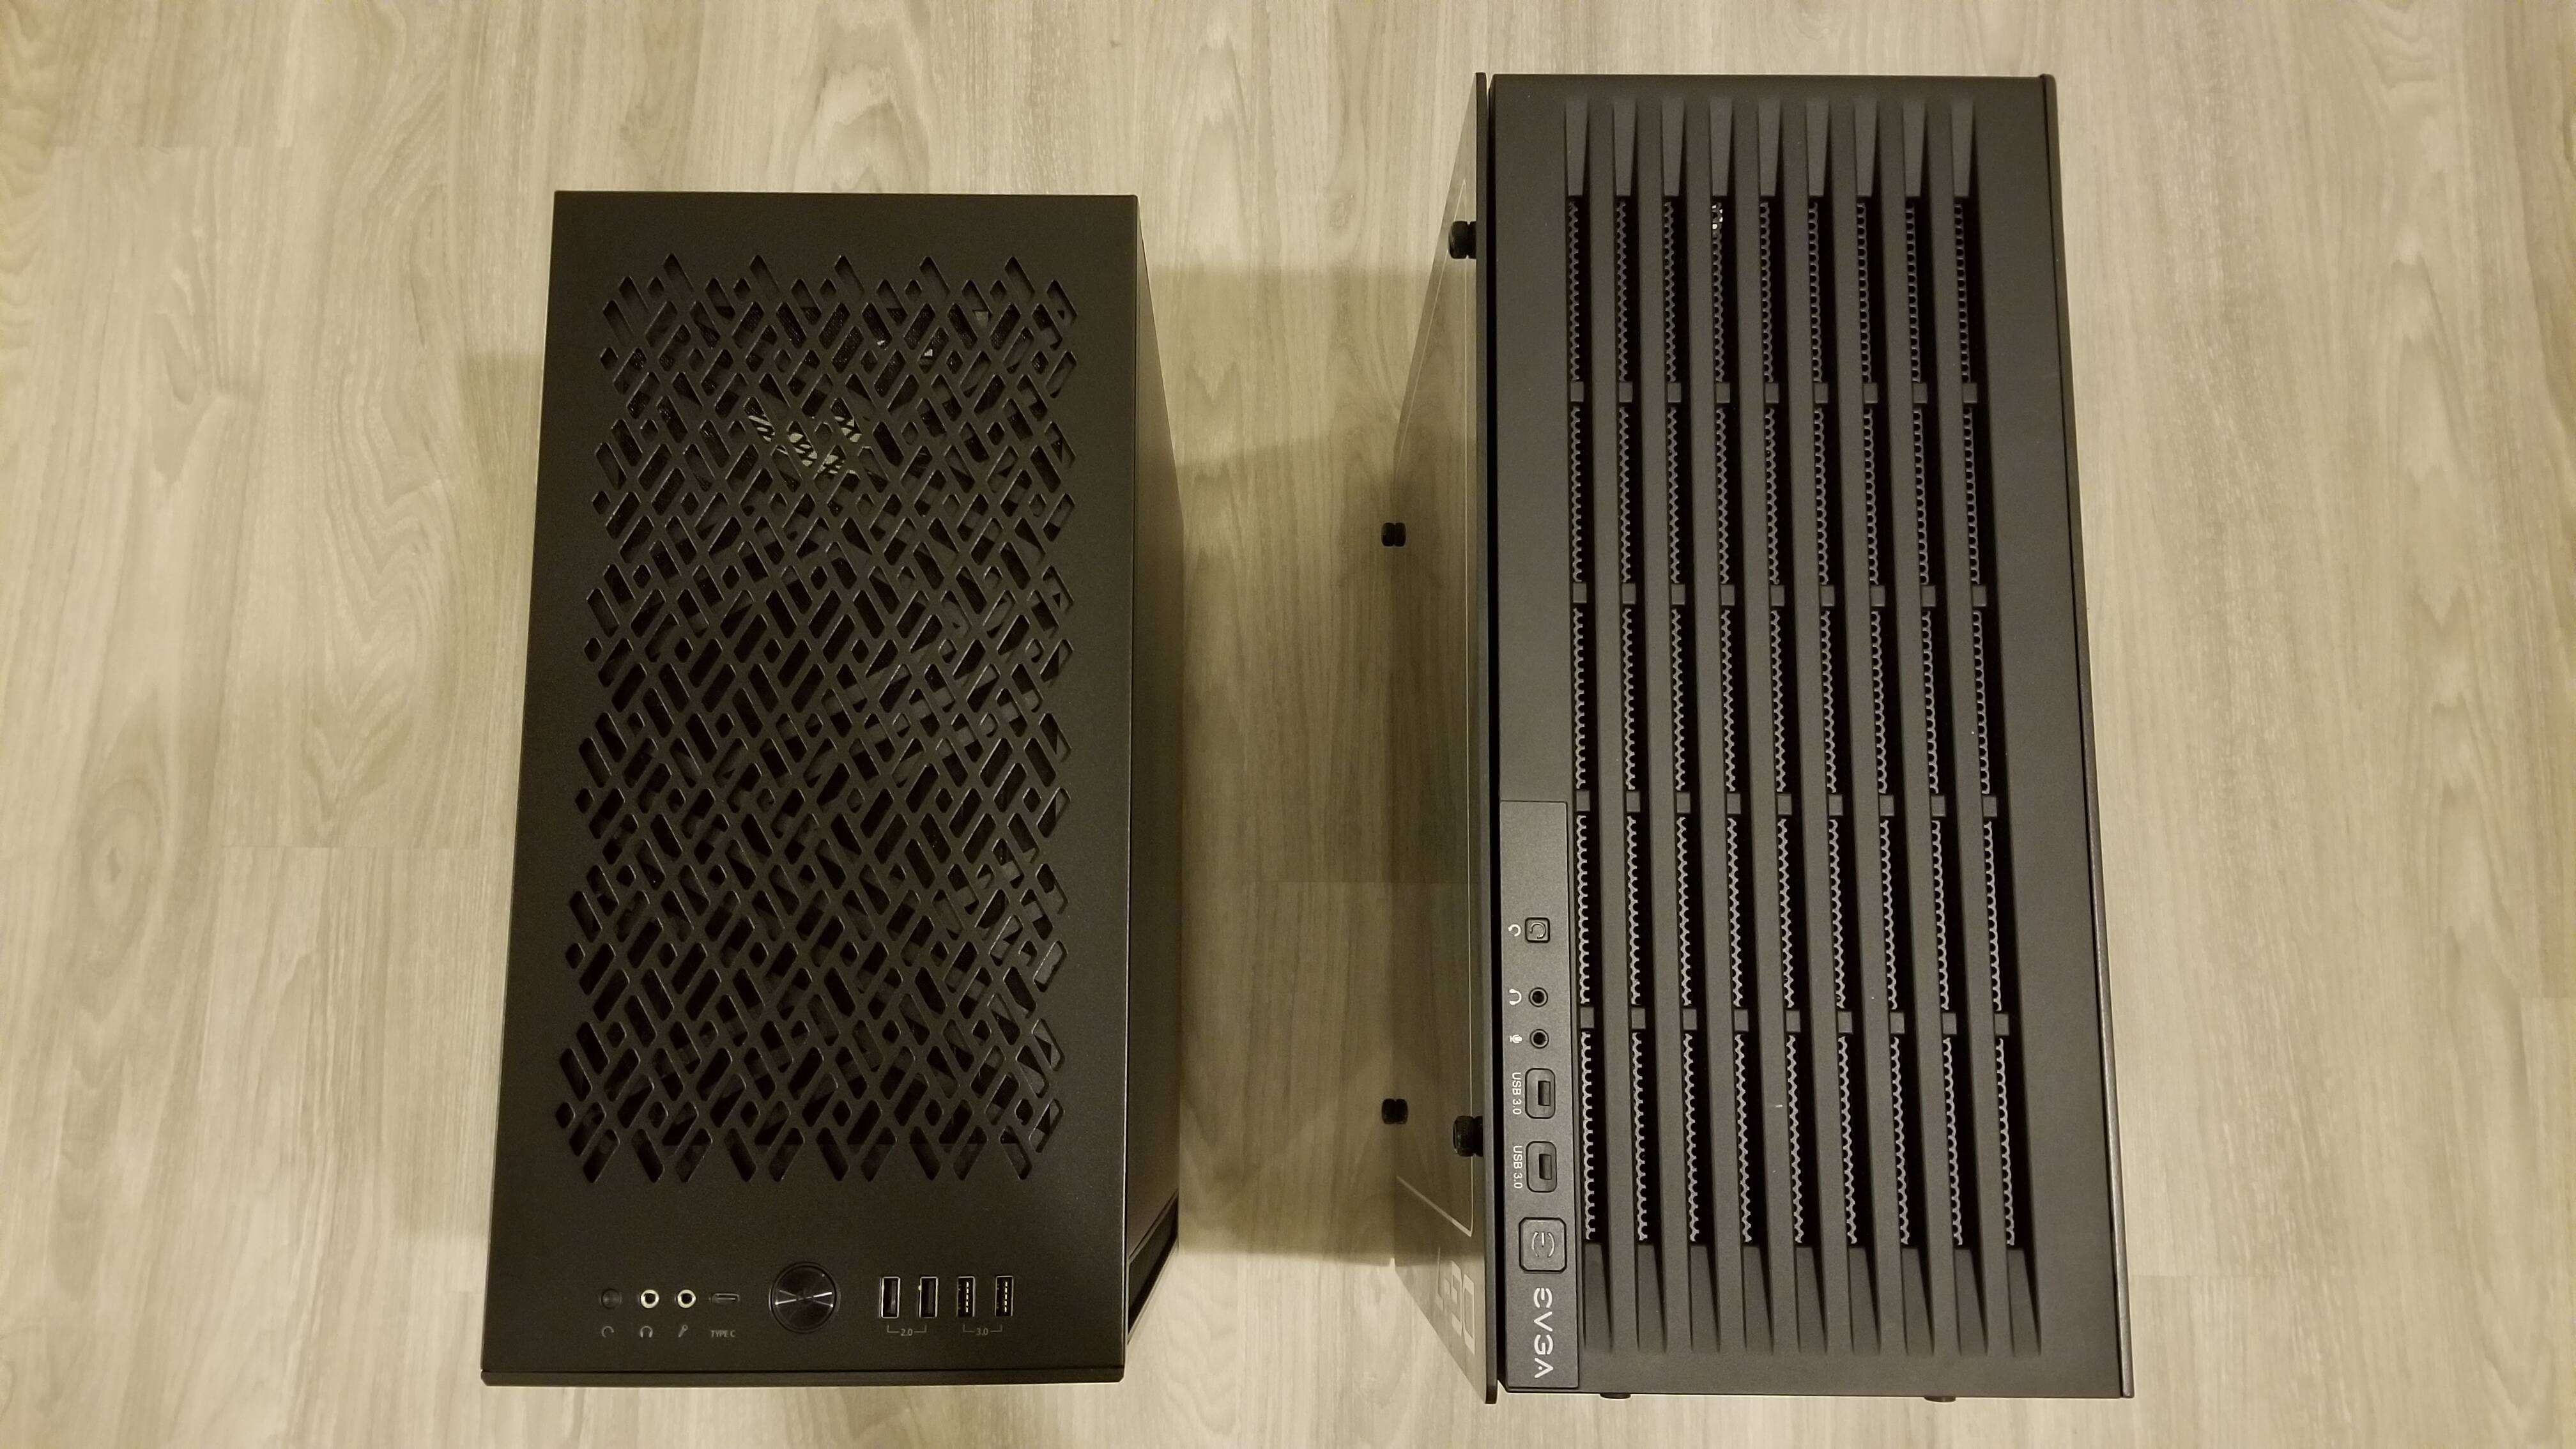
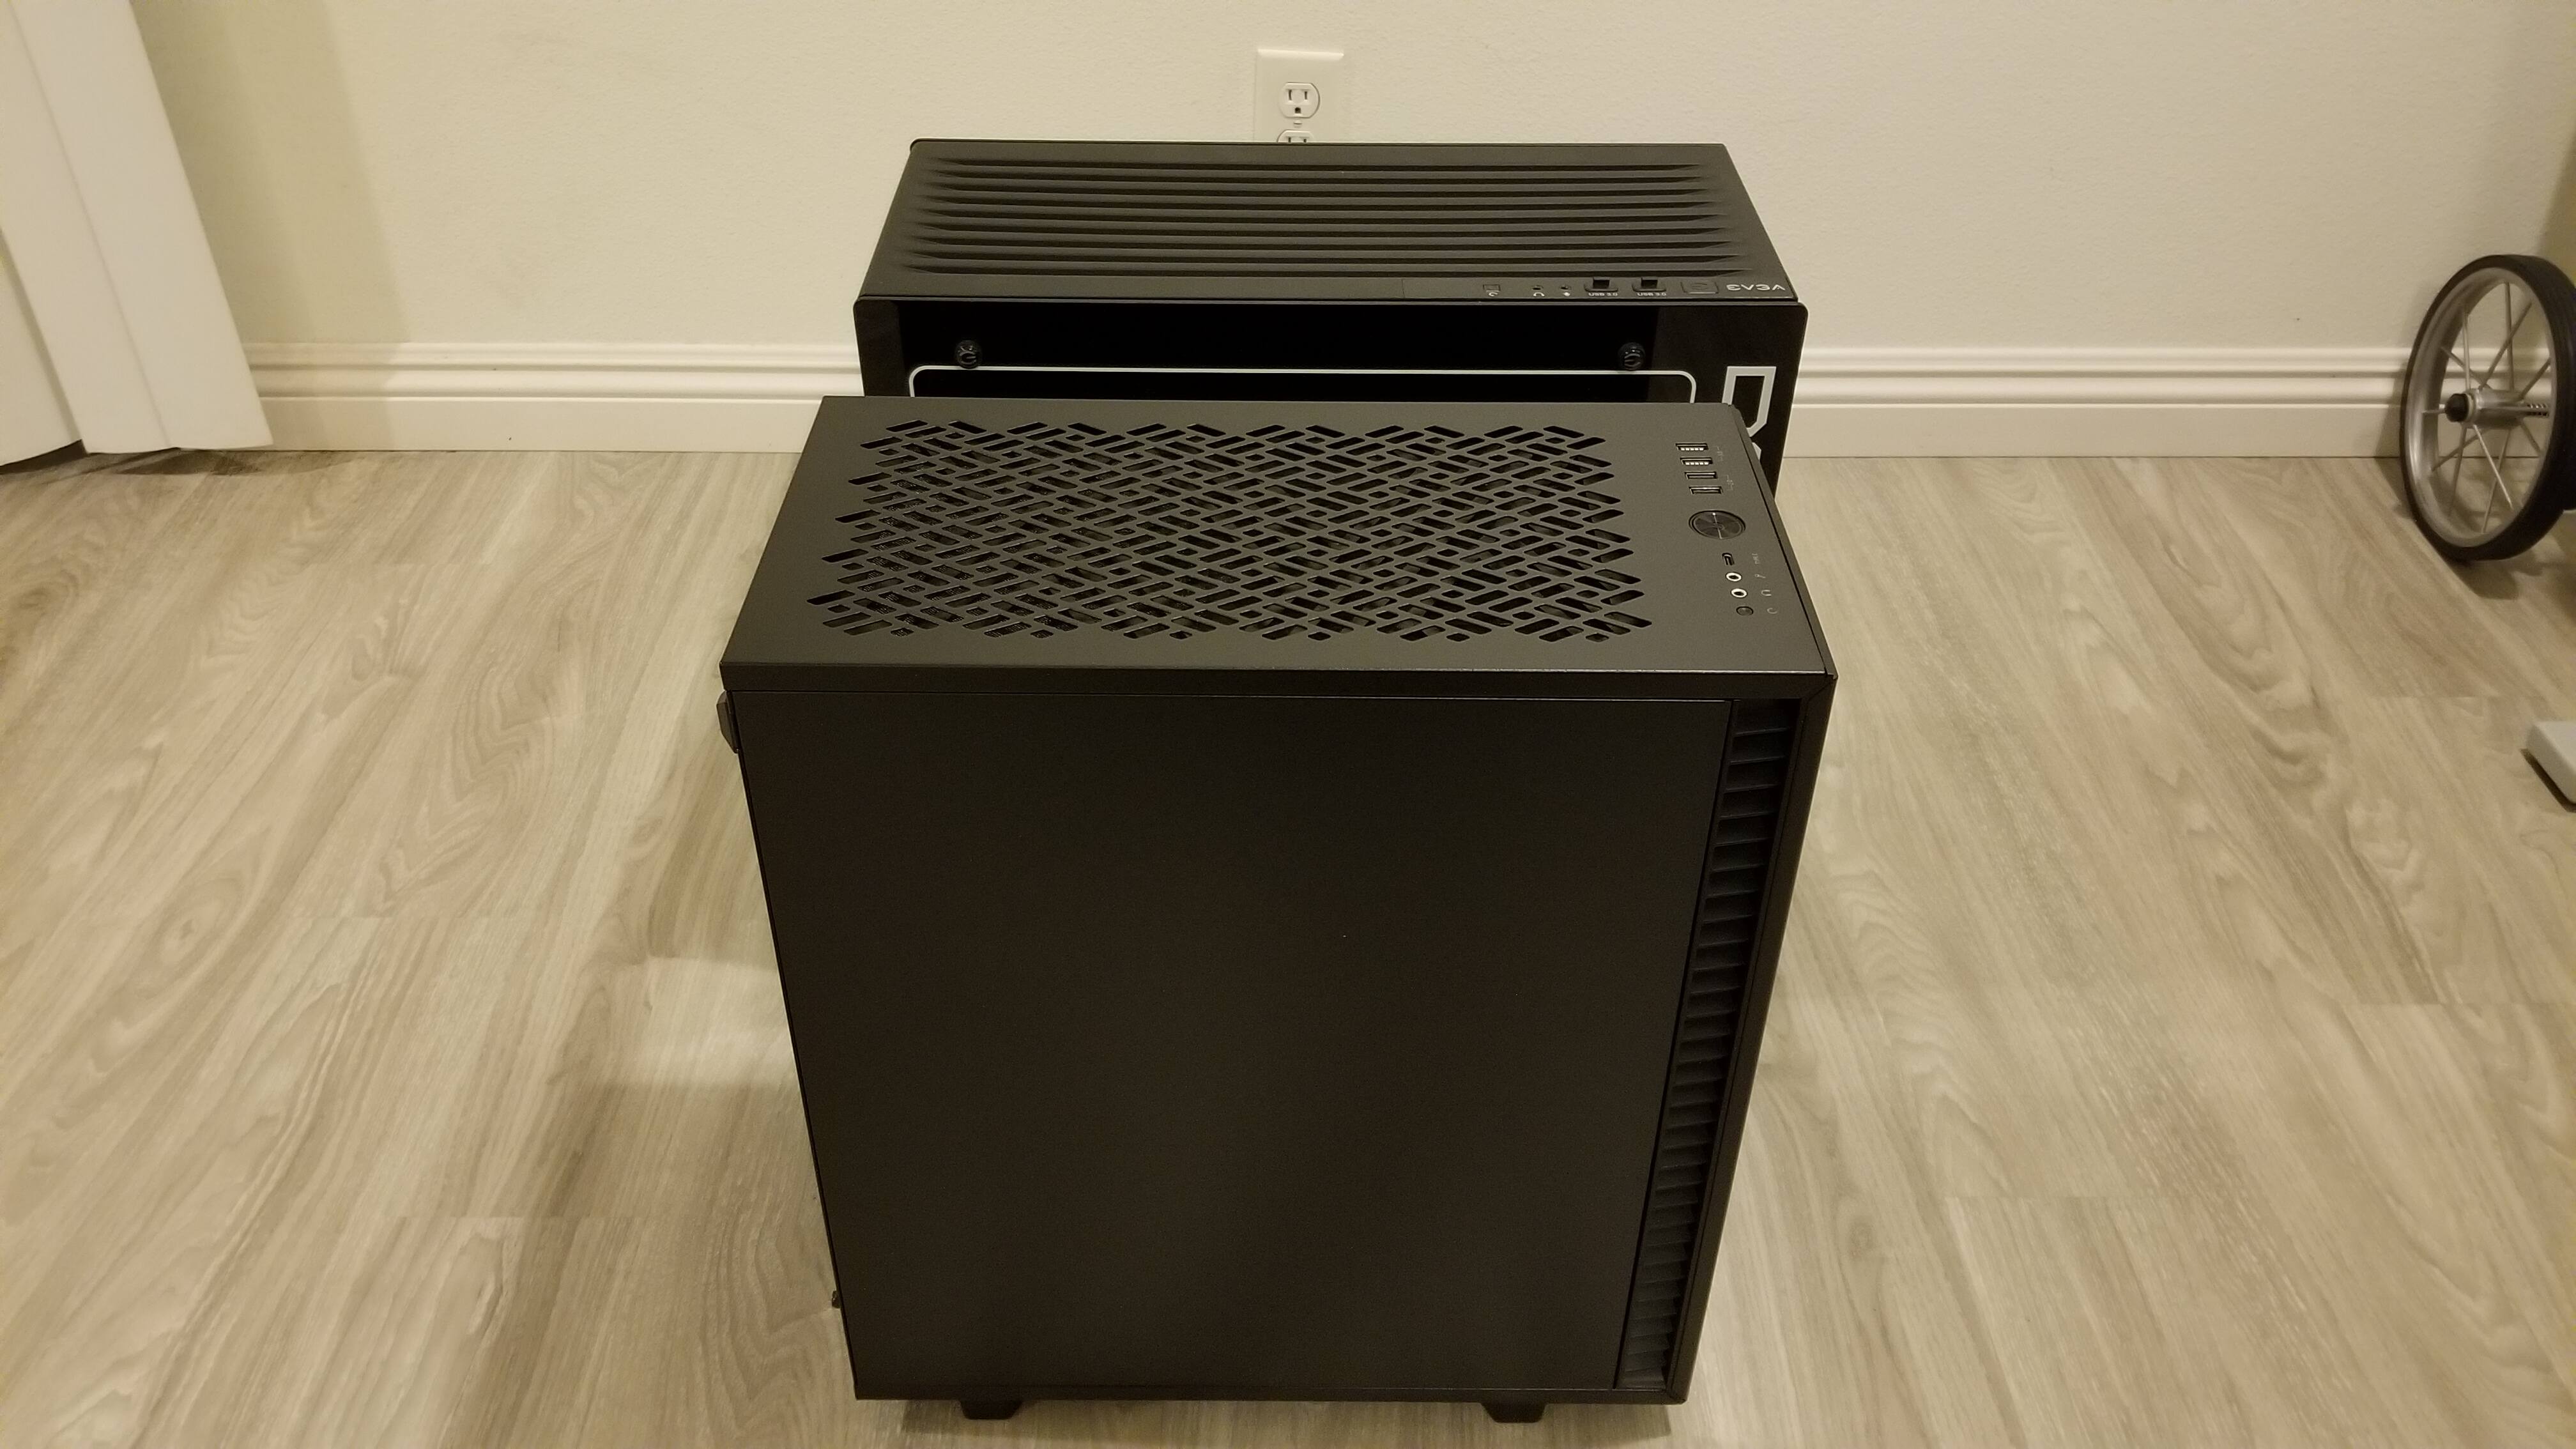

Fractal Design Define 7 Compact vs. EVGA DG-75 Size Comparison
Length matters, when the d**k is tiny and the case is too big.
(Desk, y’all, DESK.)
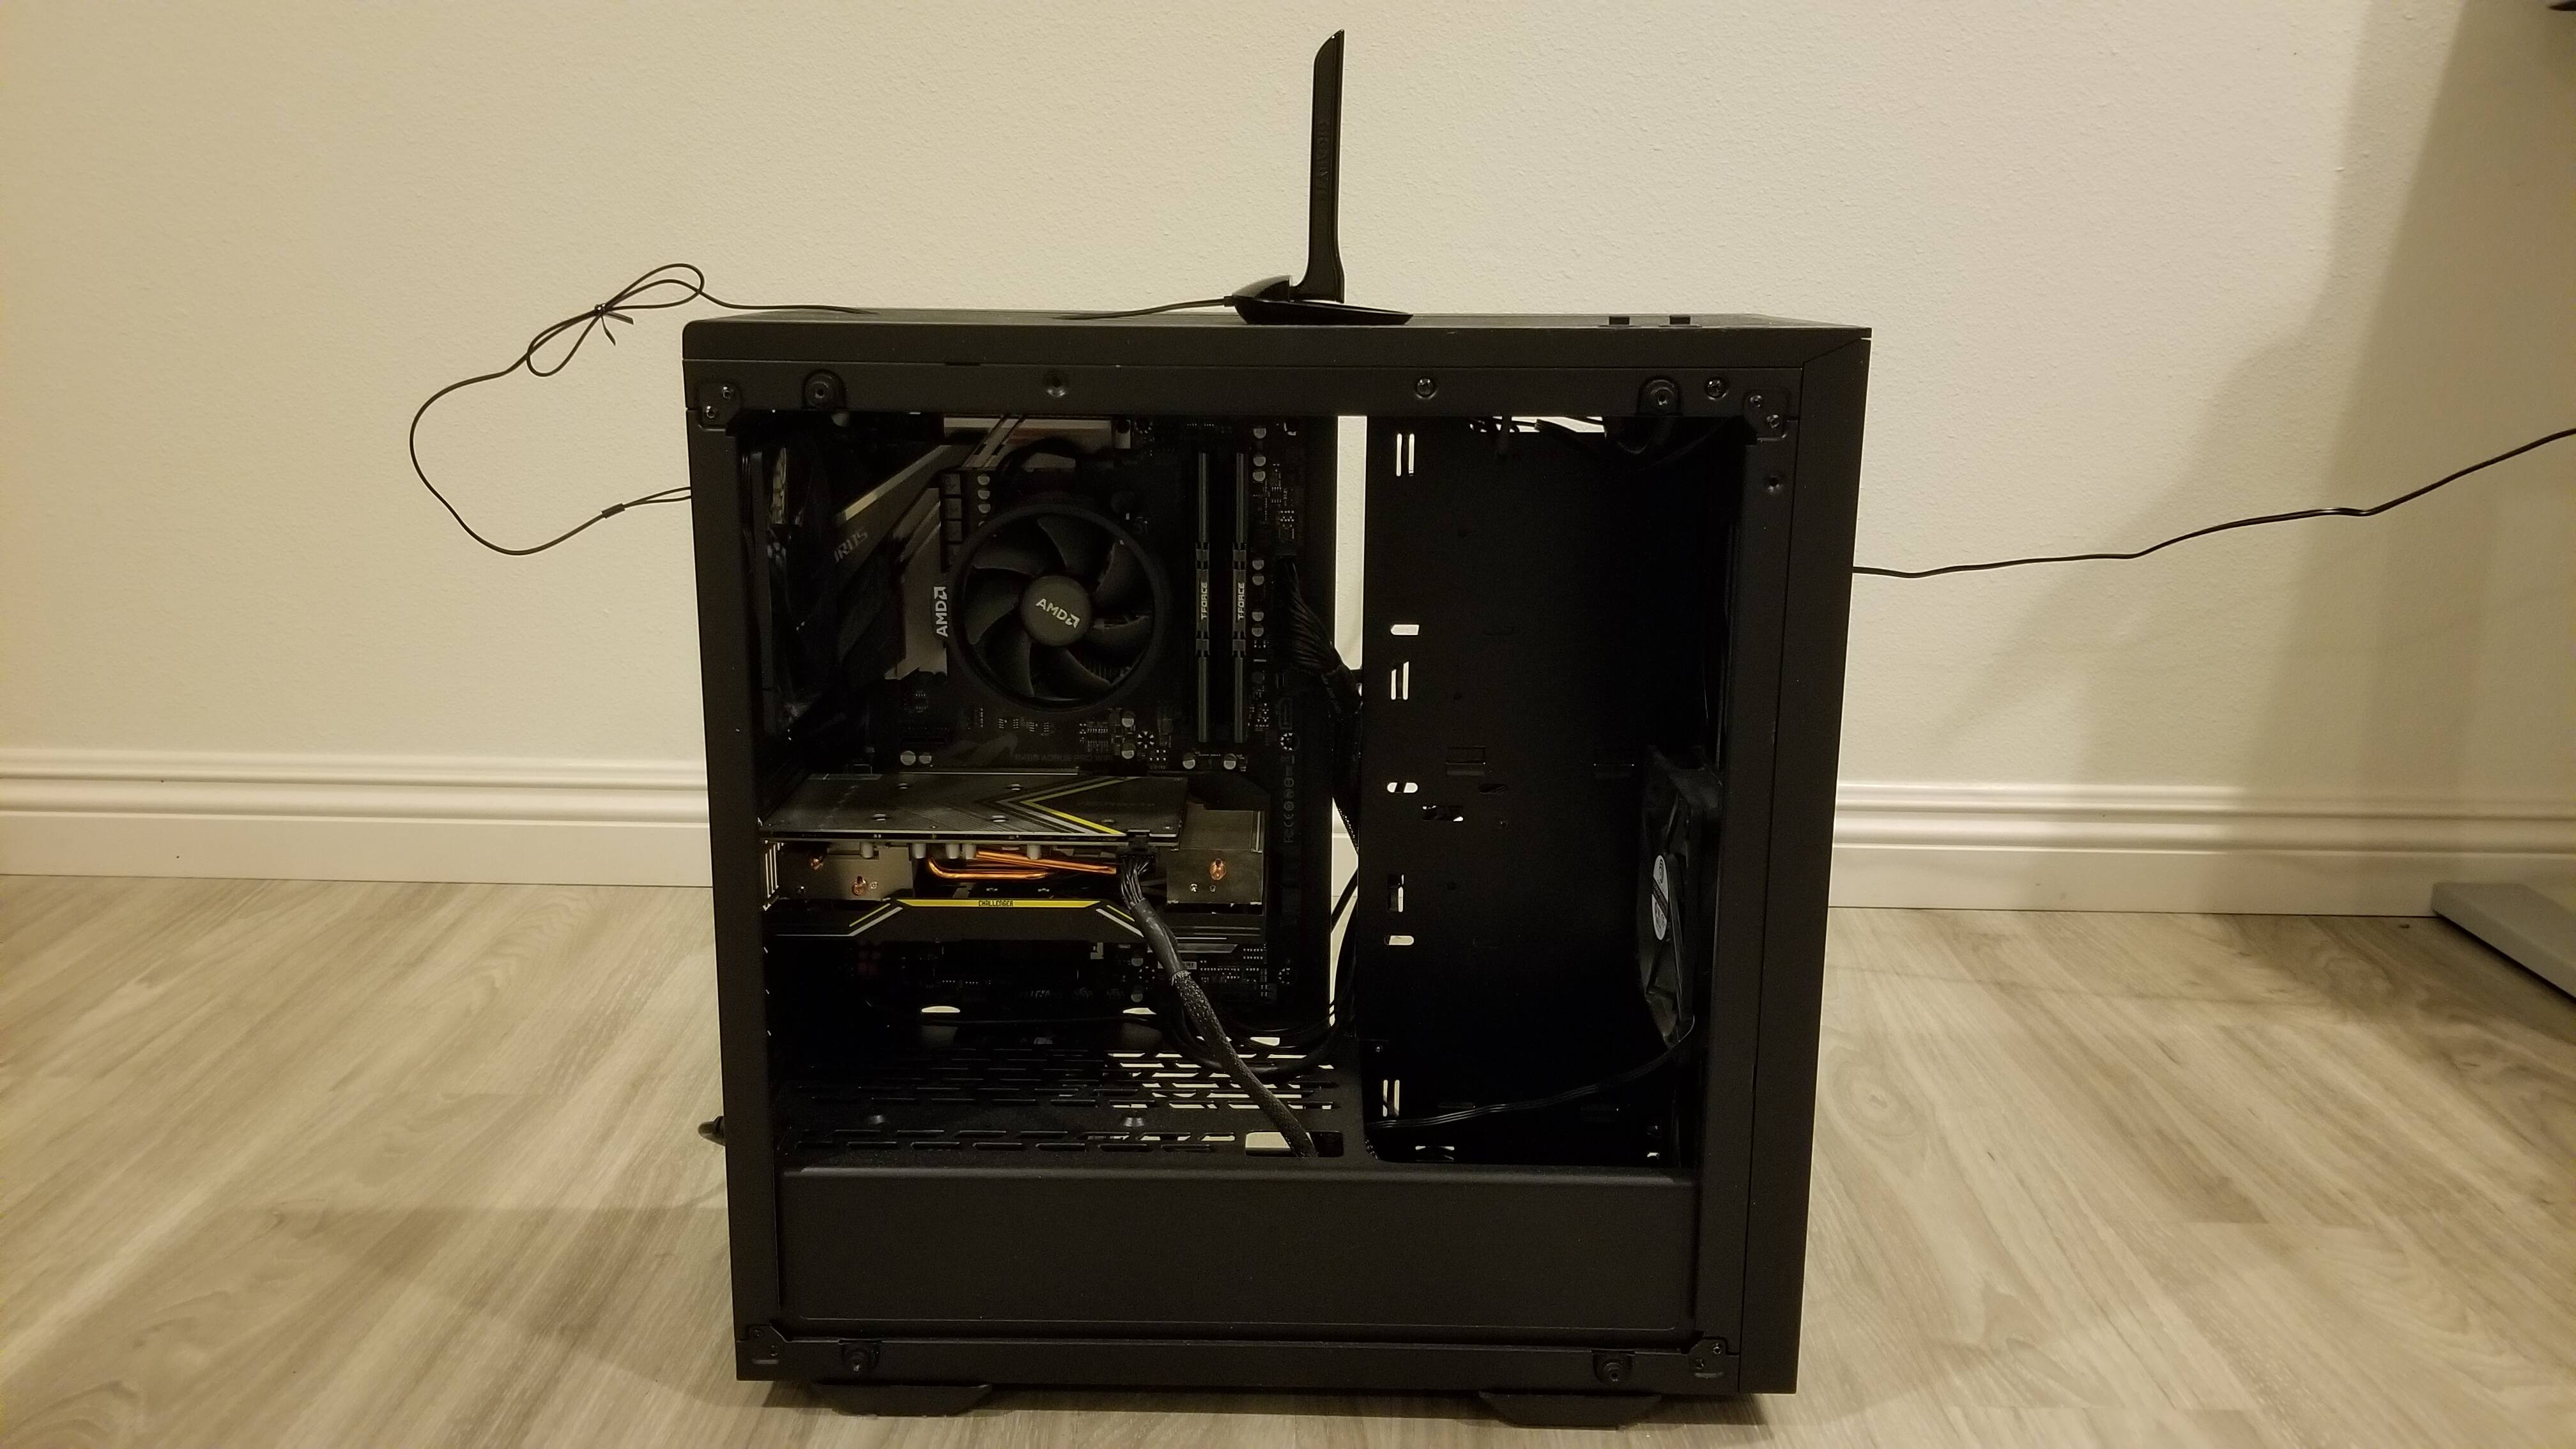
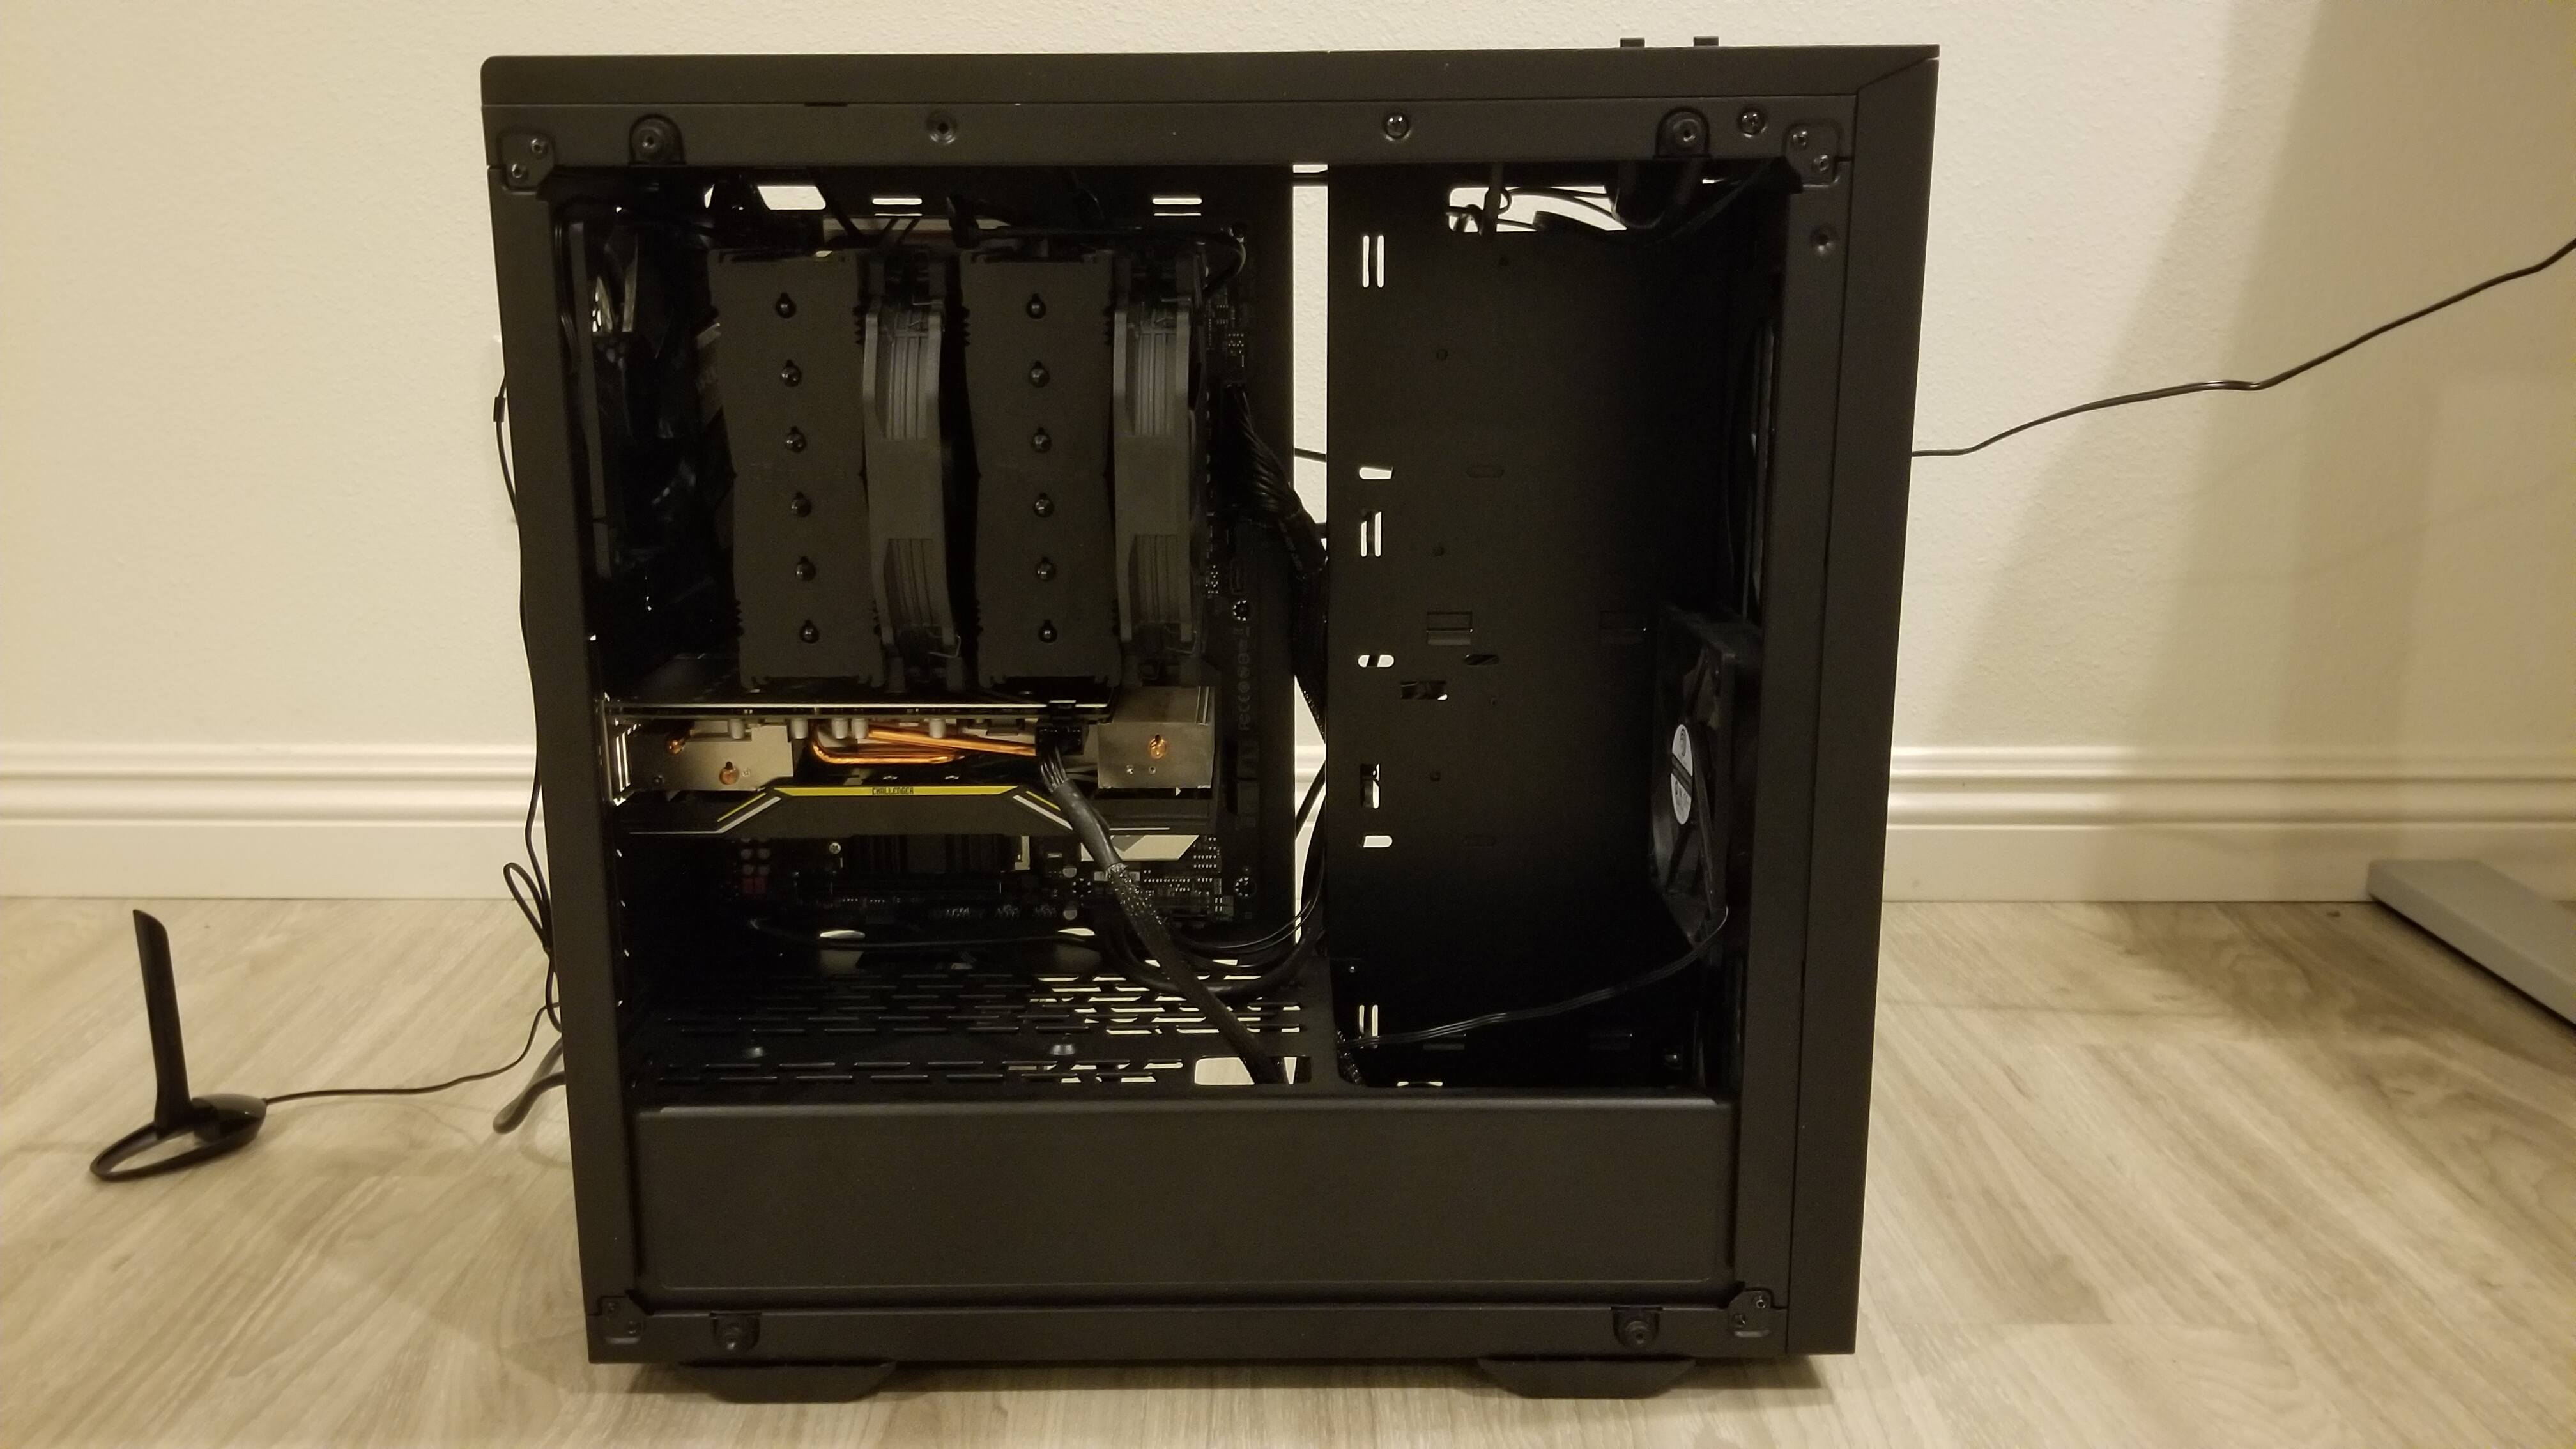
ESCHEW-PC - Interior
Just over a week after the NH-D15 was installed, and I’m moving PC parts again. ![]()
Graphics Card Removal - Unscrewing PCIe Slots
…The fisting eagle in the background is getting on my nerves, a lil’ bit. ![]()

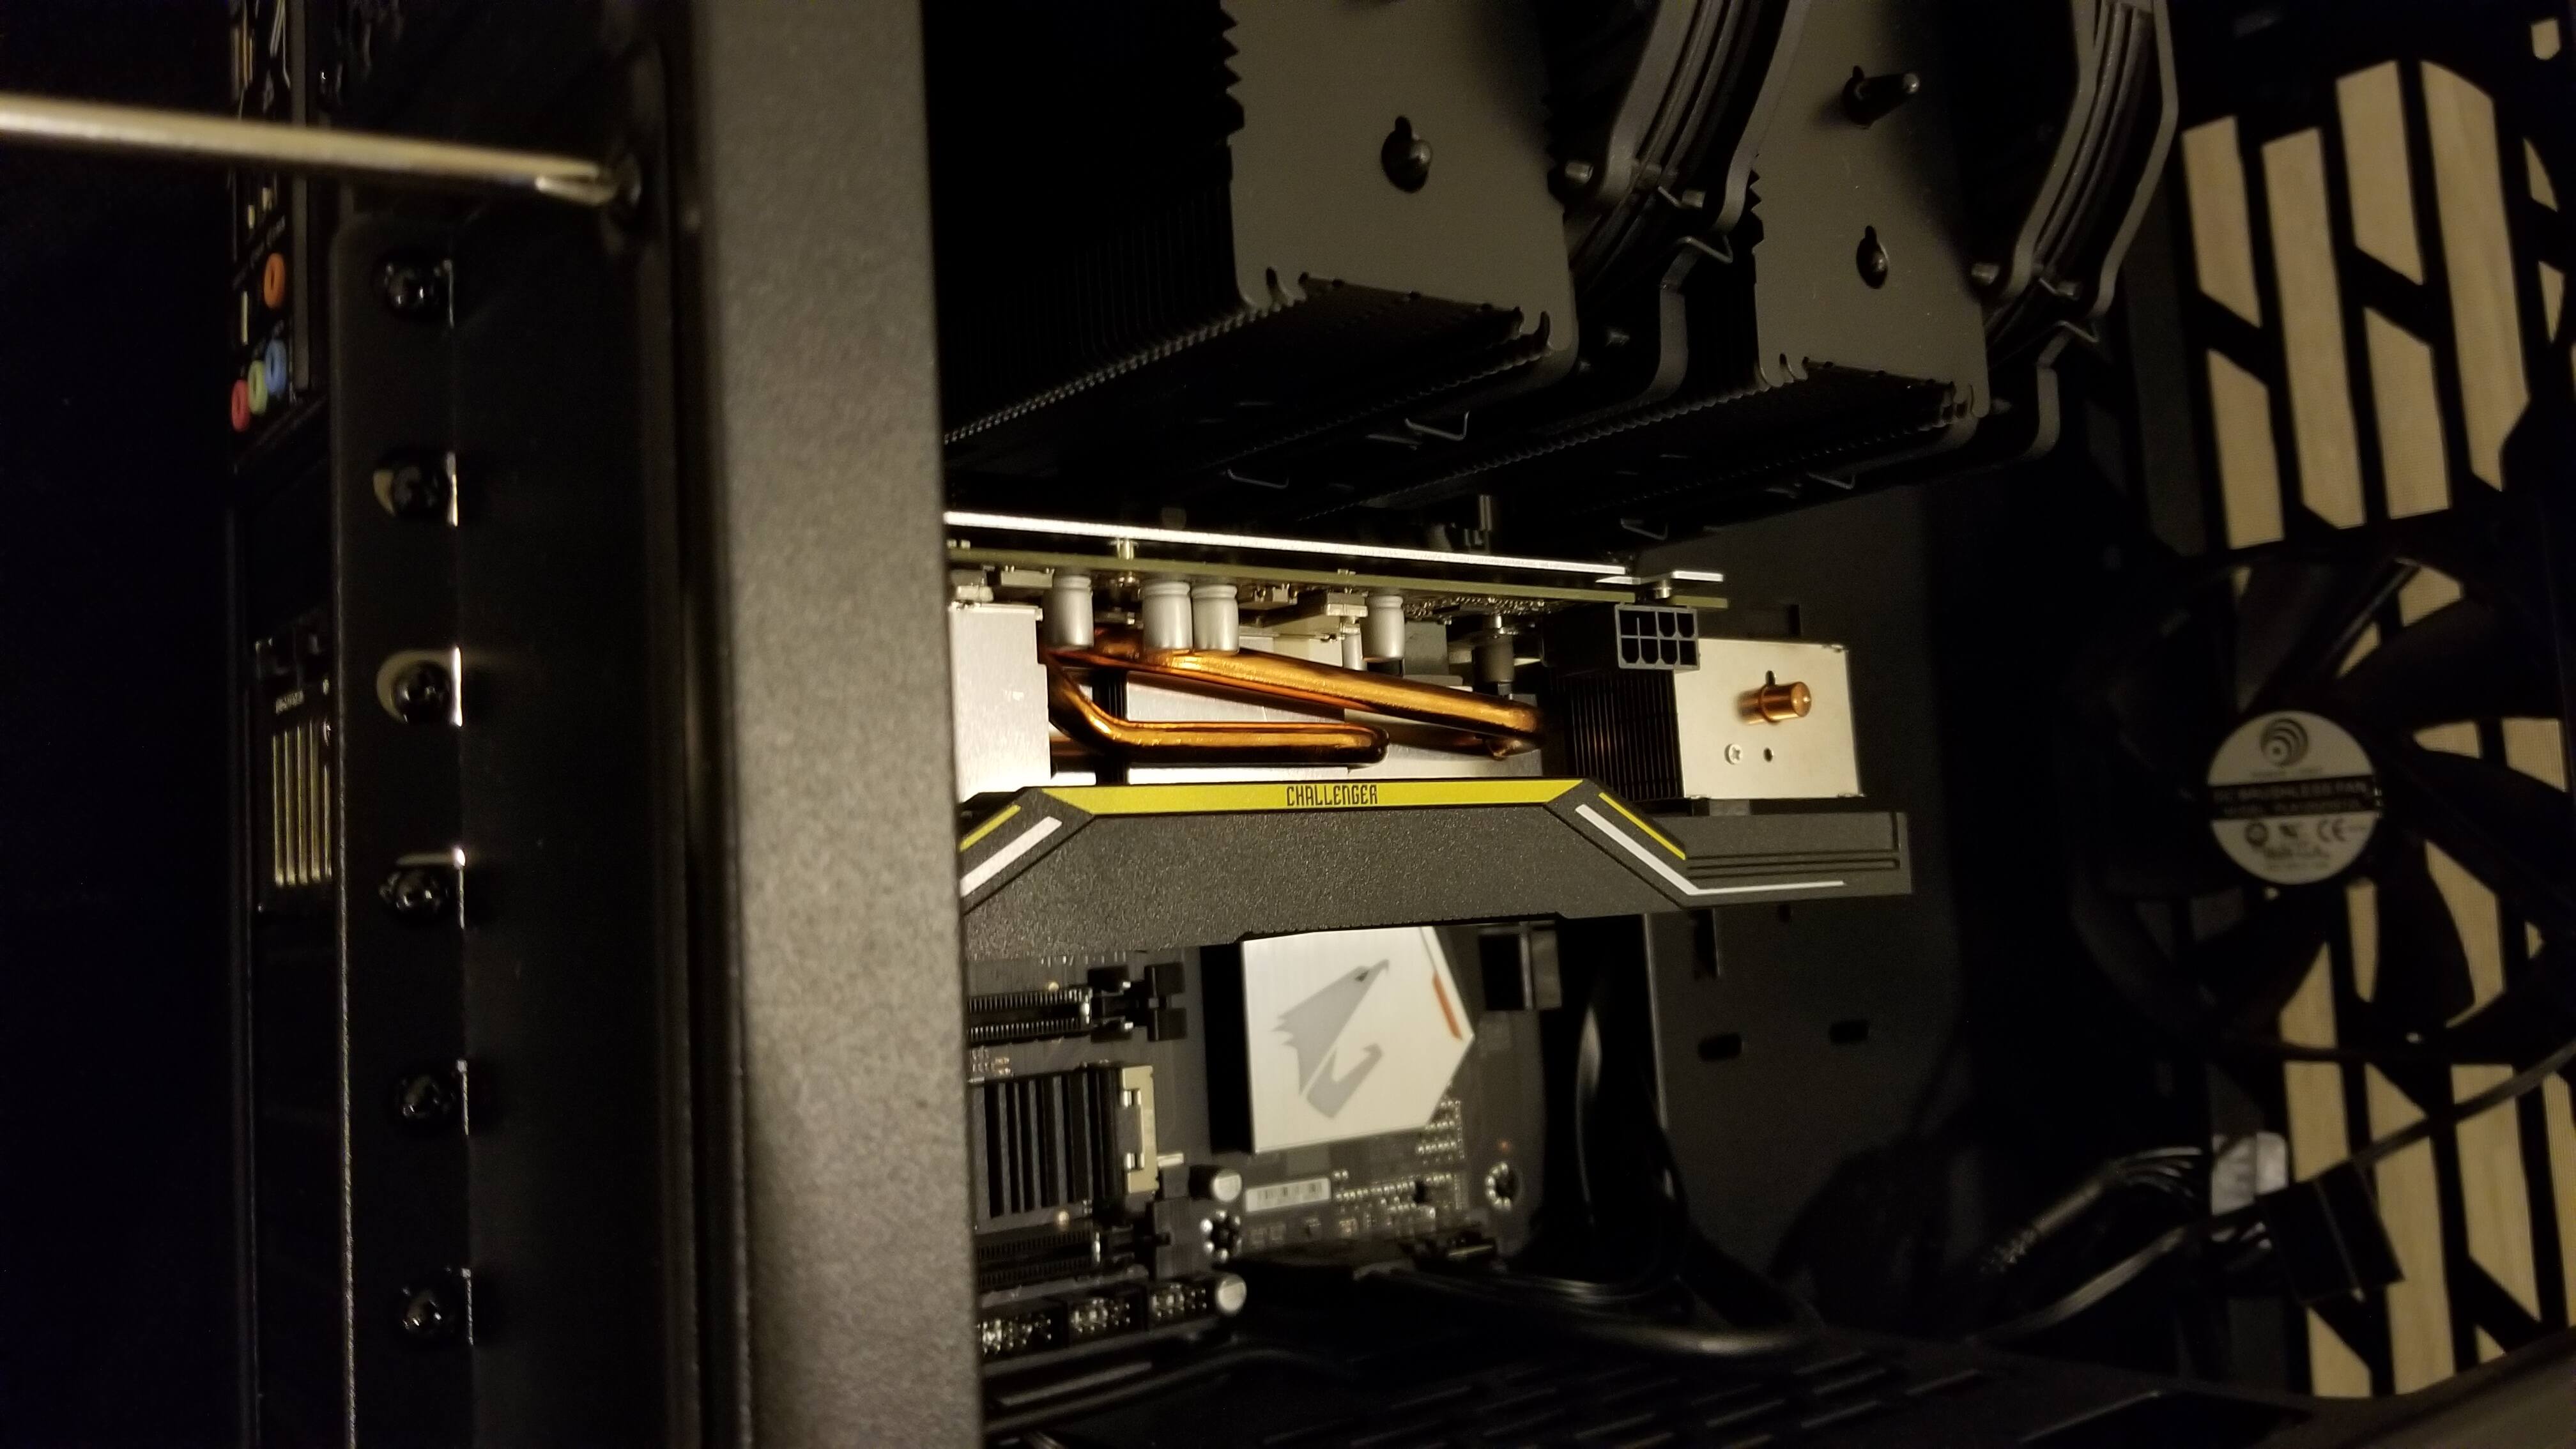
ASRock Radeon RX 5600 XT Challenger D OC Graphics Card
Y’know, I thought about getting the XFX RX 5600 XT THICC? Aesthetics, right?
Apparently everyone and their mother says its performance sucks, tho. ![]()
The ASRock RX 5600 XT Challenger D is mediocre, at least.
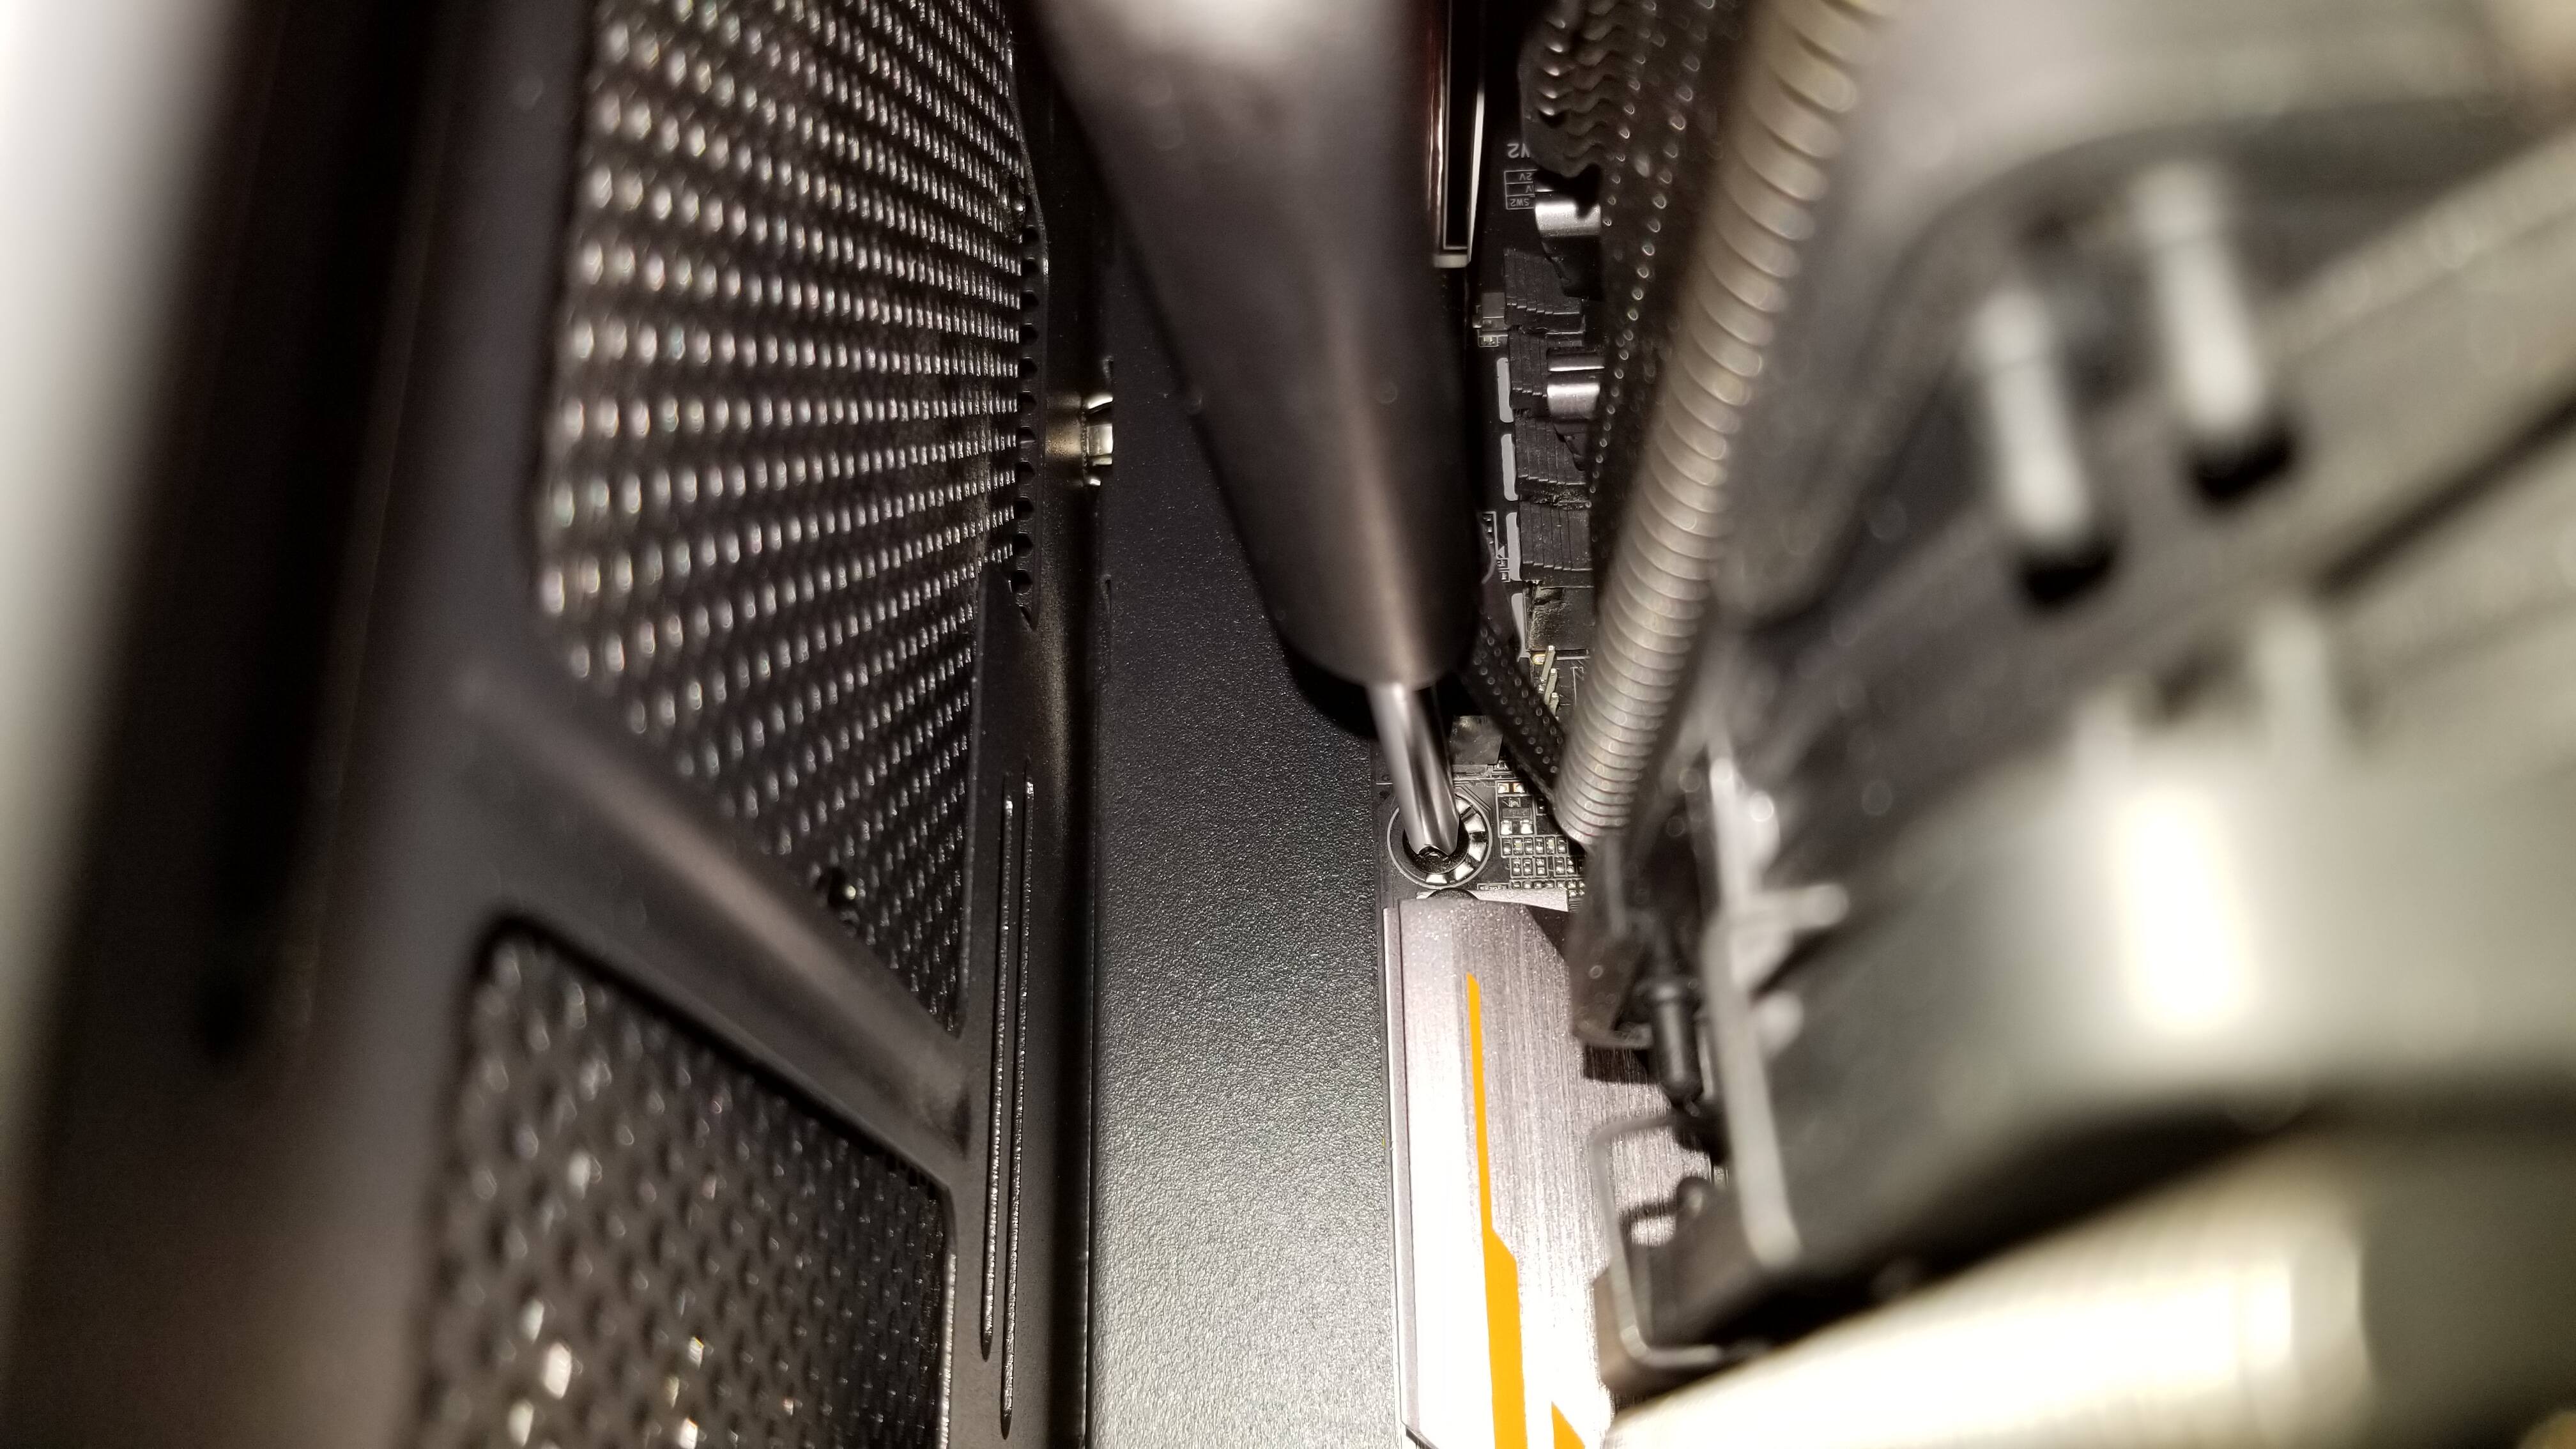
Motherboard Removal - Unscrewing Standoff Screws
Terribad claustrophobic pic, but the point is, 'Chew really recommends a magnetic screwdriver.

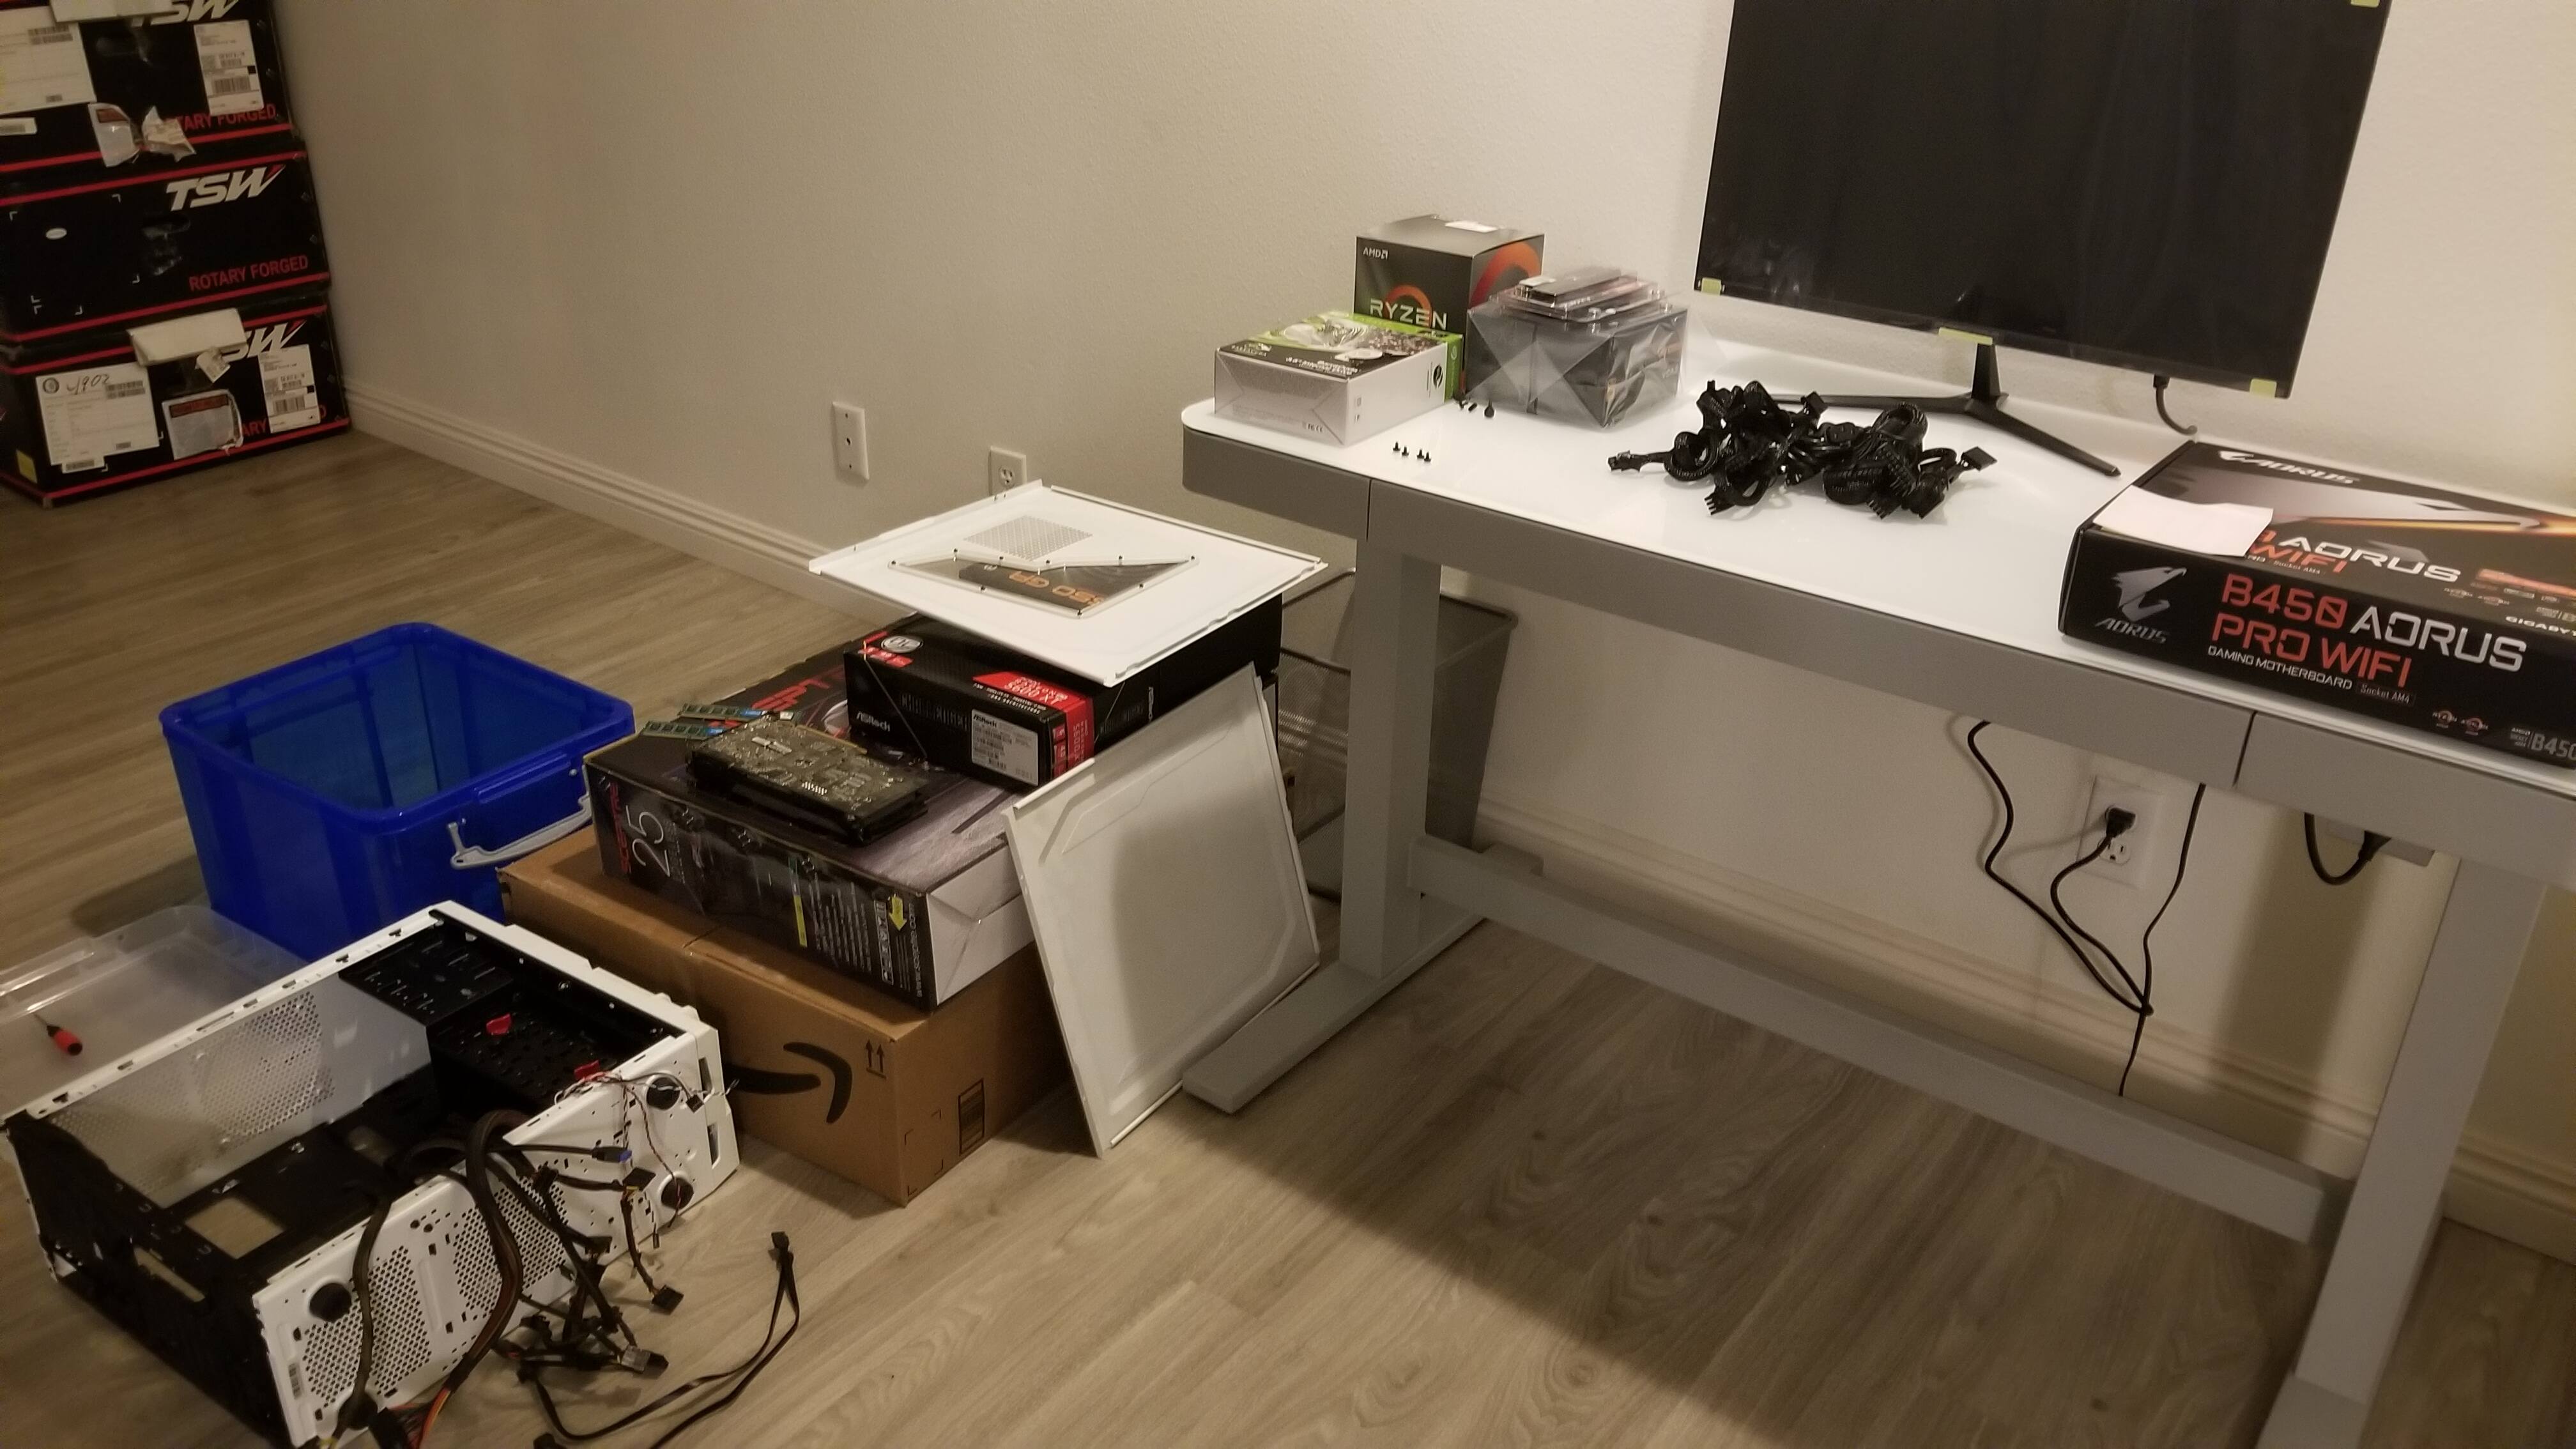
GIGABYTE B450 AORUS PRO WIFI ATX Motherboard
Also: AMD Ryzen 5 3600X, Noctua NH-D15, TEAMGROUP T-FORCE VULCAN Z 32 GB (2 x 16 GB) DDR4-3200 RAM, Inland Premium 512 GB M.2 PCIe NVMe SSD, and… Wireless Mouse Dongle. ![]()
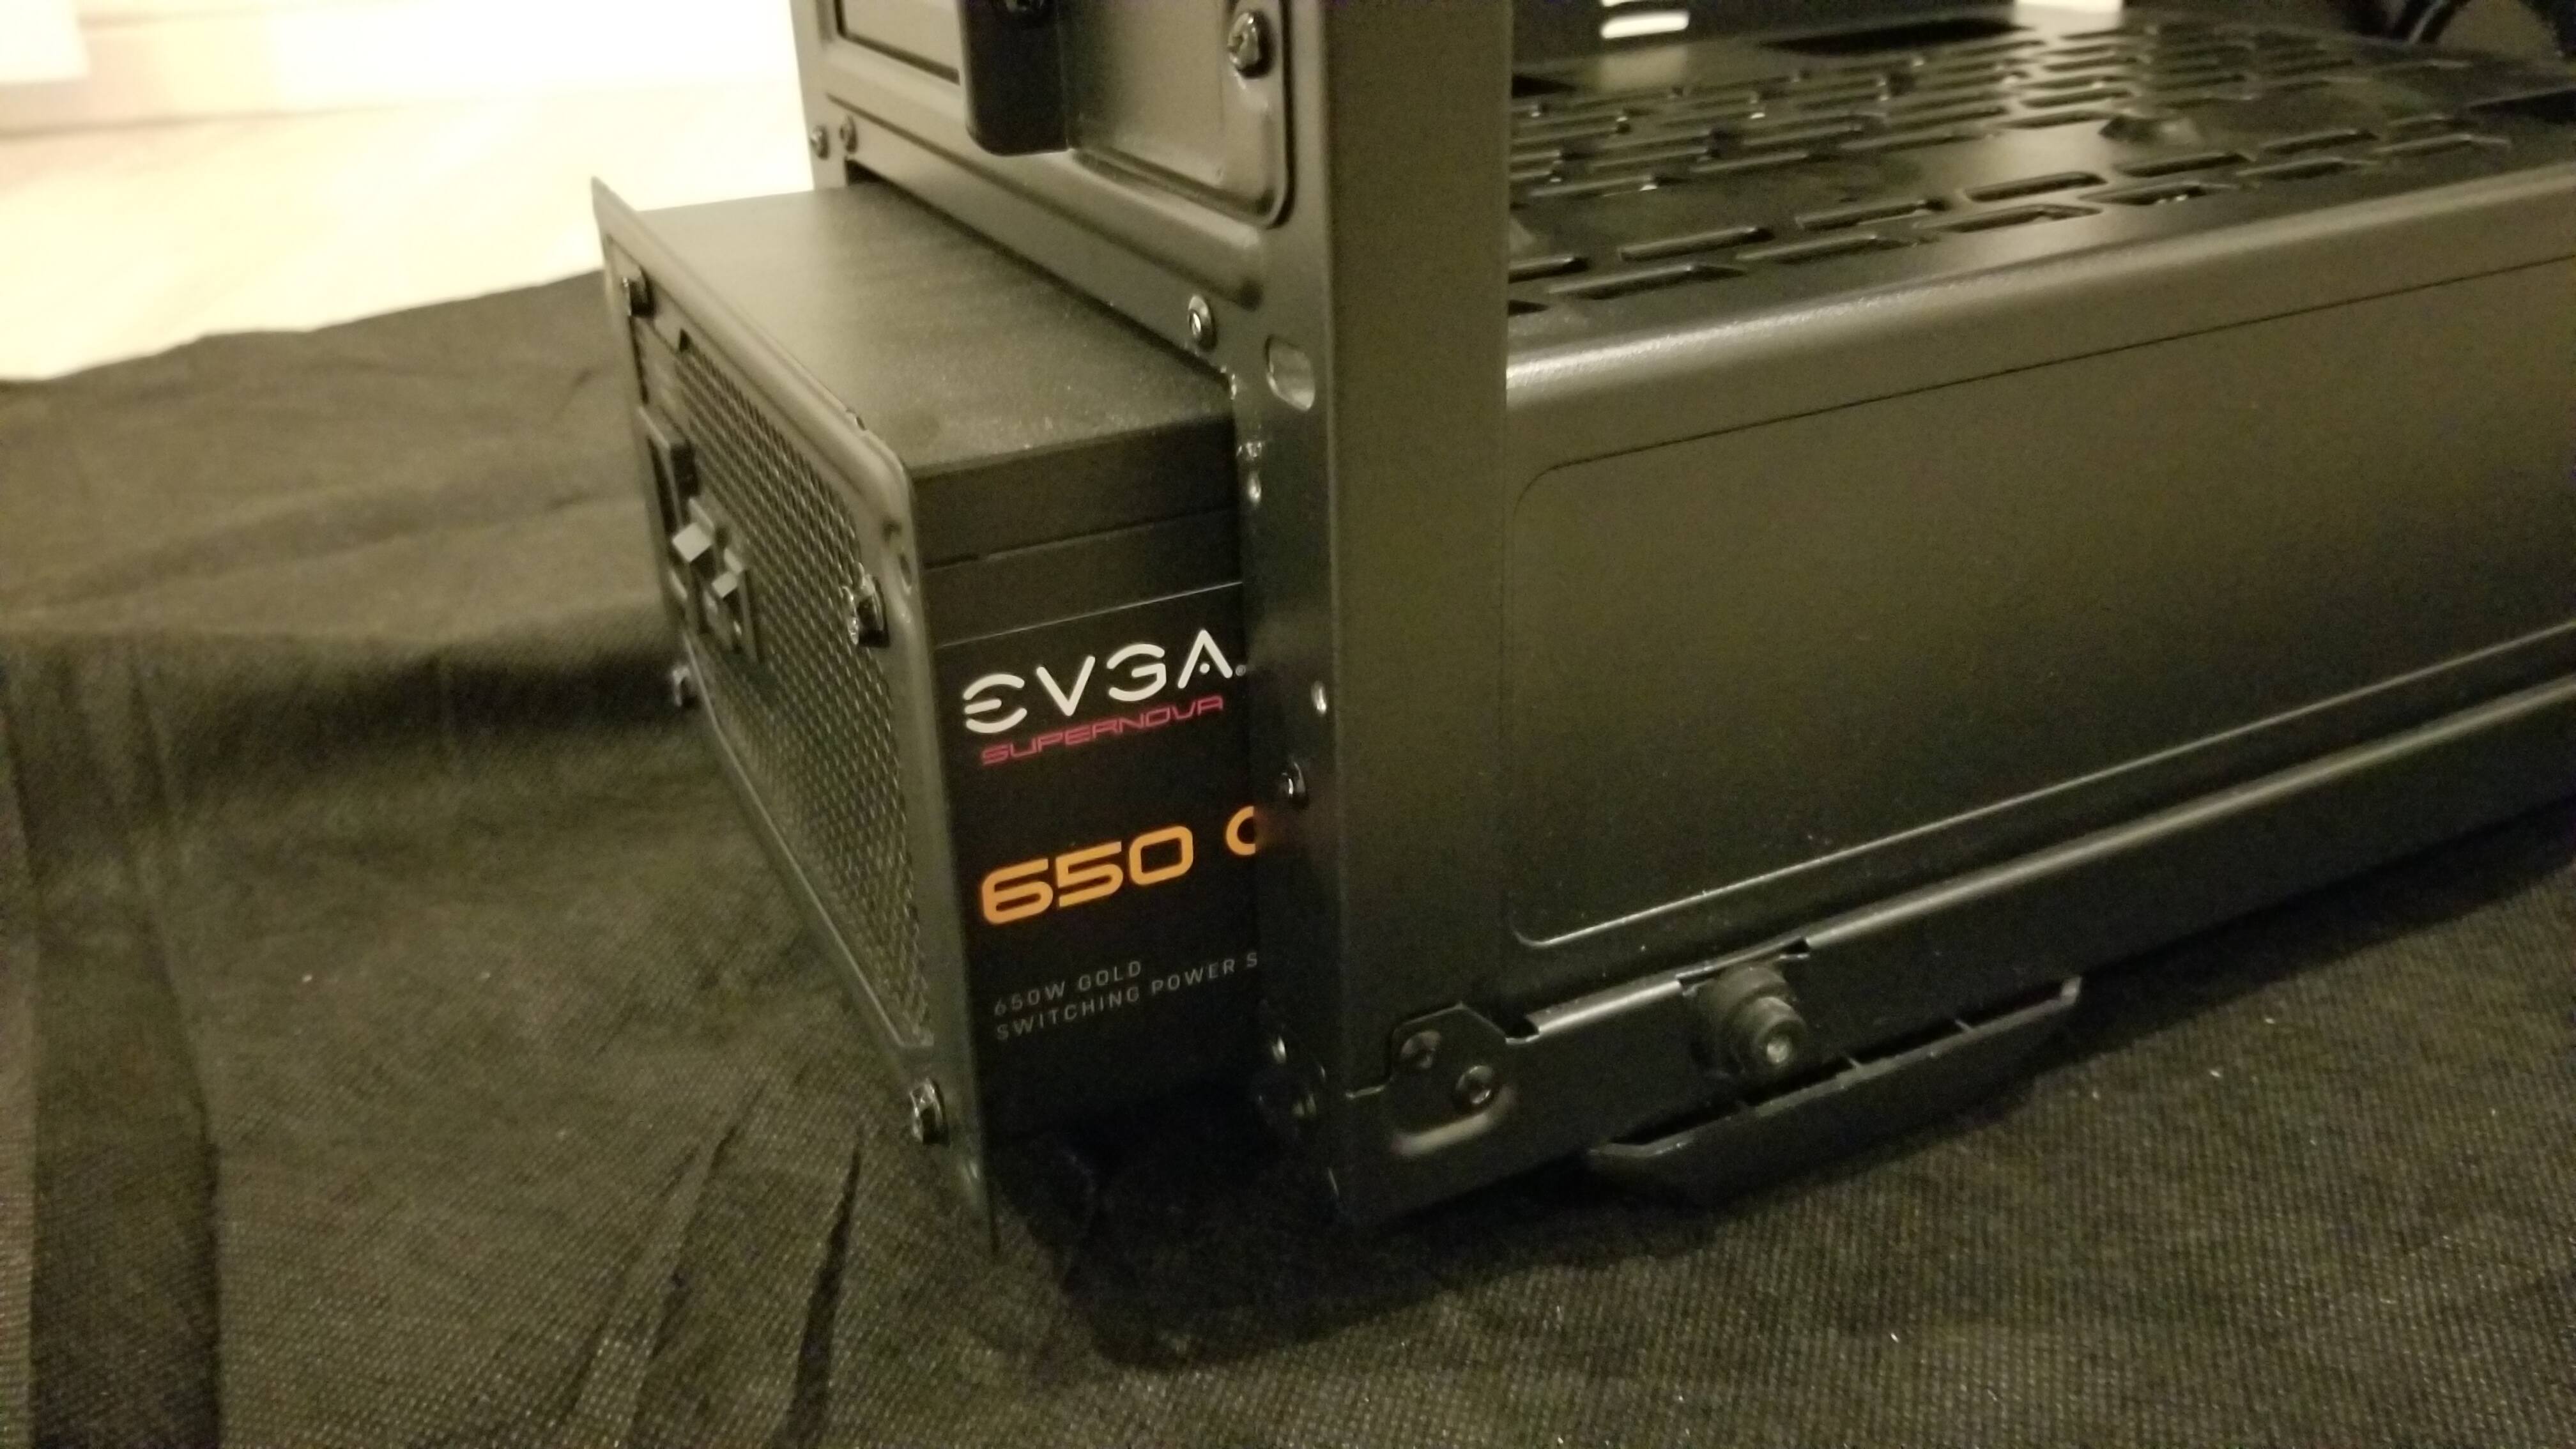
PSU Removal
Down and out? ![]()

EVGA SuperNOVA GA 650 W PSU + PITA Cables
Shameful admission: Bought the GA slightly influenced by PSU Tier List Leader’s implied authority.
Not that it was a direct recommendation, but more like, it didn’t seem like an outwardly faulty PSU?
…I still don’t know jack about PSUs. Or MOBOs. Or anything?
![]()

W0TER.MP3 Break!
Stay hydrated! ![]()

Fractal Design Define 7 Compact Case
Not the best case for low thermals, but still better than the EVGA DG-75.
Get a Cooler Master, Phanteks, or Lian Li, if you want a generic airflow case, kek. ![]()
Ah, Meshify C is also an option, I guess. But, wanted a Compact ATX case, and the Mesify C Compact wasn’t an option in late 2020, tho.
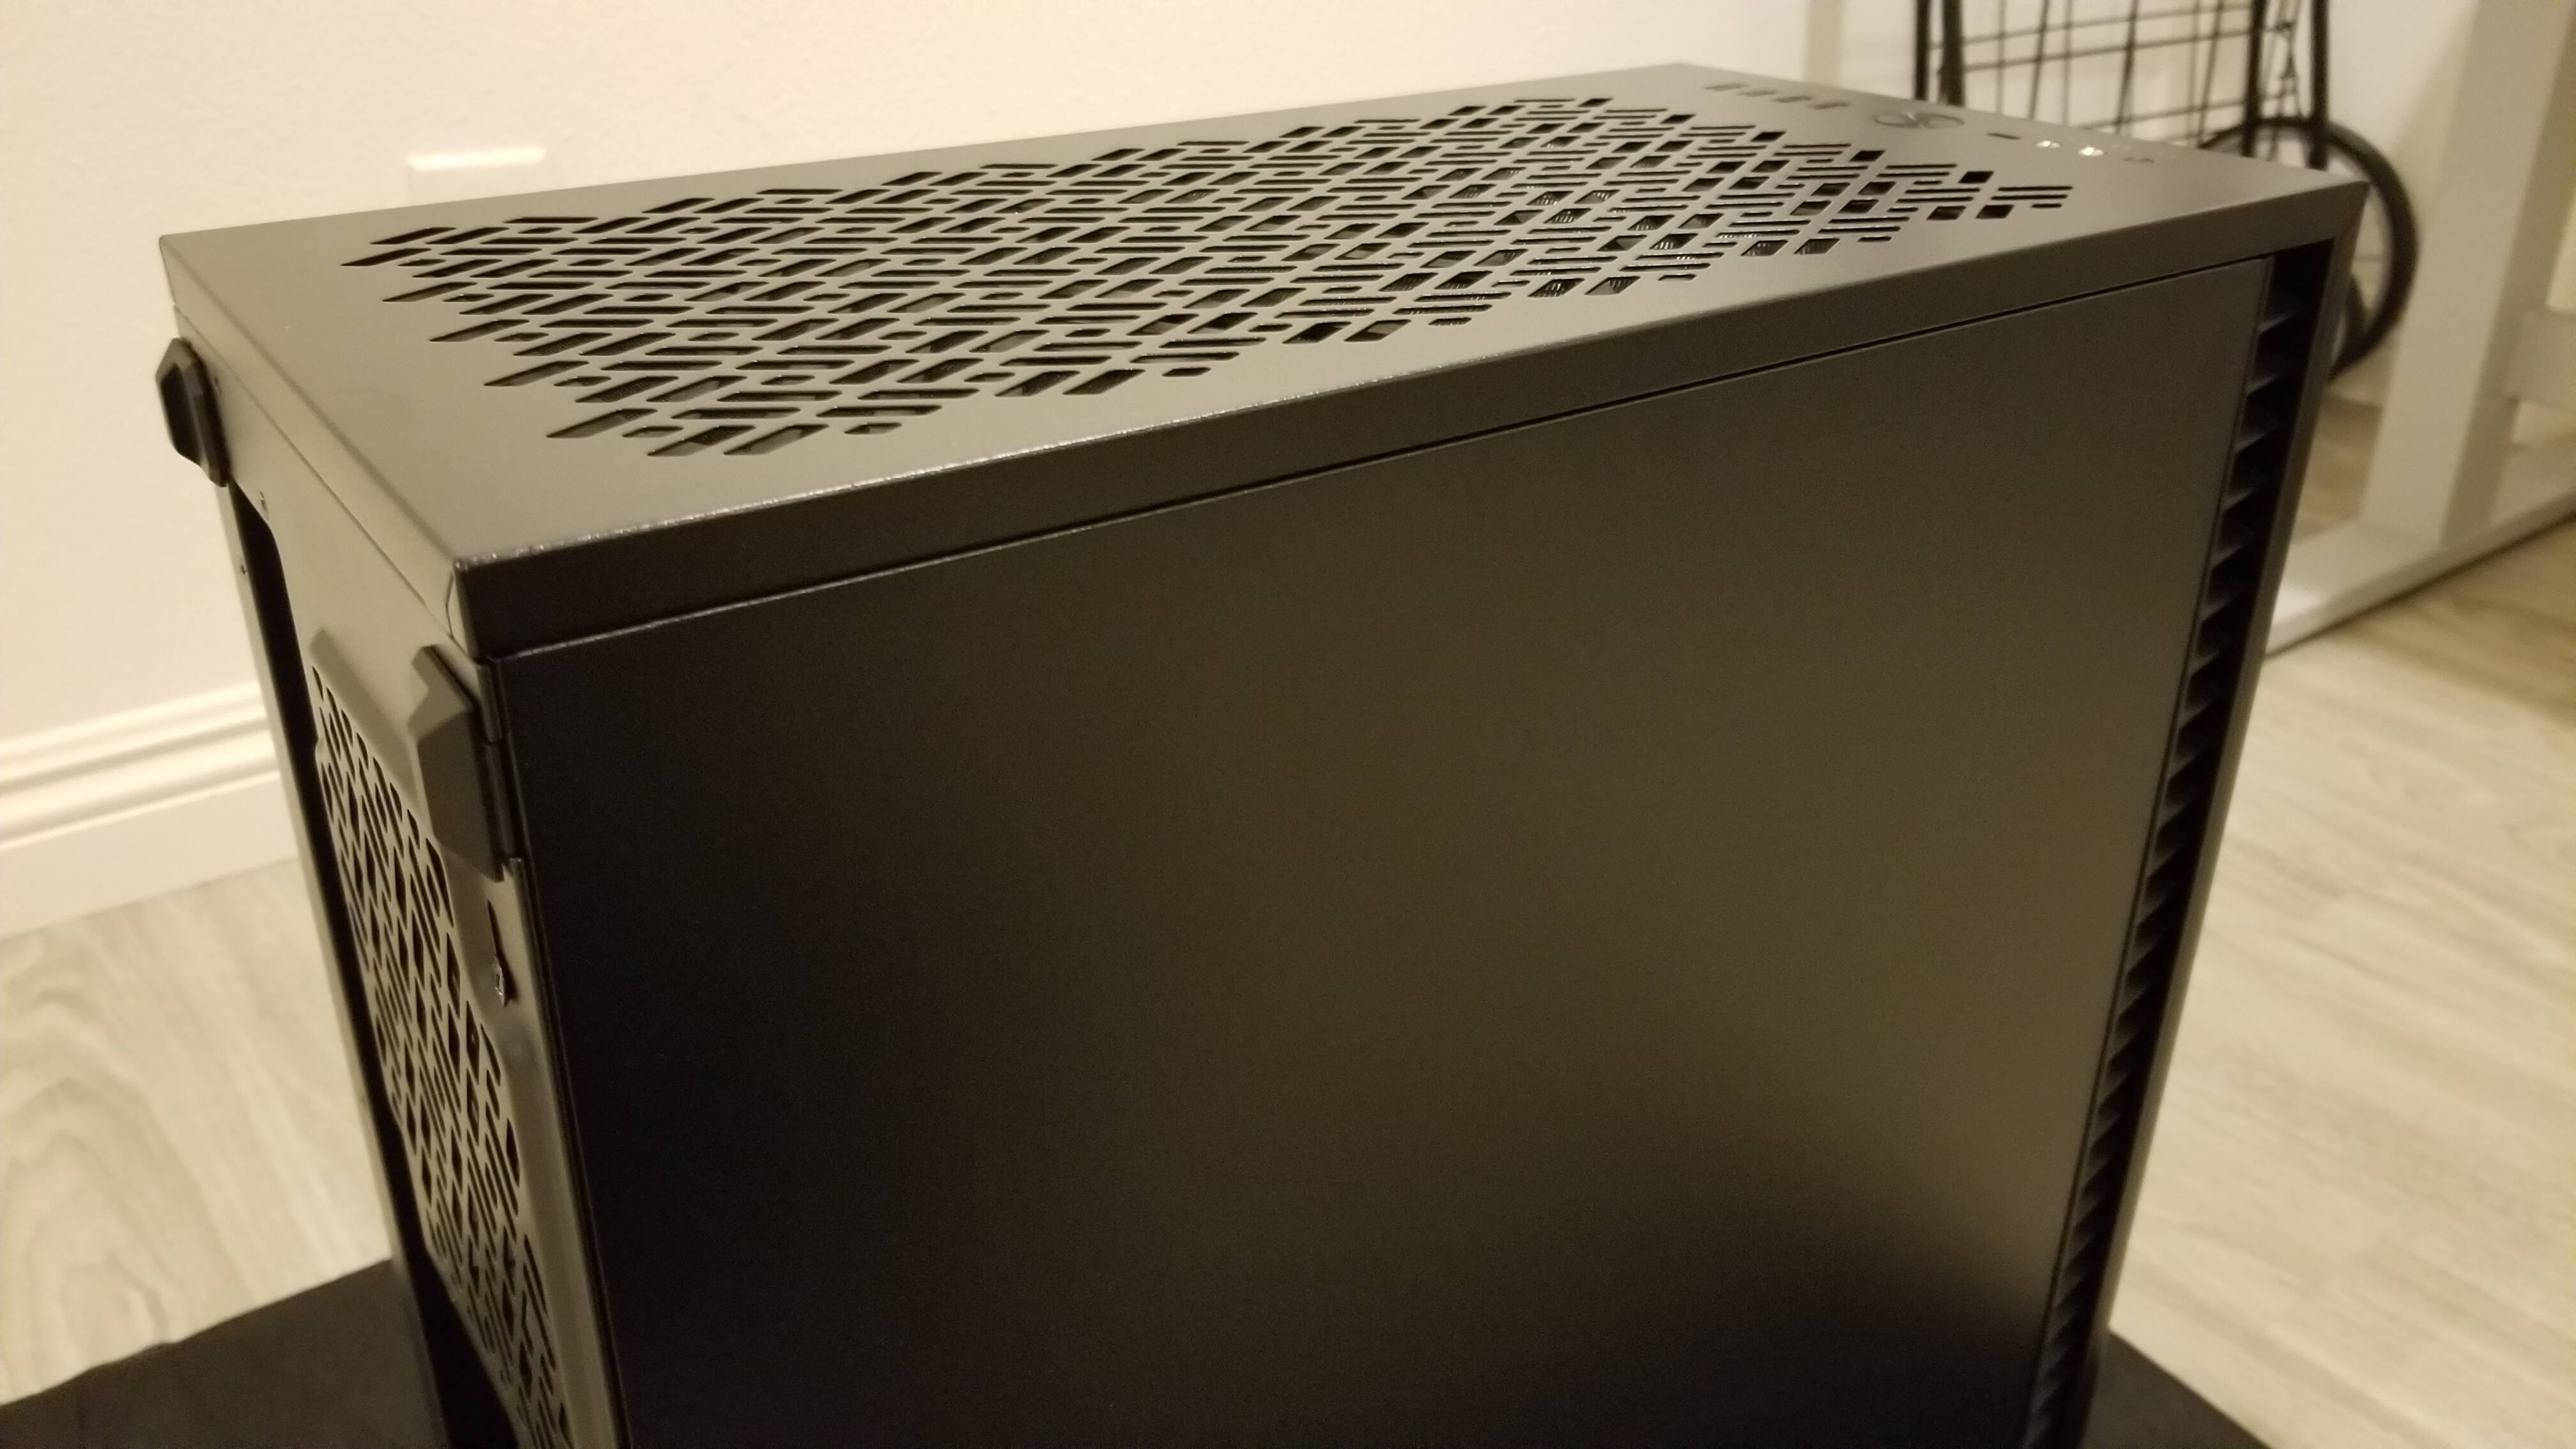
Fractal Design Define 7 Compact Case
Flushed design. No thumbscrews. ![]()
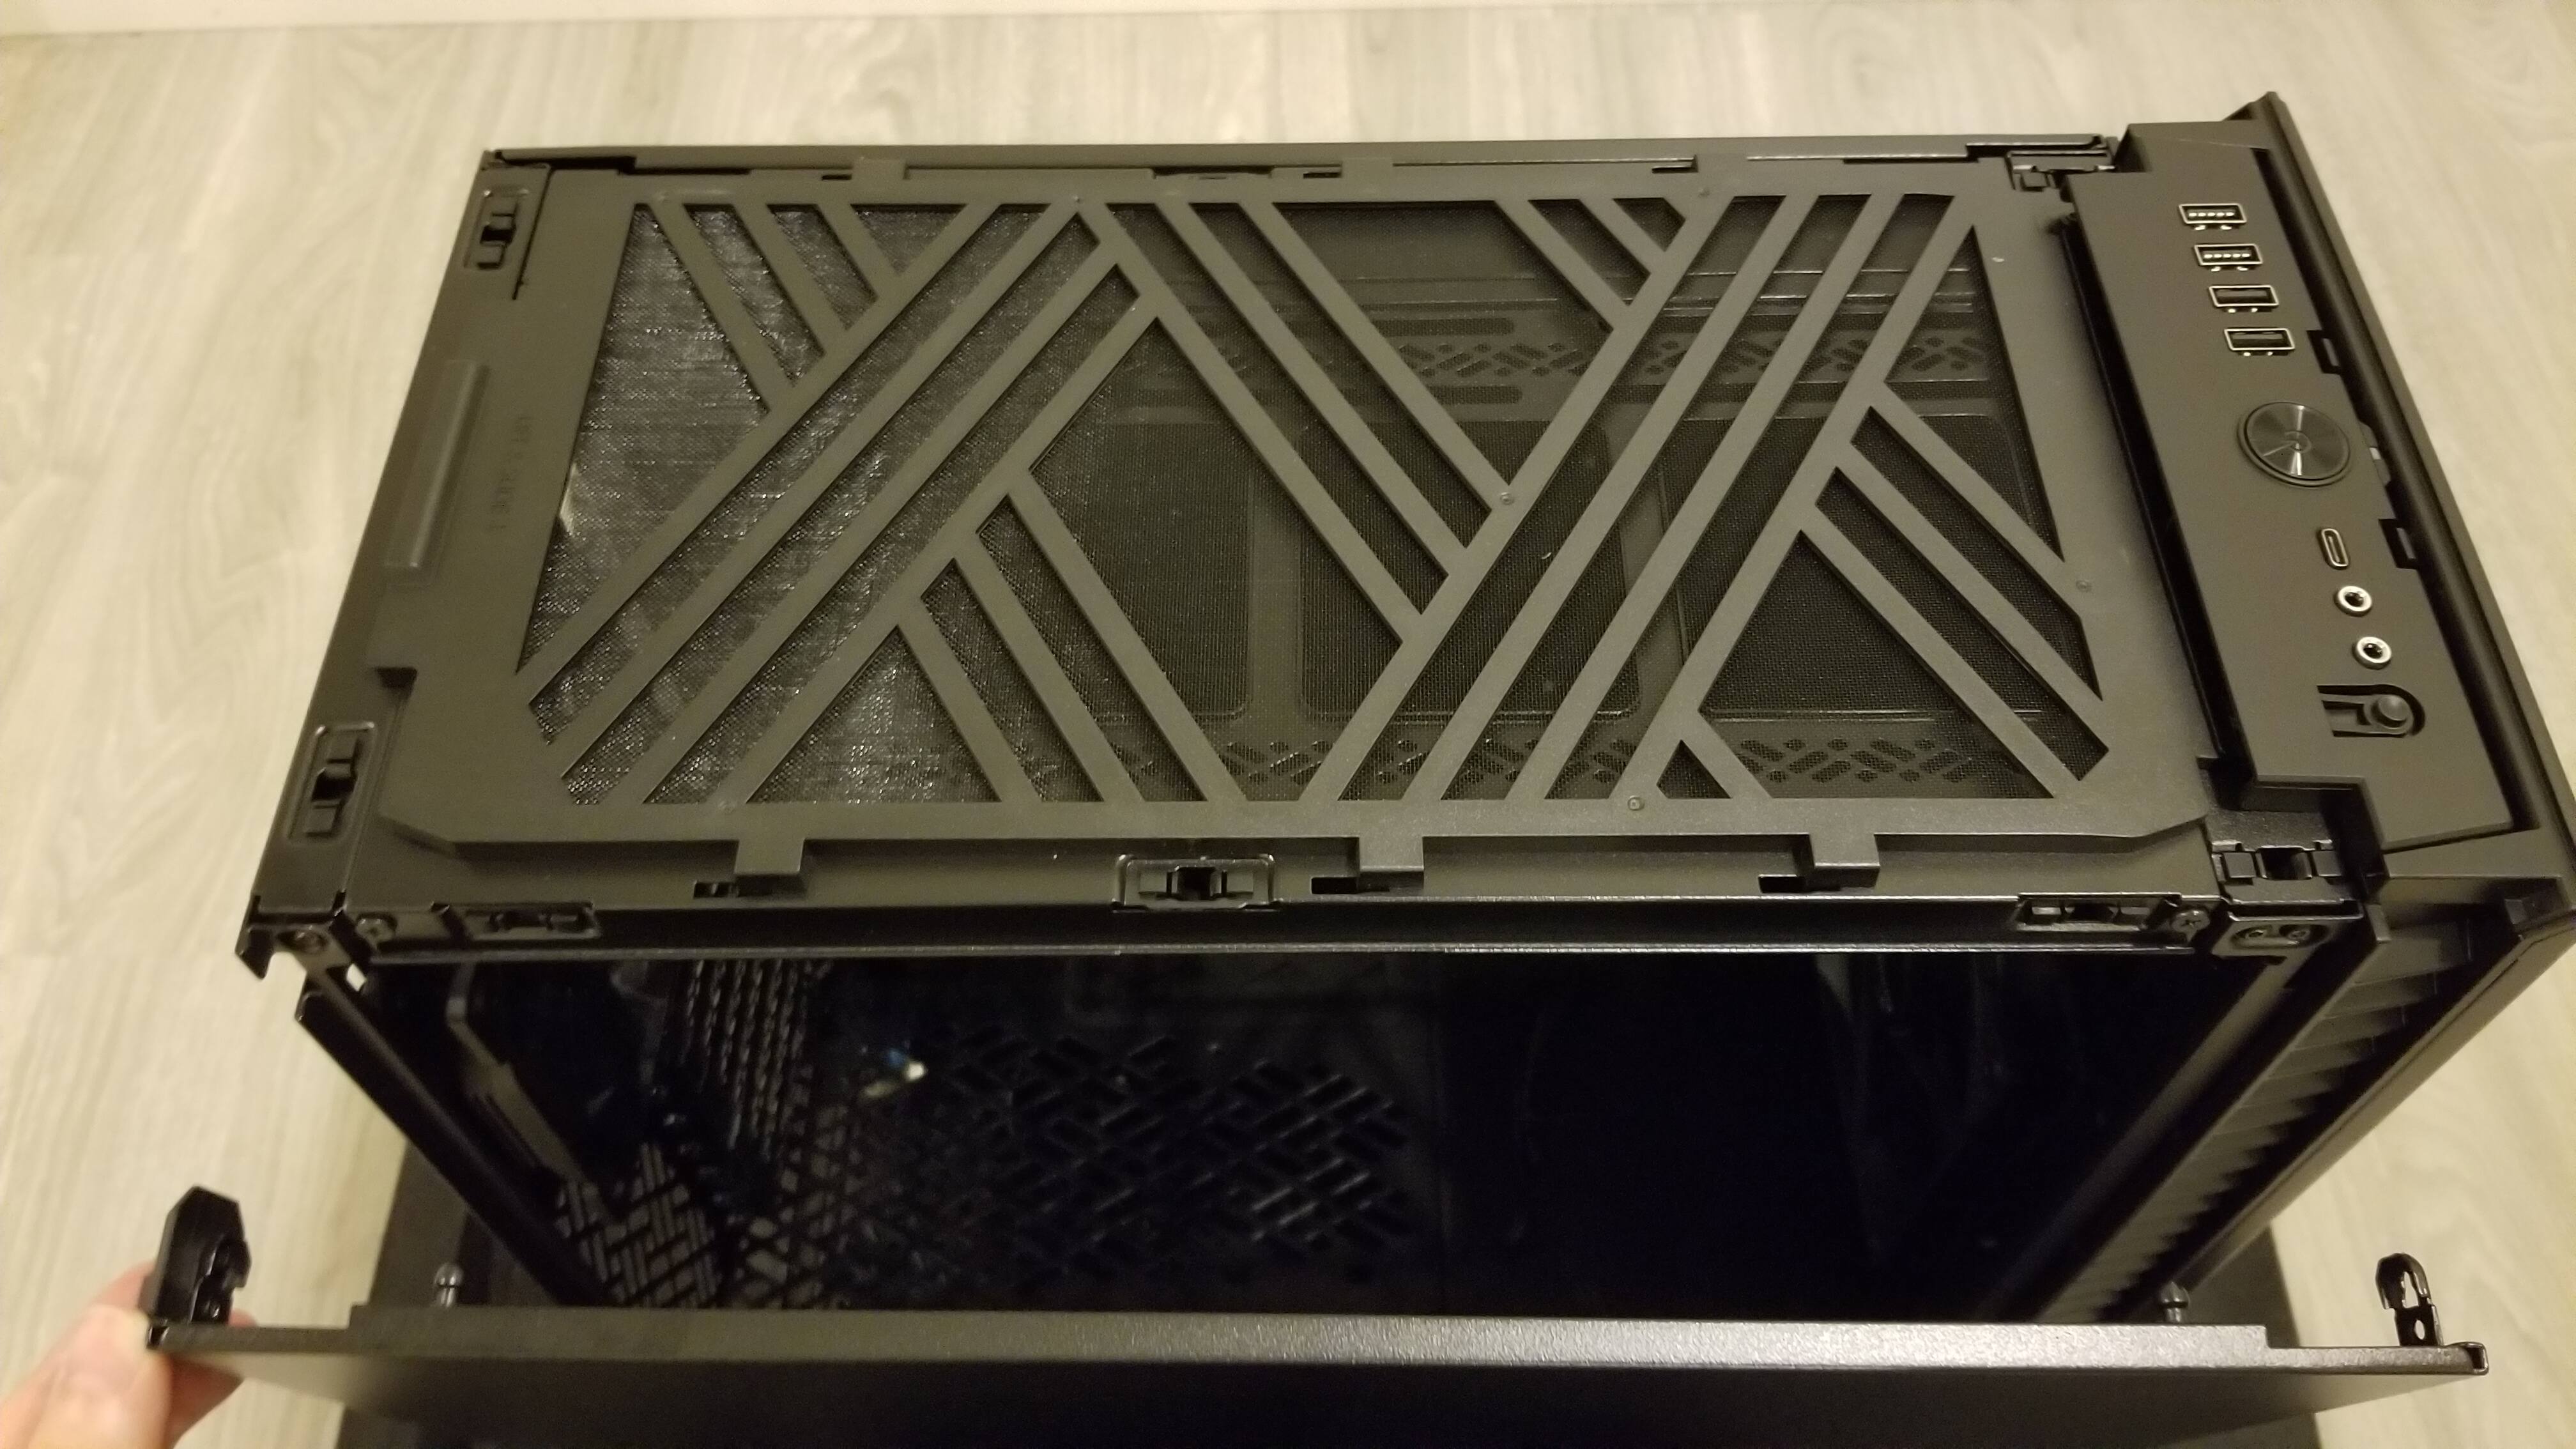
Fractal Design Define 7 Compact - Side Panel Removal
Side panels slide in and out vertically (Z Axis); I don’t need a large horizontal space (X-Y Axis) to open my case up (e.g. side panels with handles or that slide out the backside).
Probably a very niche advantage, but it’s important in my use case and I’m very grateful for it. ![]()

PSU Installation
PSU, with its modular cables connected, goes in first.
Not a fan of mashing my hand against a rat’s nest of cables, trying to figure out which connector goes into which PSU port.
Preliminary Cable Routing
Cables always give me a headache. ![]()
Also, would recommend putting the HDD Rack back in, before tying all those cables down. ![]()
![]()
Motherboard Installation
'nother claustrophobic pic, kek.
Define 7 Compact - Progress
Nearly there! ![]()
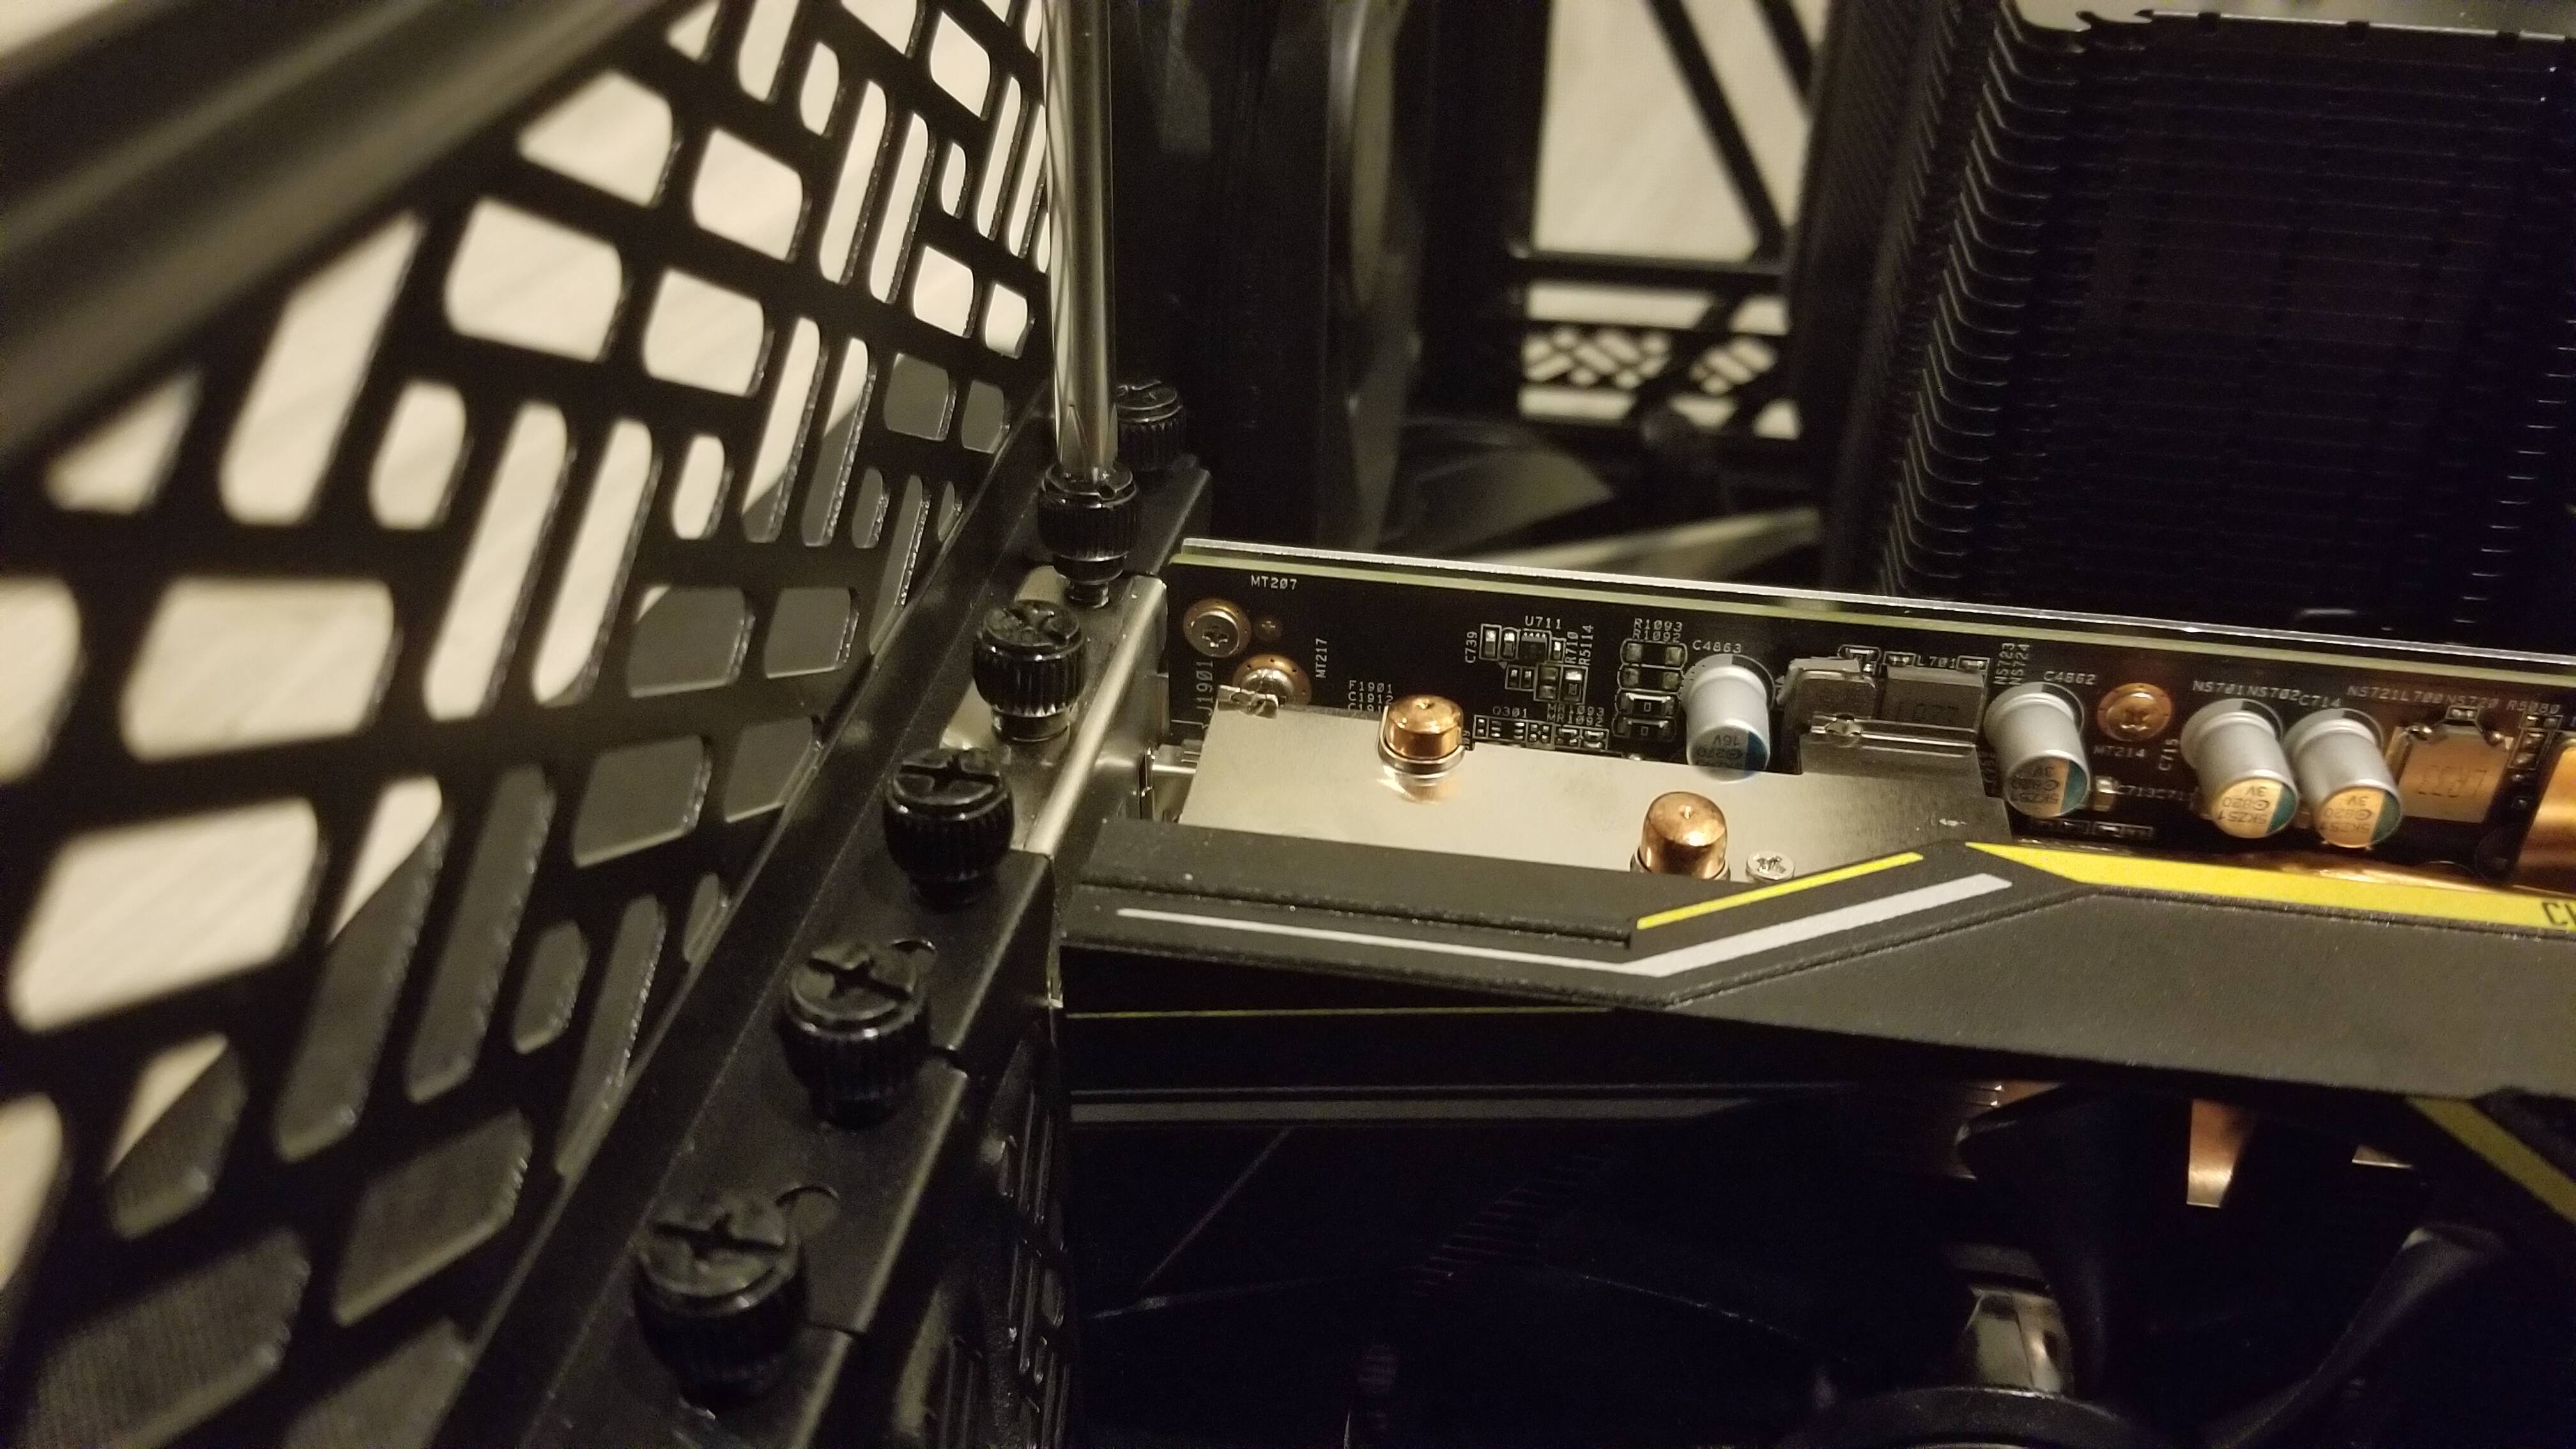
Graphics Card Installation
The final screw!
Because muh case doesn’t use thumbscrews, heh. ![]()
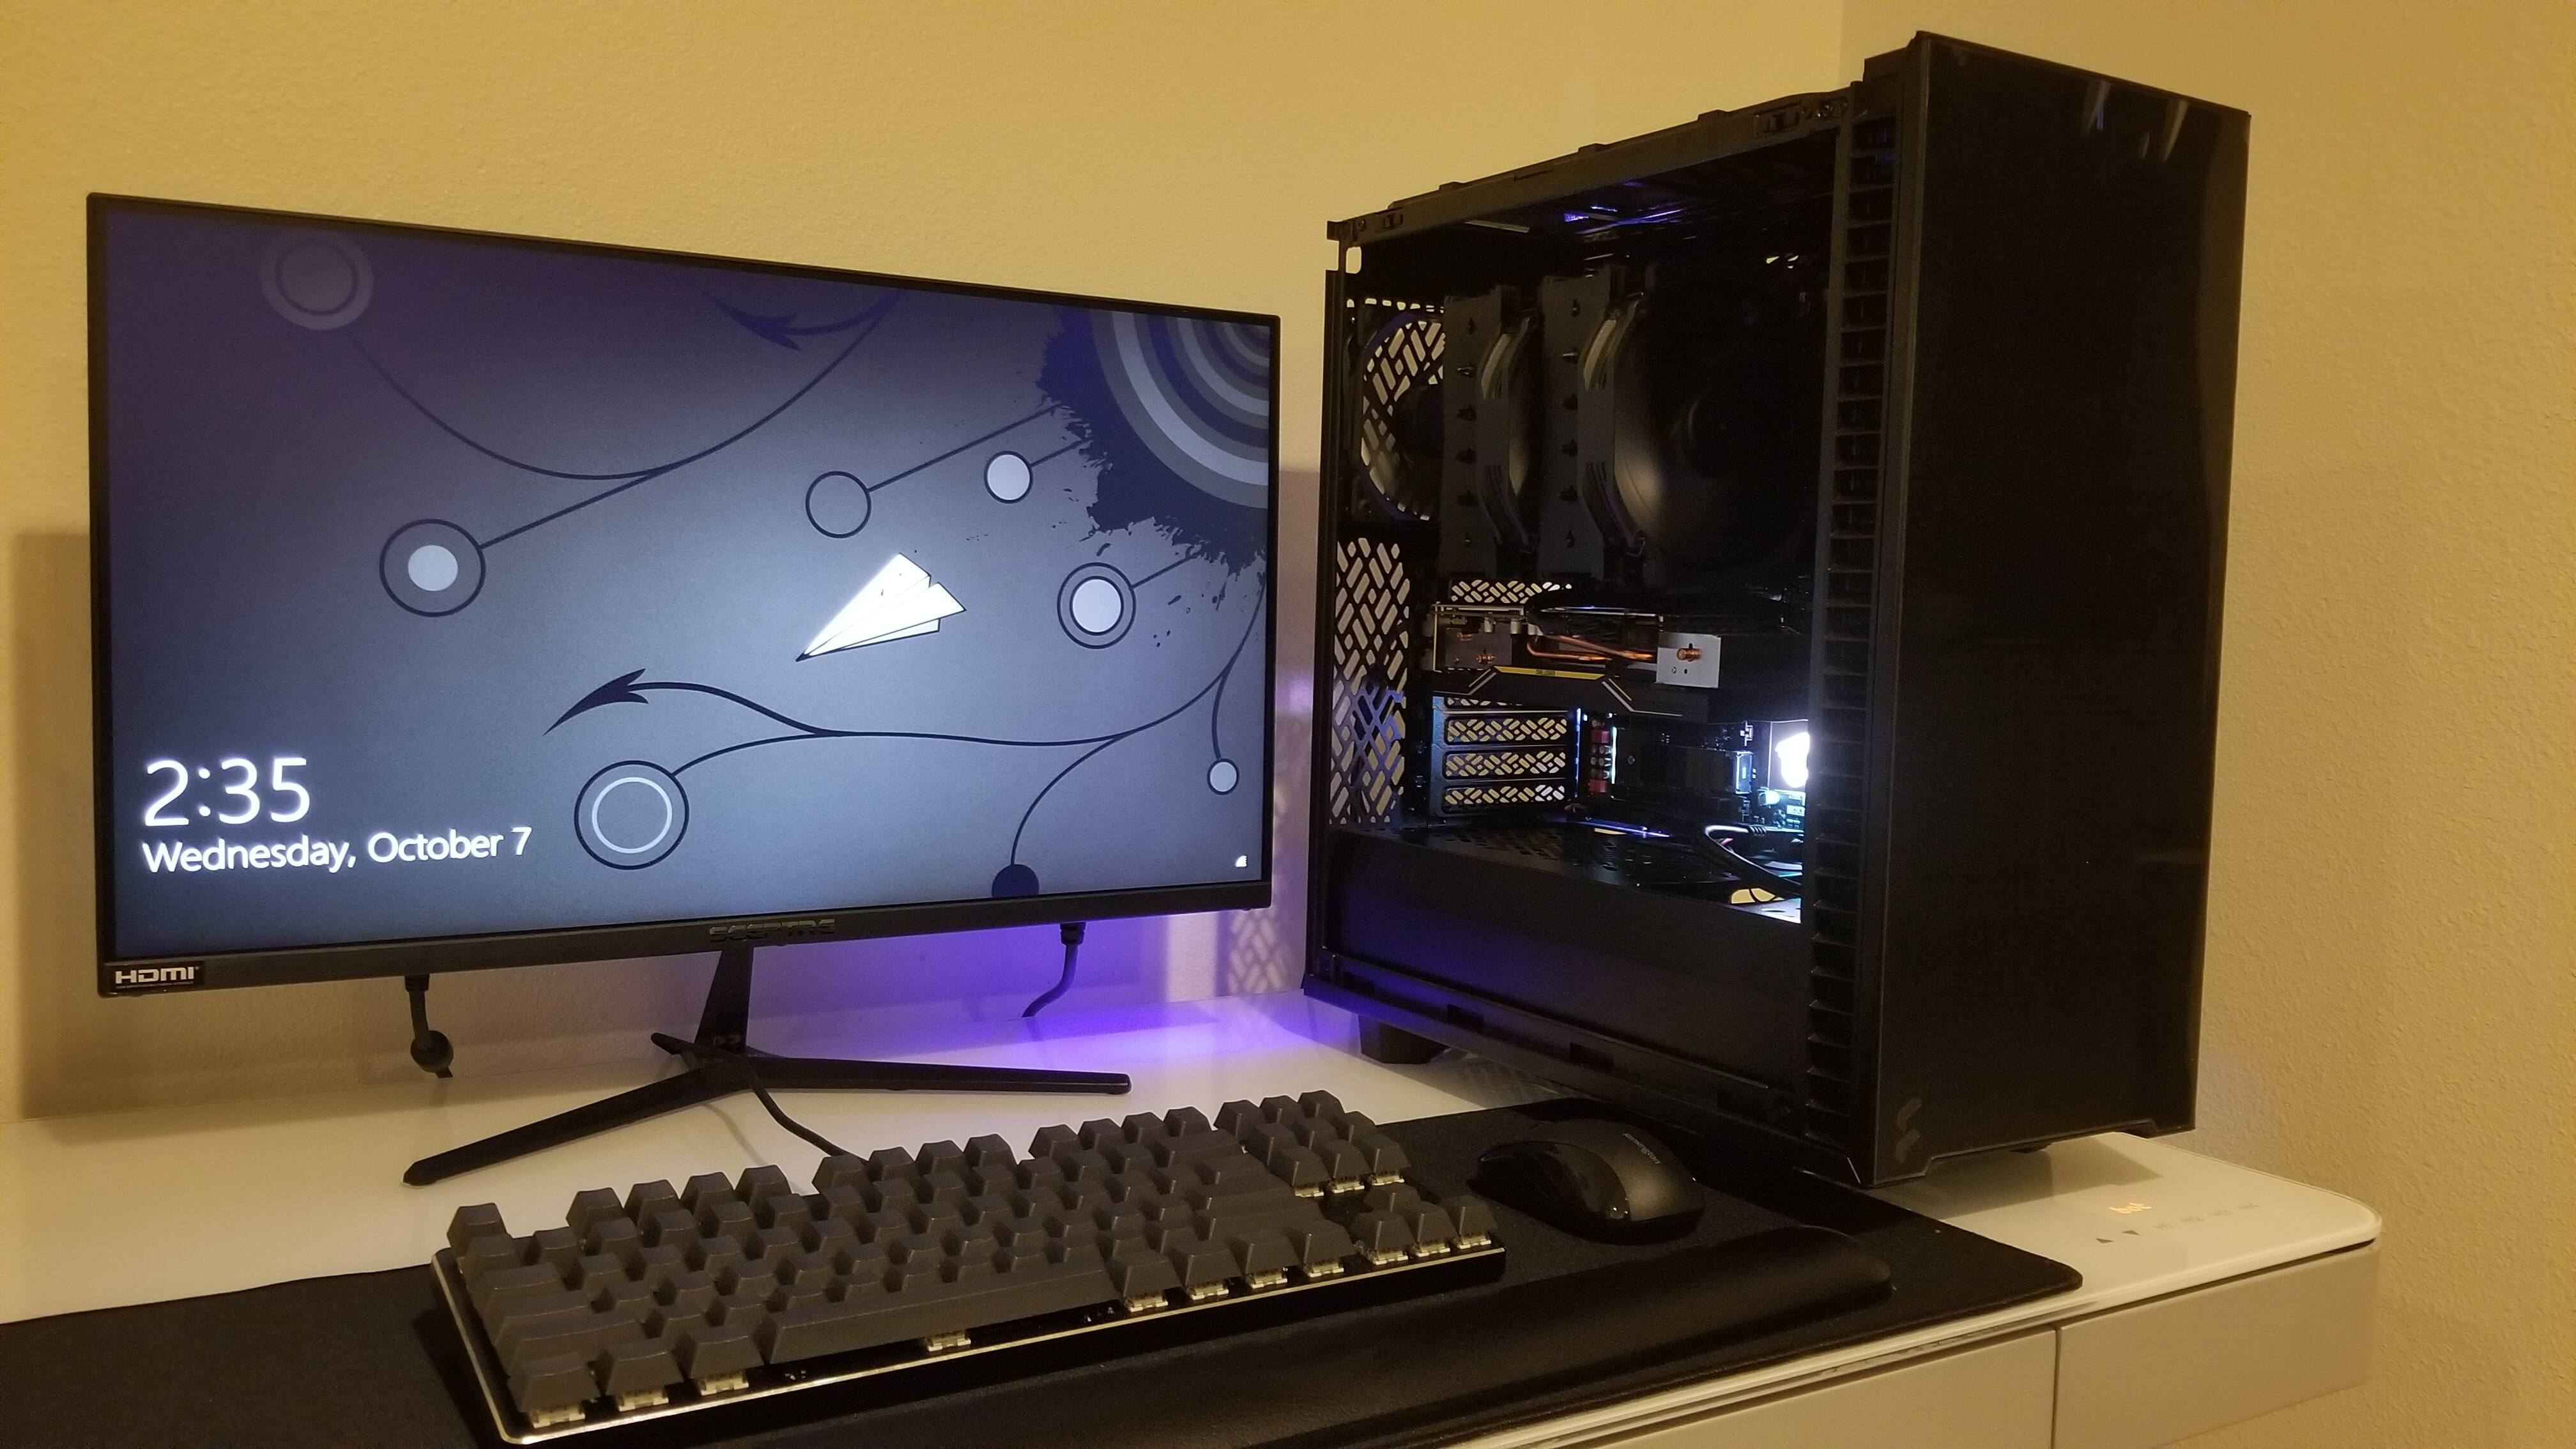
Hoshī - POST + Startup!
Also, 2:30 AM, lmaooo. Apparently it was a work day and I had to wake up at 7 AM?
Well… Now my work day starts at 6 AM, lol. IDK what I was complaining about. ![]()
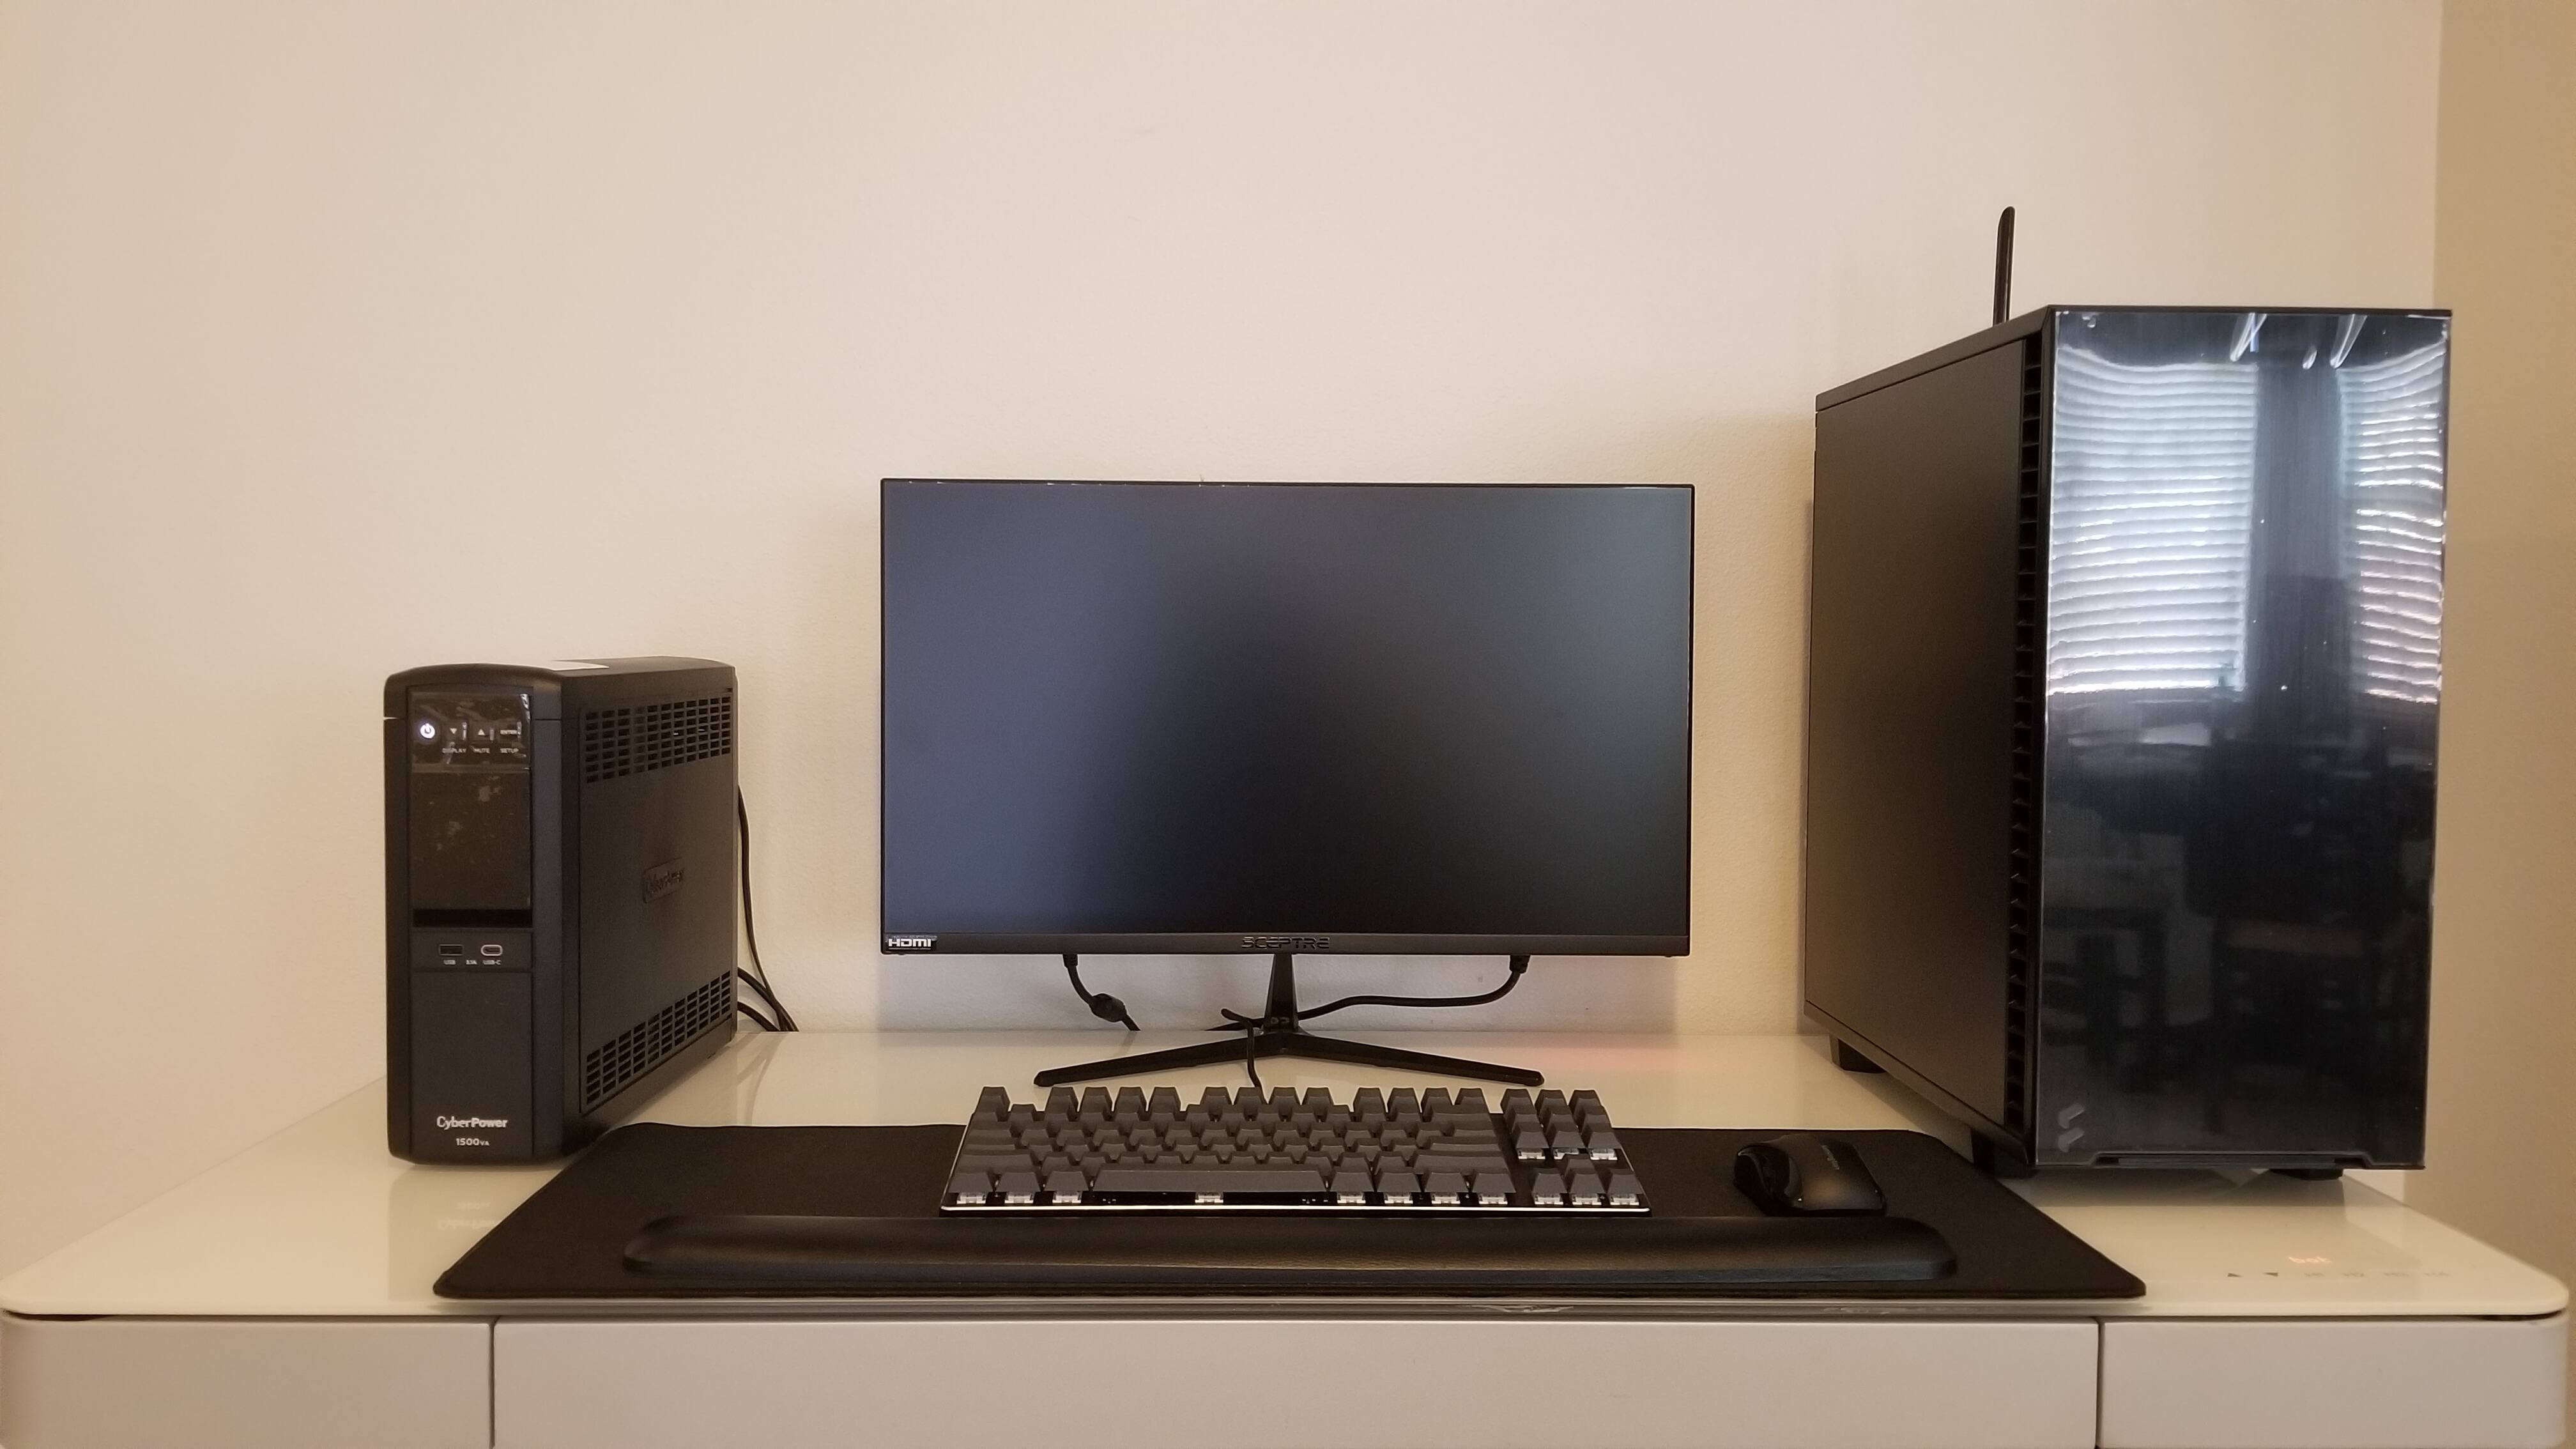
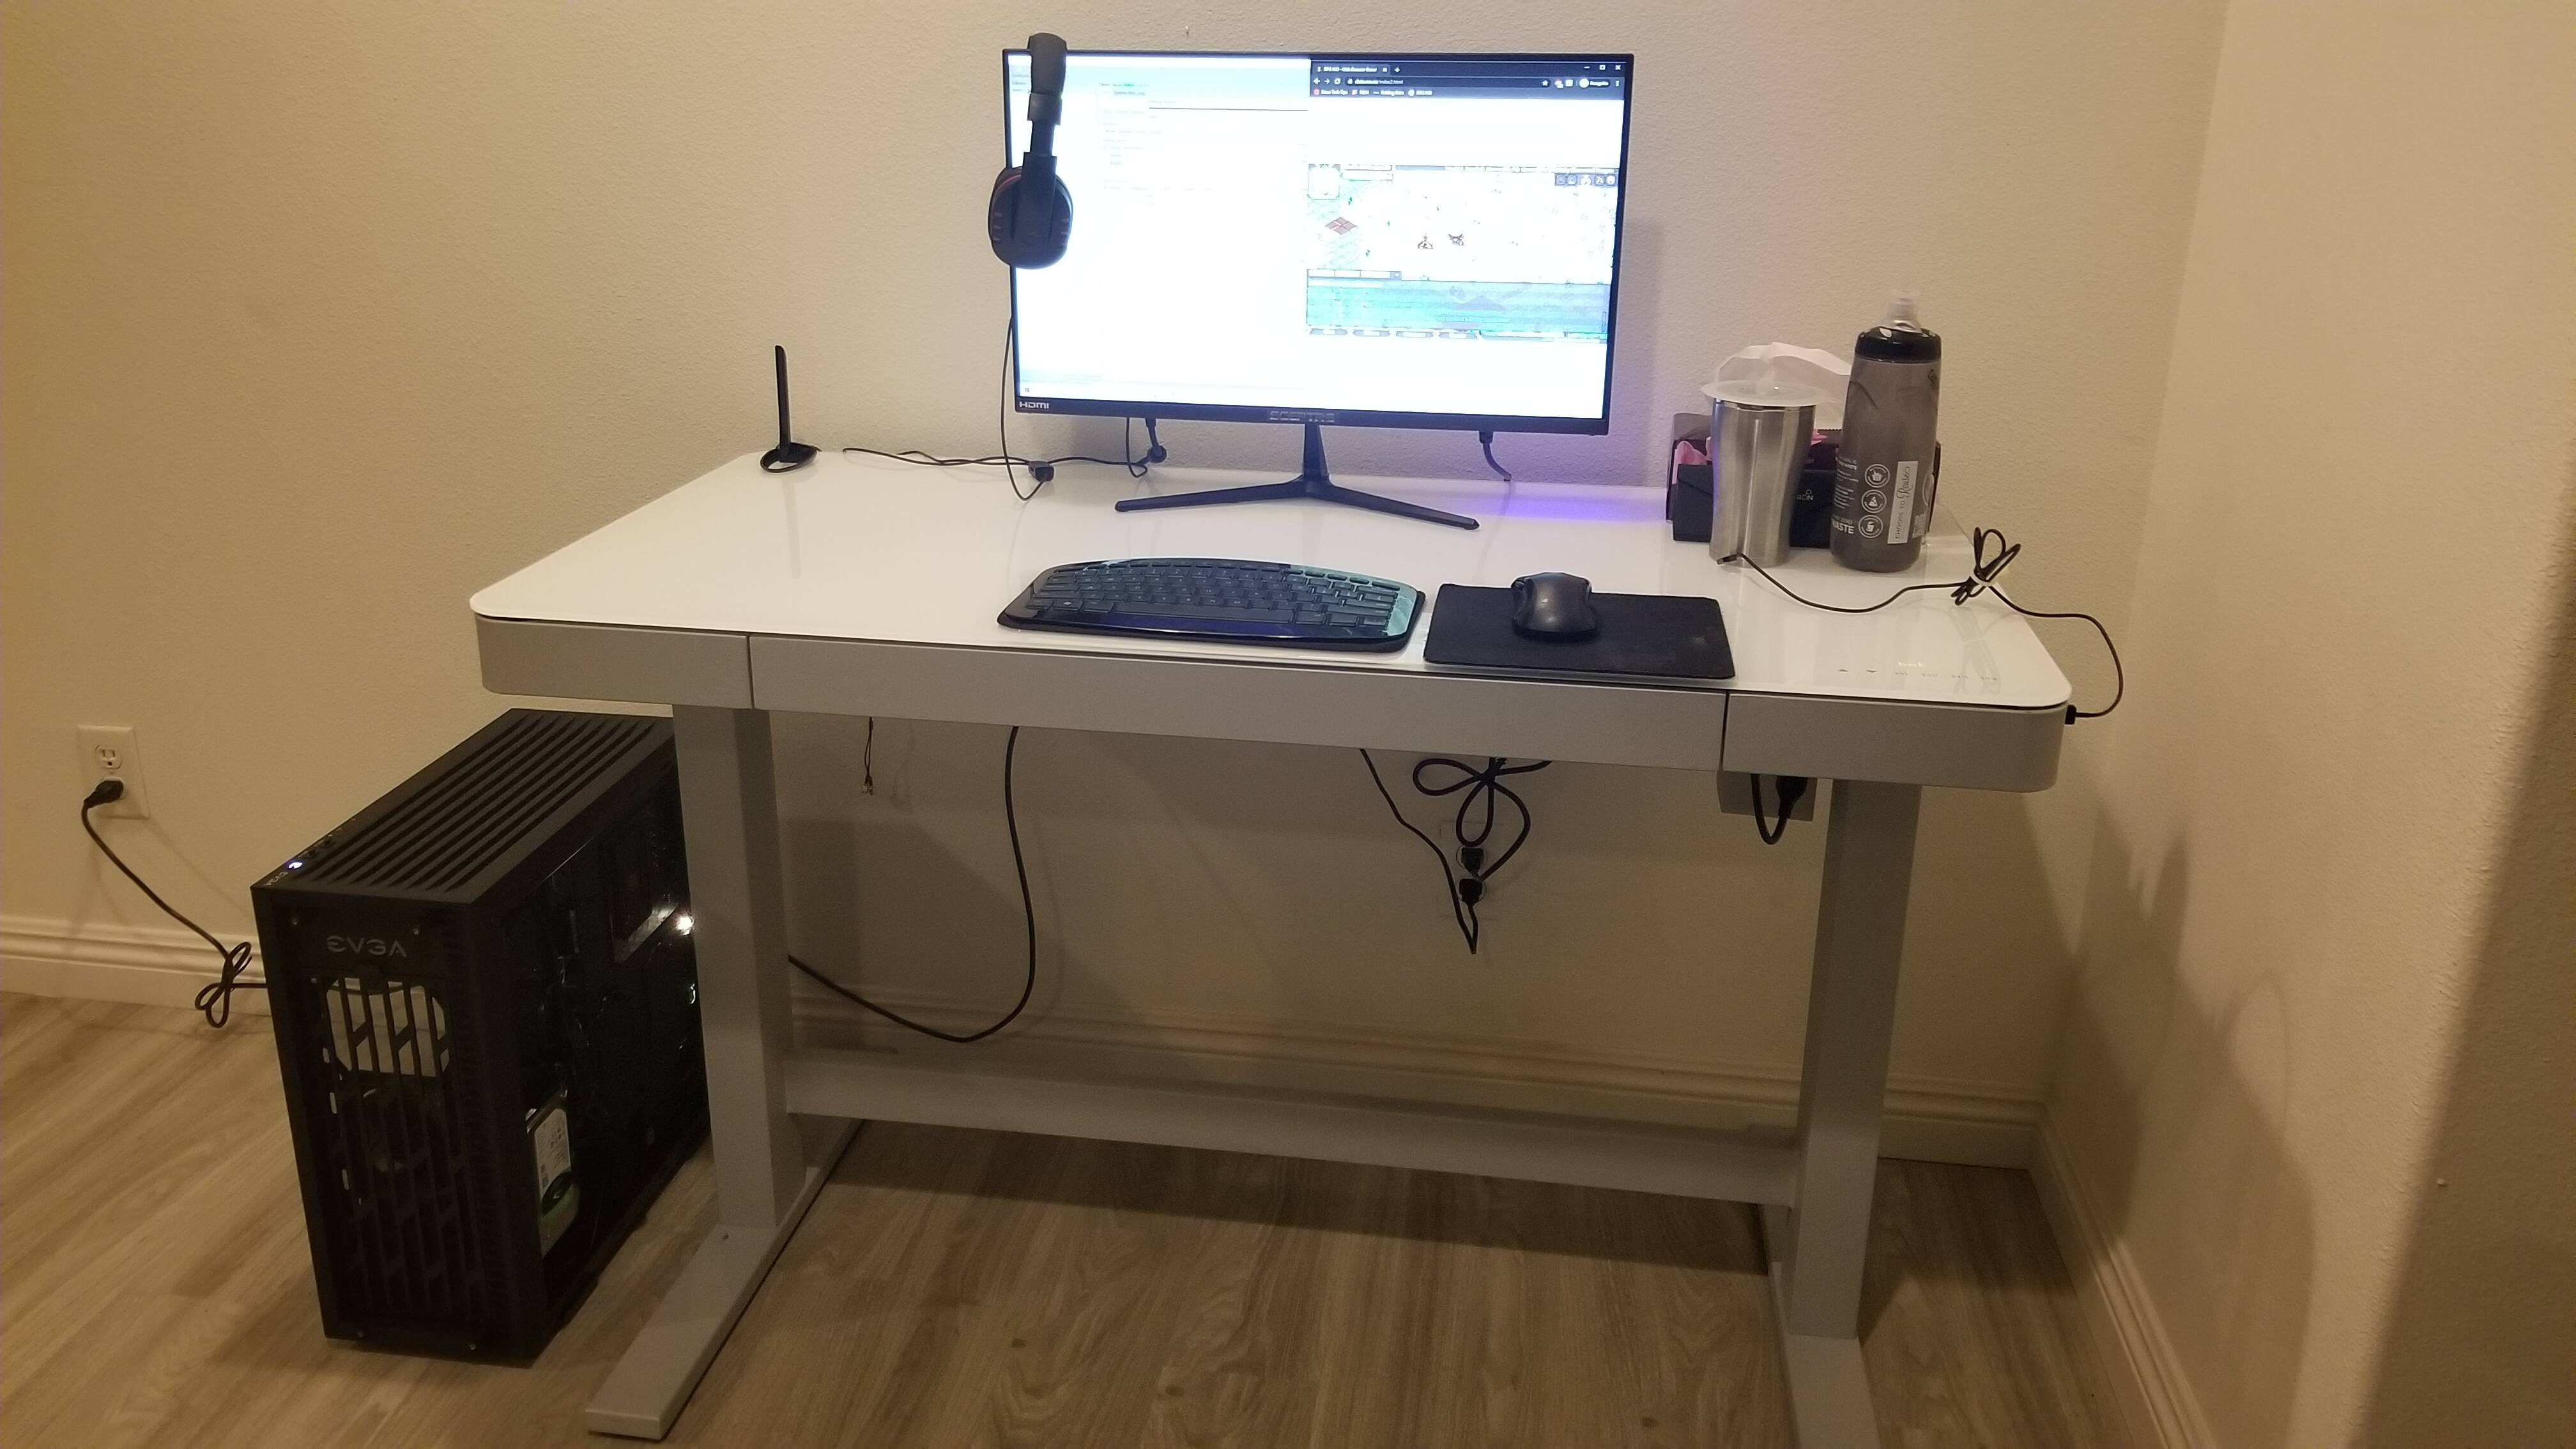
Desk Setup
![]()
Back when my desk was simpler!
Carbon CableMod Extensions Update


Hoshī - Standard Braided Black Cables
Dooon’t worry about the floppy USB Type-C cable.
Motherboard didn’t support USB Type-C. ![]()

Motherboard 24-Pin ATX Connector - PITA #1
This cable sucks to remove.
Probably doesn’t help that chonky boi NH-D15 gets a lil’ bit in the way.
Muh fingers demand recompense for the hell they’ve been thru. ![]()

Hoshī - Top Bracket Removal
Brain decided to be smart that day and remove the top bracket before wrestling with the CPU 4+4-Pin.

CPU 4+4-Pin EPS Connector - PITA #2
:reee:

Graphics Card 6+2-Pin PCIe Connector
I like this cable. This cable is easy to remove and DOESN’T FREAKING KILL MY FINGERS.

Hoshī - Connectors Removed
The floppy cable beasts lie defeated. I am victorious. Tremble before my fearsome might. ![]()

Motherboard 24-Pin ATX Cable Extension
Thicc!

CPU 4+4-Pin EPS Cable Extension
Smol!


Hoshī - Extensions Installed
The difference is like day and night! ![]()
…You’ll be seeing these two shots a lot, from here on out. ![]()
ASUS PCE-AX58BT PCI-E Wireless Adapter Update

Hoshī + ASUS PCE-AX58BT + Electric Duster
Might as well take the opportunity to clean 'er insides up a bit. ![]()

Hoshī - Interior
There’s a thin layer of dust here n’ there. ![]()
Ah, case fans were also on my shopping list. ![]()

Hoshī - PCIe Slots
[Squints.]
…Dat clearance for the PCIe x1 slot, lol.
Ahahaha… It is nooooooooot gonna fit under the Noctua chonky boi.

ASUS PCE-AX58BT - Installed

PERFECT FIT. ![]()

Hoshī - ASUS PCE-AX58BT Installed + Cleaned Up!
There was an unhealthy puff of dust when I blew the electric duster through Hoshī. ![]()

Wireless Networks
Wi-Fi is the B450’s onboard WiFi. WiFi 2 is the ASUS PCE-AX58BT.
Was worried how the PC would handle having two wireless network adapters, seems it just works seamlessly?
Awesome. ![]()
![]()
ASUS PRIME X570-PRO Motherboard Update
Uhhh…
The socially-acceptable, practical reason I swapped out my GIGABYTE B450 AORUS PRO for an ASUS PRIME X570-PRO is to make use of the case’s USB Type-C front header, which the GIGABYTE B450 doooeeesn’t support.
…The more important reason was the GIGABYTE AORUS MOBO’s obnoxious gamer-y aesthetics was getting on my nerves. Performance-wise, the B450 was perfectly fine for my use case, and the X570 is prooobably overkill for a Ryzen 5 3600X, ahahaha… ![]()

Hoshī + GIGABYTE B450 AORUS PRO Motherboard
…Friggin’ obnoxious angles and weird fisting eagle logo. (ಠ_ಠ)

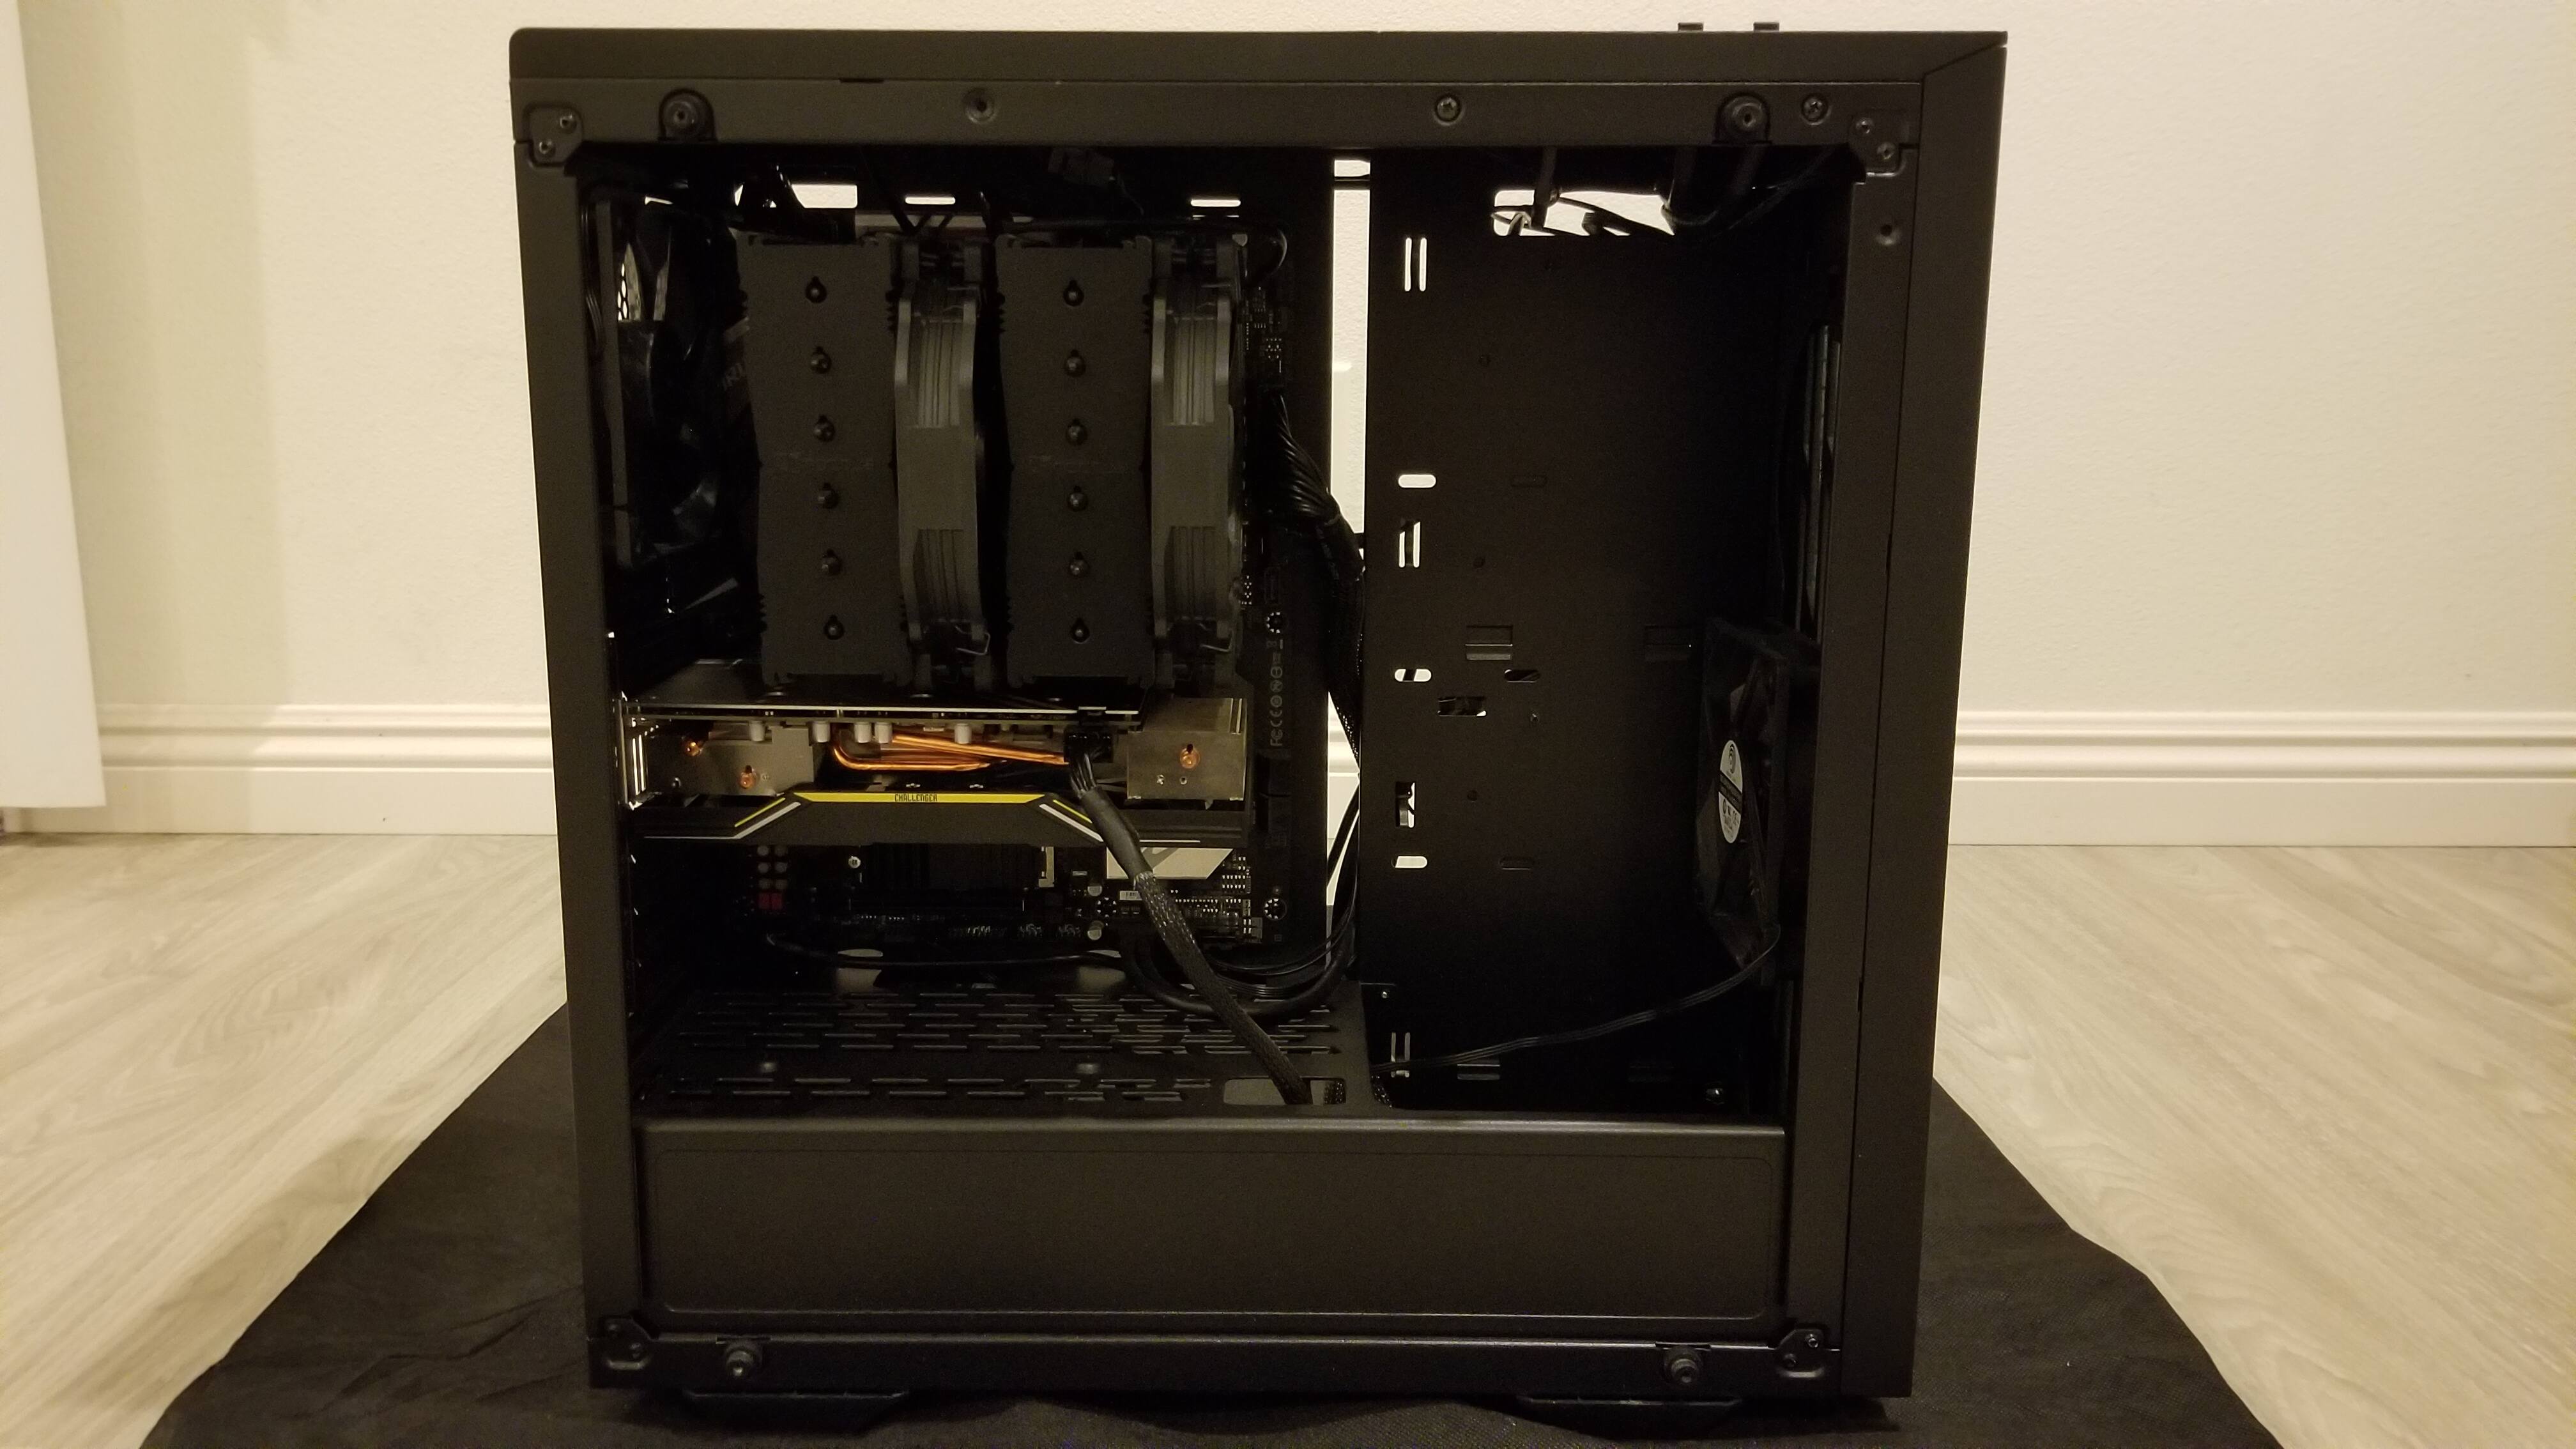
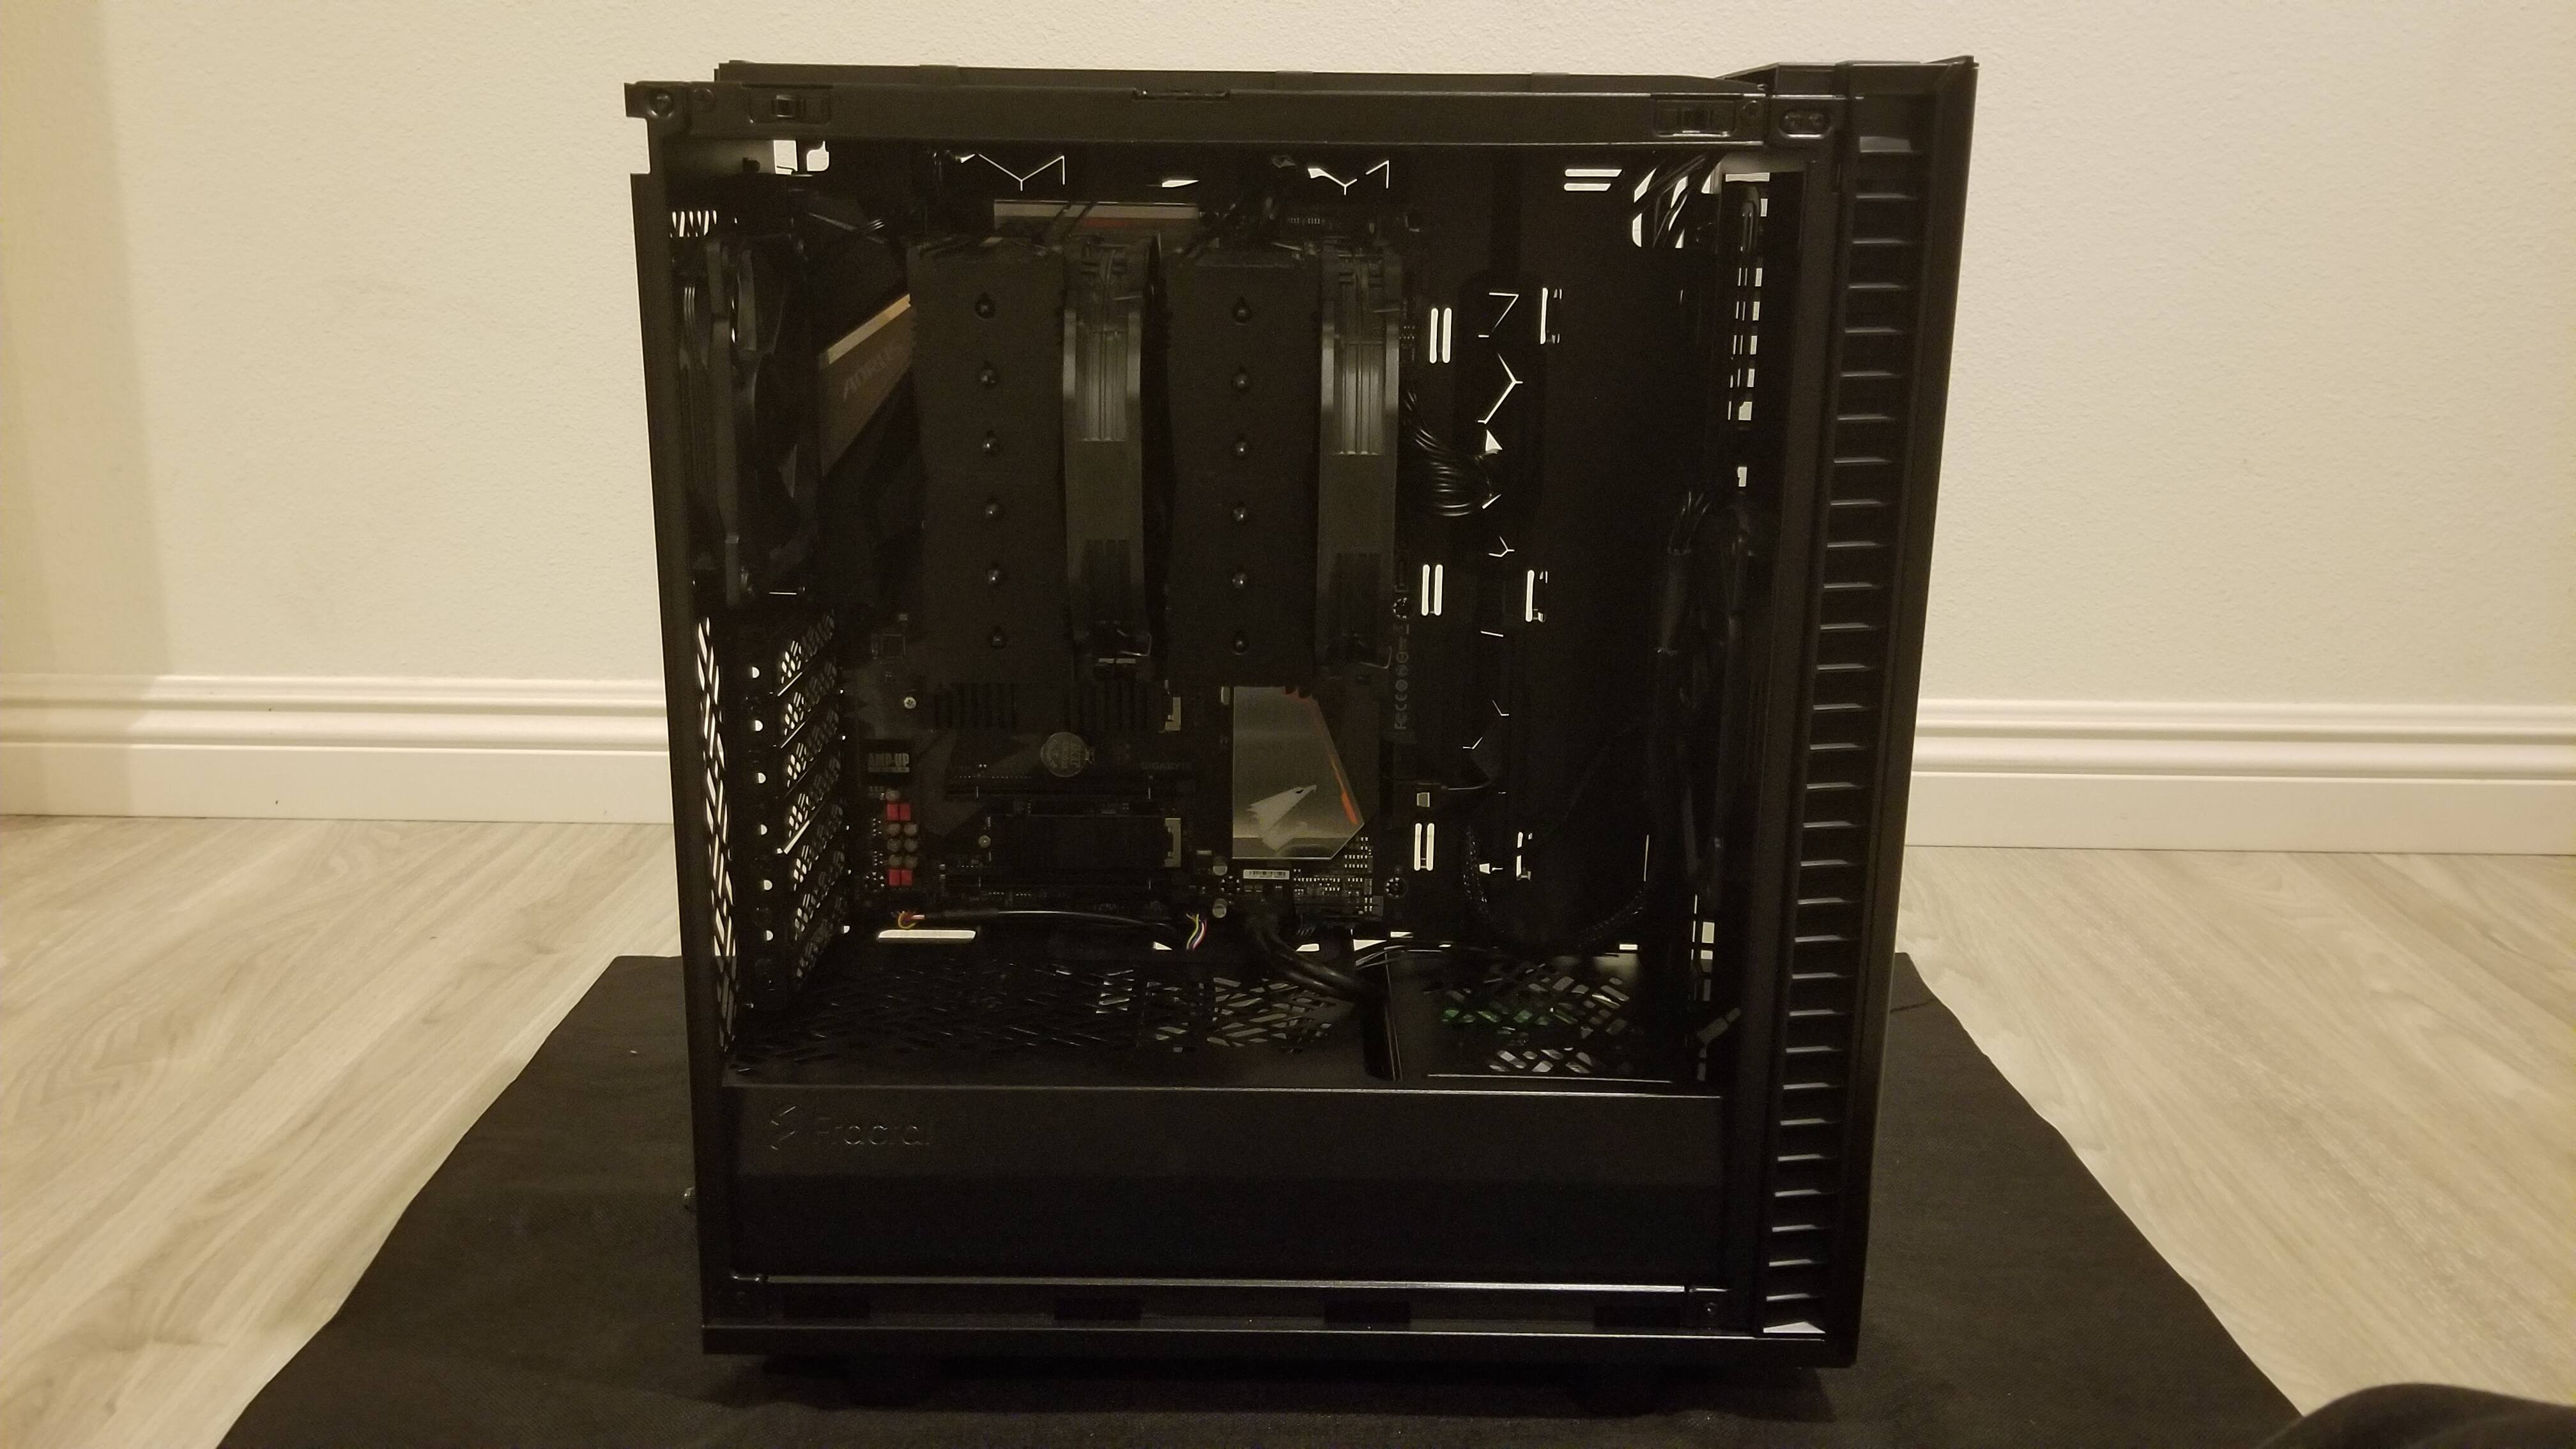
Hoshī + ASUS PRIME X570-PRO Motherboard
Yeeey~ ![]()
Now to slap the case’s opaque, metal side panels back on my baby and not see its internals for another year. ![]()
I CAN FEEL Y’ALL JUDGING. I DO WHAT I MUST TO EASE MY MIND, M’KAY?!
Minor Adjustments Update
Preparing to sell Hoshī’s excess, unused parts to a coworker! Specifically, the GIGABYTE B450 AORUS PRO WIFI motherboard and the EVGA DG-75 case.
…Thank the heavens. I’ve been meaning to pawn off the case for a while, but whomst the heck would want a giant glass hotbox like the DG-75, lol? ![]()
And, since I want to be a decent human being, I’m selling both parts boxed with 99% of their original accessories. Uh, 99%, because I need the one M.2 screw that came with the GIGABYTE board; my ASUS PRIME X570-PRO was missing it’s M.2 screws + standoffs baggie. (Isok, I prodded the seller and they refunded me $10 for the inconvenience. ![]() )
)

NVME M.2 SSD Heat Spreader
Some dingus decided it would be a stellar idea to keep the GIGABYTE’s heat spreader stuck to Hoshī’s boot drive.
Dingus be me. 'Chew the dingus.
Miiight be a good idea to swap out the heat spreader with another one lying around, especially if I wanna sell the GIGABYTE board with it’s OG parts. ![]()

Hoshī - NVME SSD + Heat Spreader Reinstalled
[Eye twitches.]

Hoshī - Graphics Card Reinstalled
Slightly better…?
[…Eye twitches.]
FEKKIT, I’m adding M.2 standoffs to my Amazon shopping list, FRIGGITY FRECK FECK.

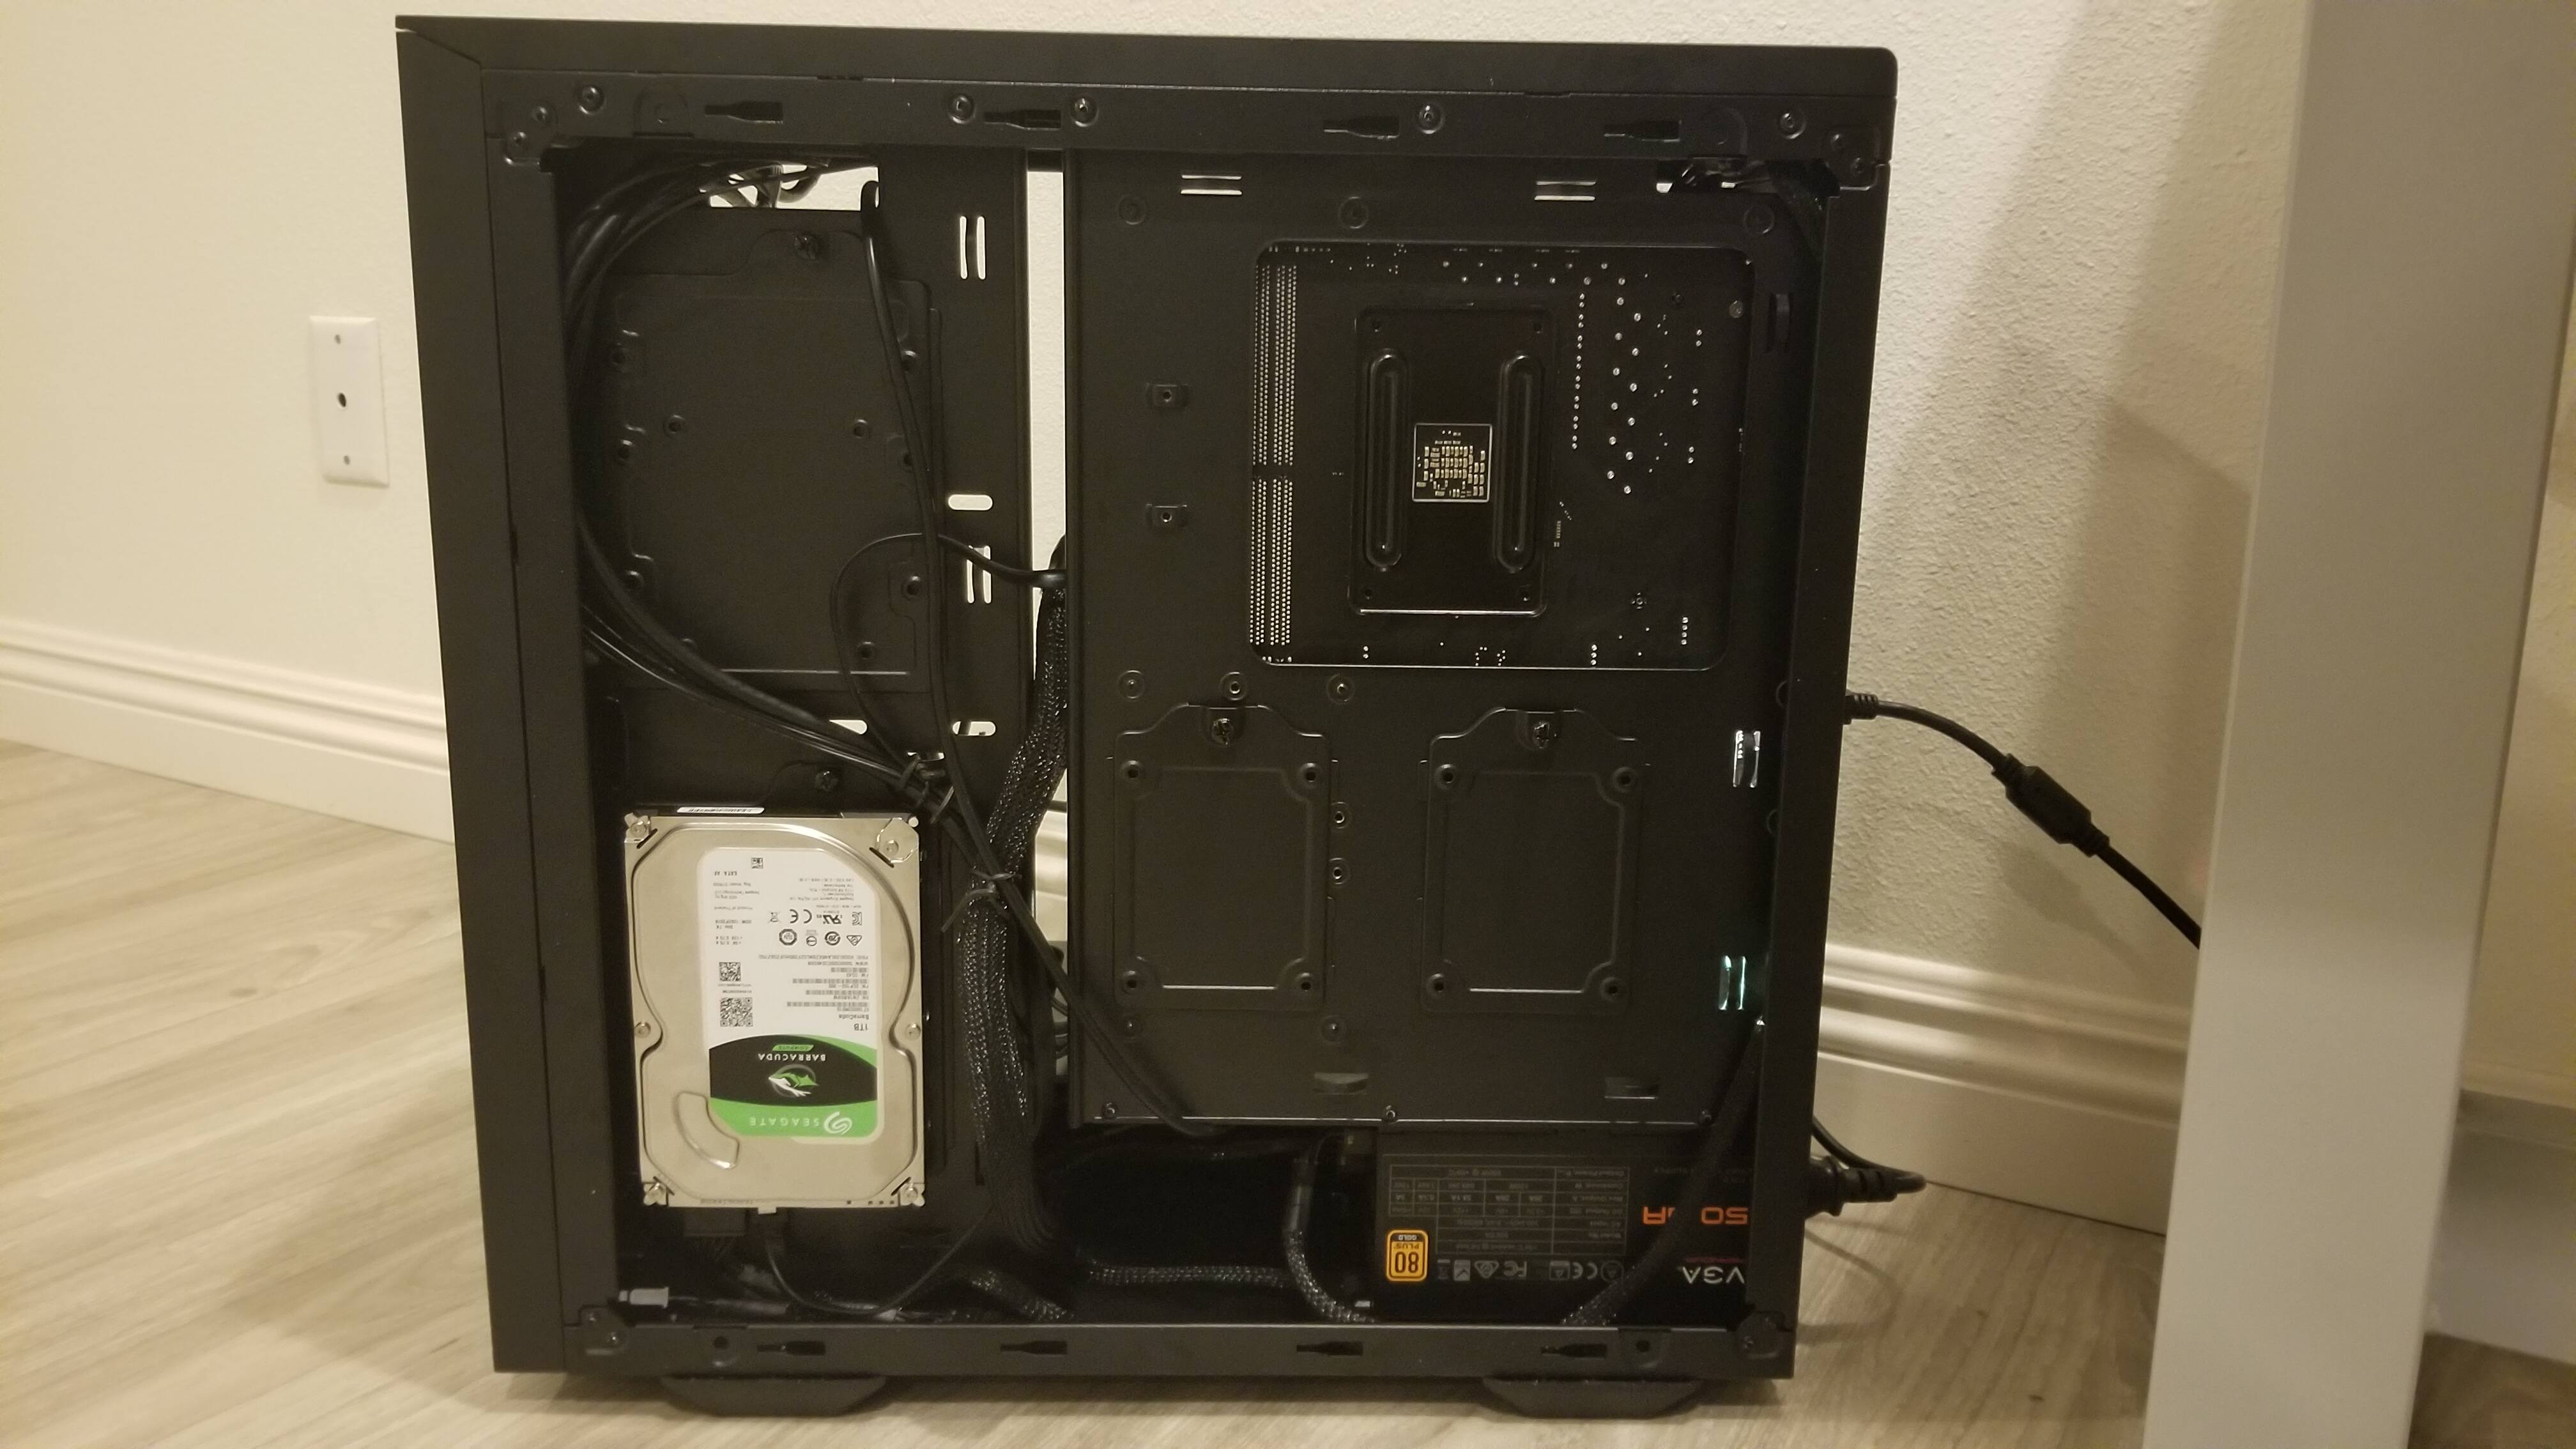
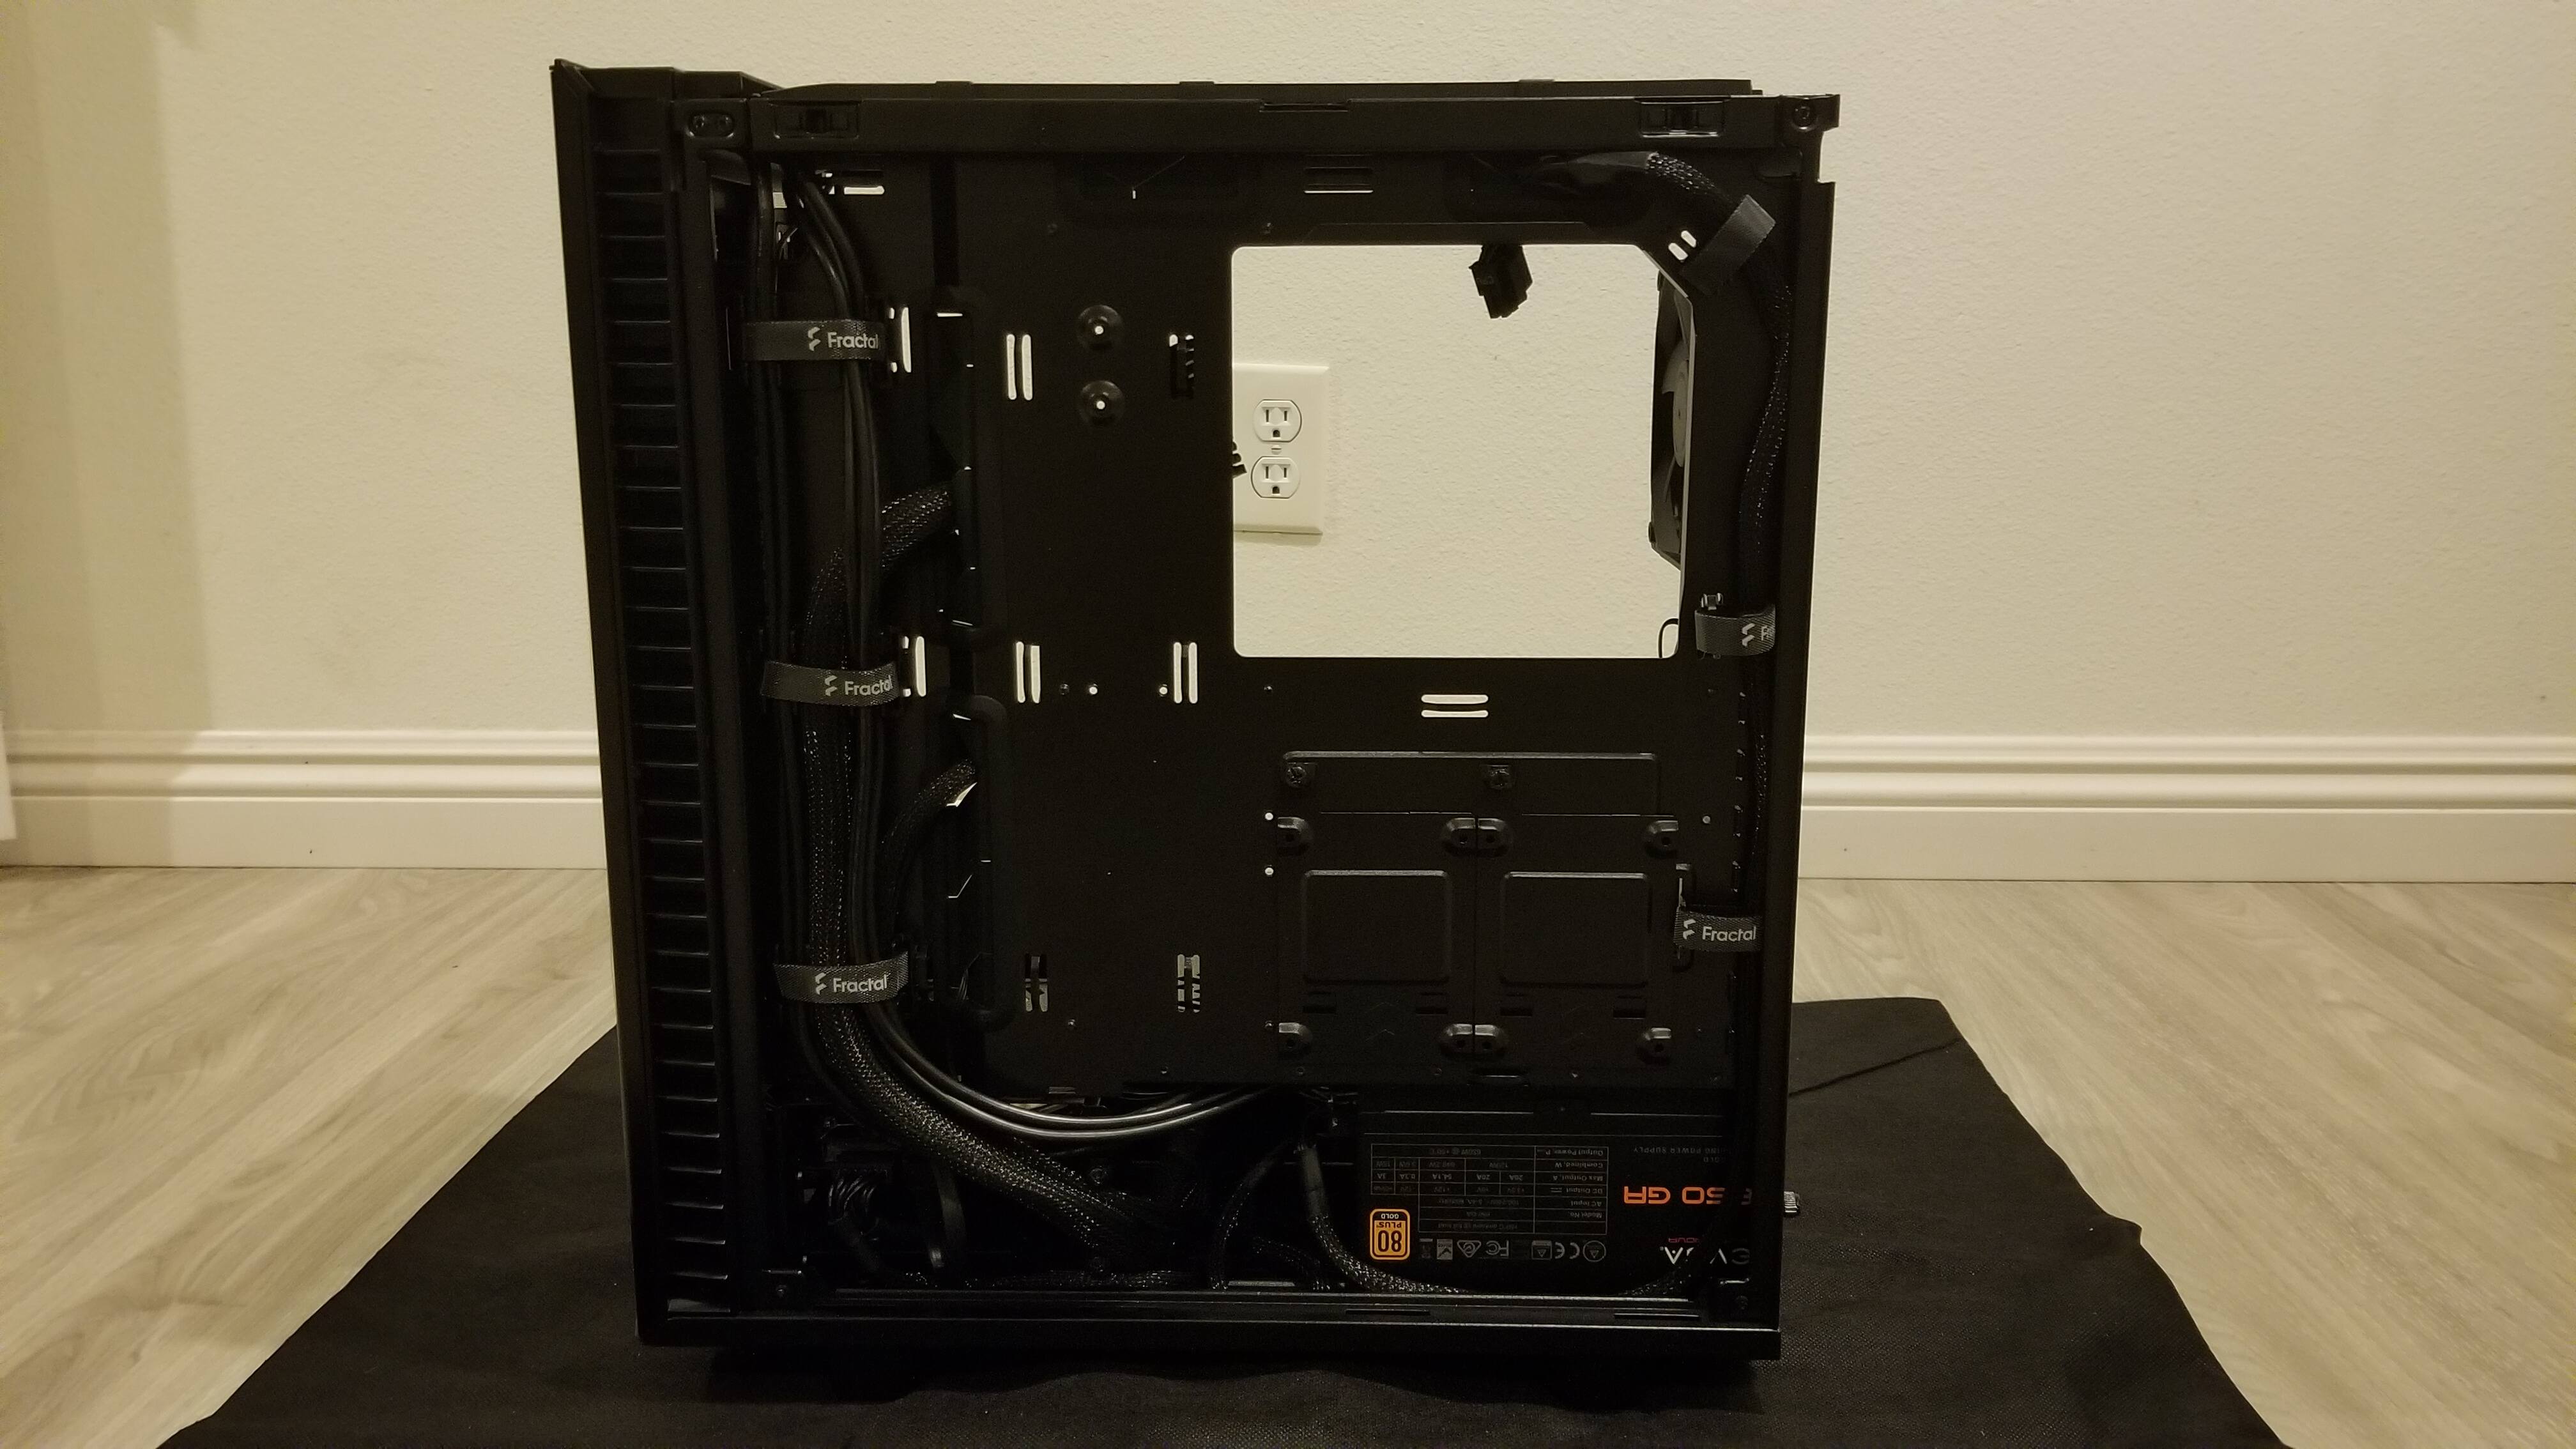
Hoshī - Cables (Before)
SATA cable that came with the GIGABYTE board is in the bottom-left corner.
…Don’t look at the rat’s nest. DON’T.

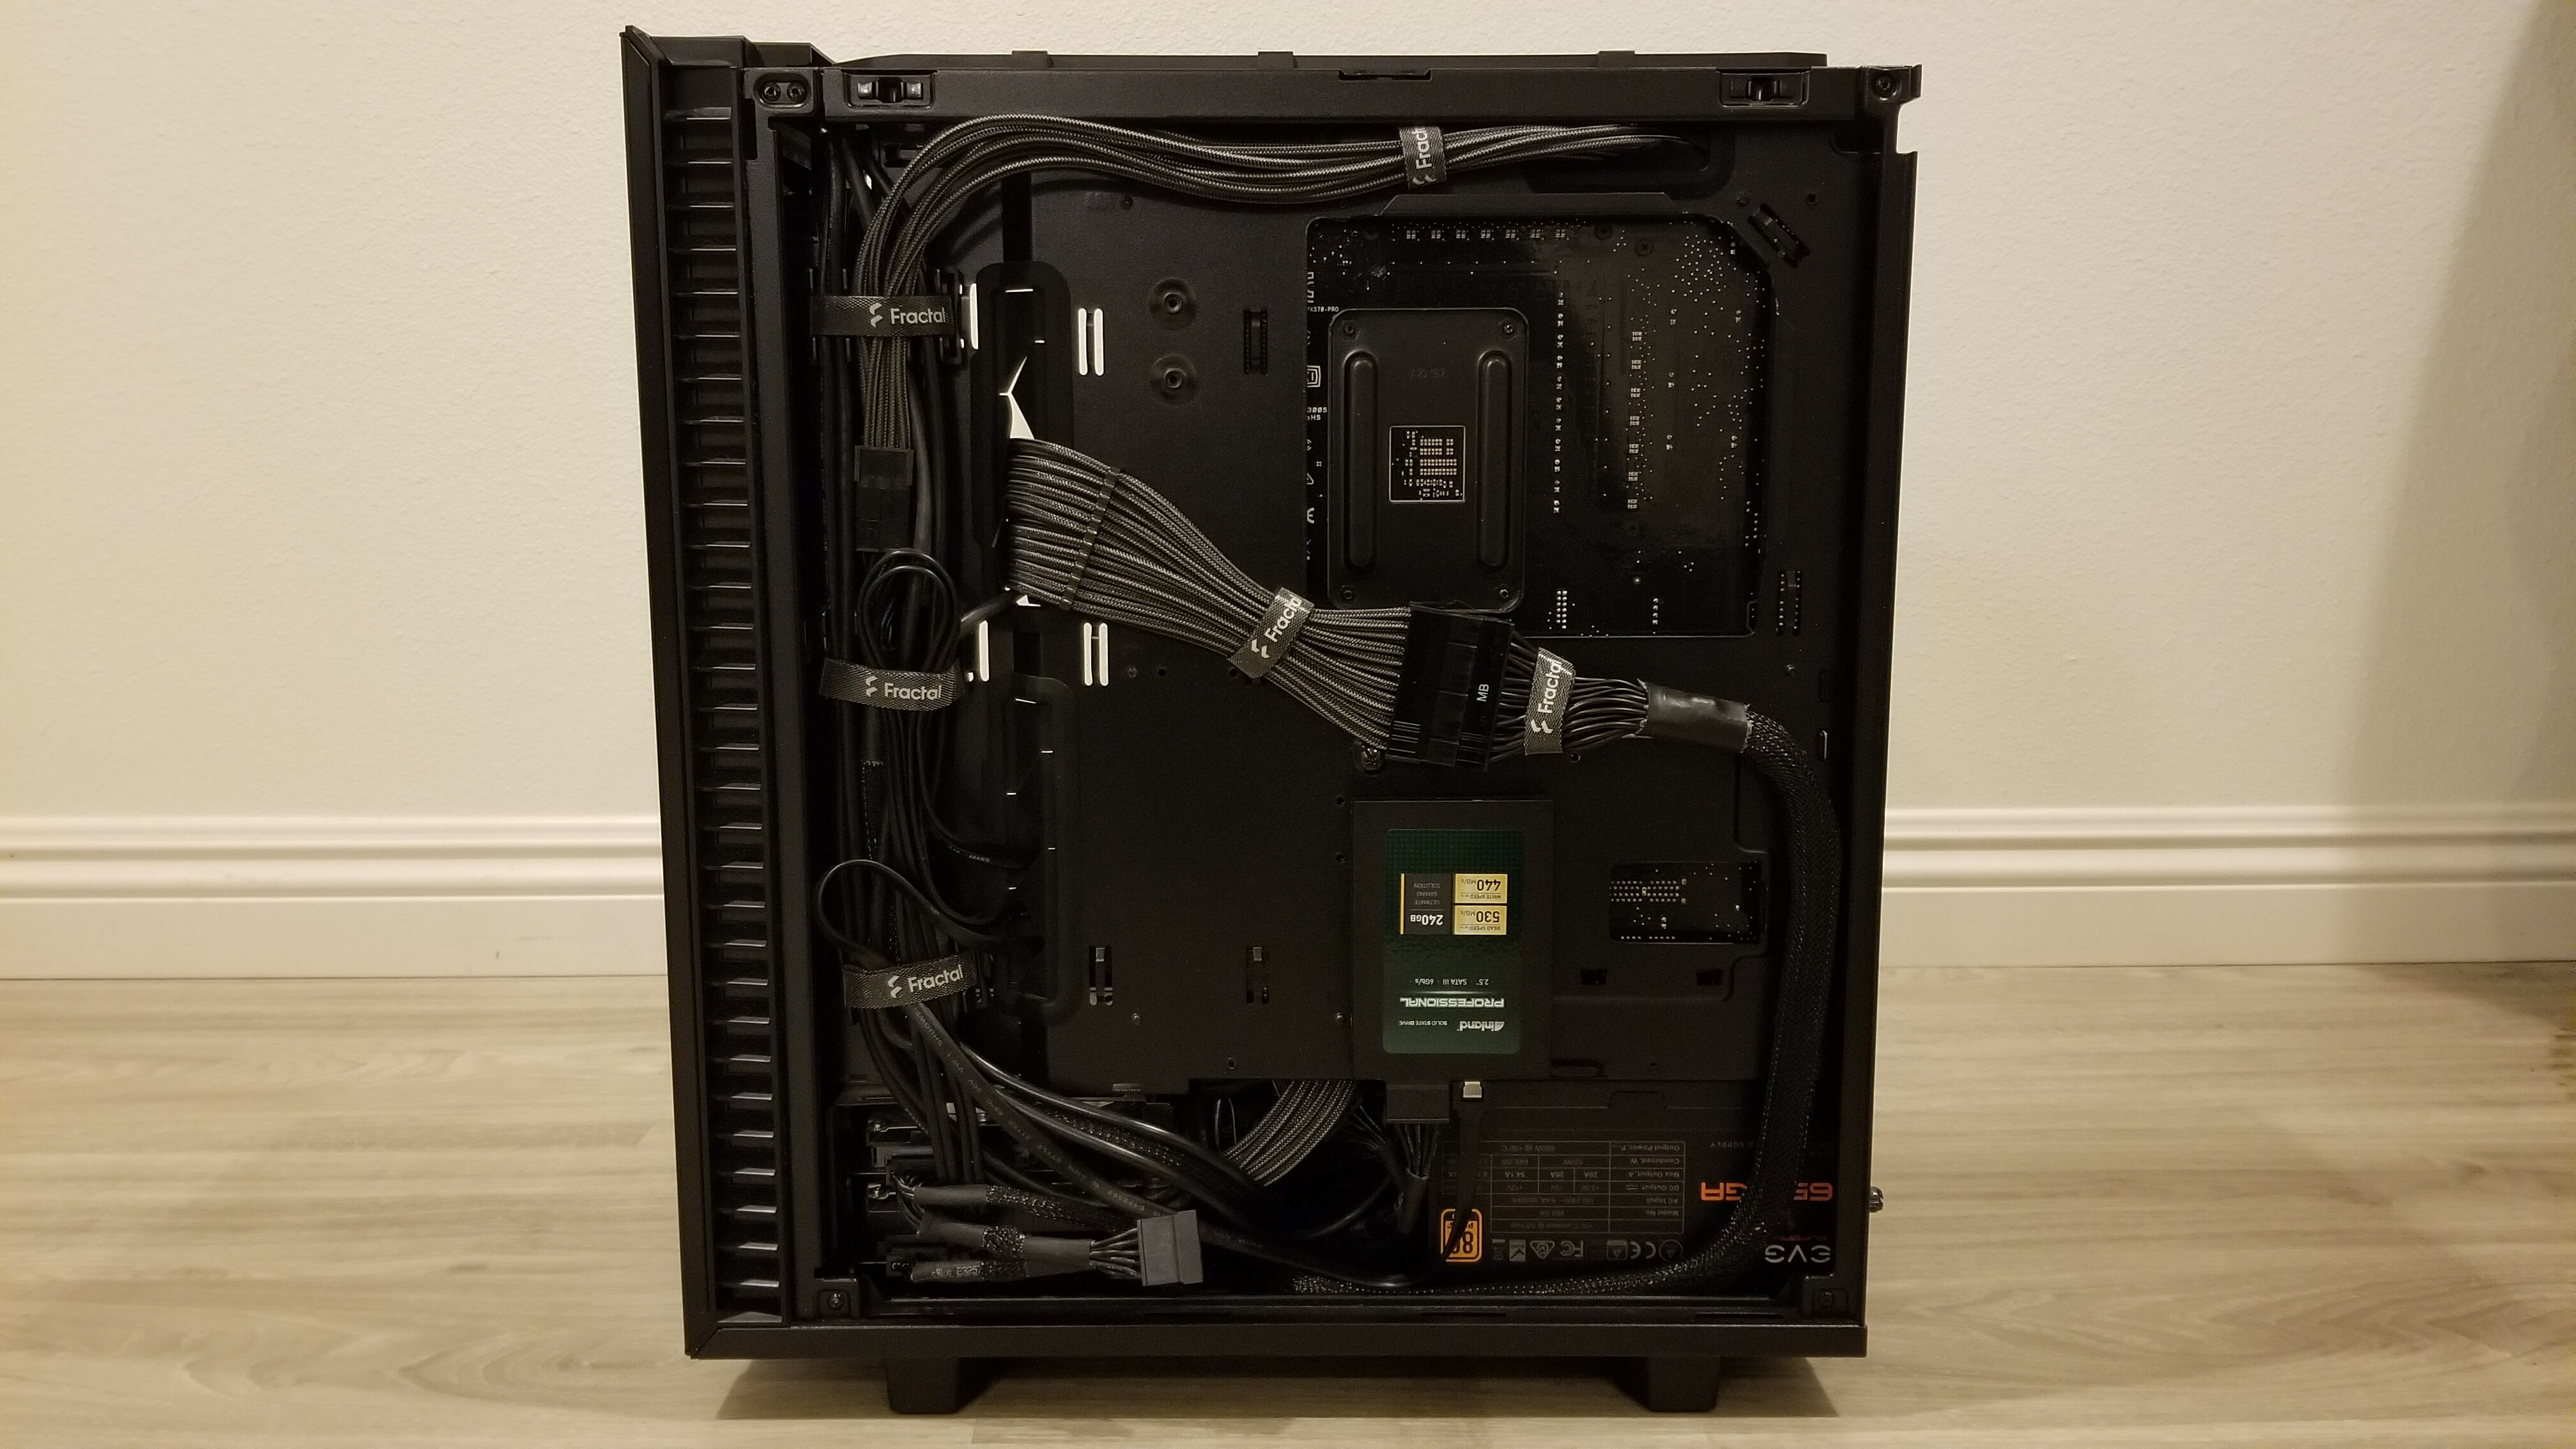
Hoshī - Cables (After)
Cleaned ‘er up a lil’. Left side doesn’t look as hectic as before, methinks. ![]()

Hoshī - Antenna
Swapped out the GIGABYTE antenna with the one that came with the ASUS PCE-AX58BT.
Huh… I might like this better? Reminds me of Zero Two, lol.
…I haven’t watched Darling in the FRANXX.

GIGABYTE B450 AORUS PRO WIFI Motherboard - Box Contents
There we go. Baggies aren’t the original baggies, but almost all of the MOBO’s original accessories are in there.
Missing one M.2 screw should be fine? Coworker did tell me he only has SATA SSDs, no NVME ones. ![]()

EVGA DG-75… Box
Heeey, my hoarding habits paid off for this one – it still has it’s OG packaging with OG form-fitting foam inside, kek.
Post-Hardware Installation List
Installation list for Future ‘Chew to have a clear-cut order of things, especially if I need to reinstall Windows. Based off JayzTwoCents’s Guide and personal preferences. ¯_(ツ)_/¯
- Windows 10 OS Installation Media (Offline)
- Recommended: Enter Product Key (For Correct Windows 10 Install)
- Disk Management (For SDDs/HDDs)
- Windows Updates (Online)
- Preferred Browser (Chrome, Firefox, Etc.)
- NVIDIA / AMD Graphics Driver Update
- Display Preferences / Monitor Settings
- RAM XMP Settings
- Motherboard Drivers / Updates (Chipset, Ethernet/Bluetooth, Audio, Sound Card, RGB Software, Etc.)
- Essential Software (7Zip, Java, LibreOffice, Malwarebytes, Notepad++, Etc.)
- Additional Software (Discord, GIMP, Skype, Steam, VLC, Etc.)
- Ninite Customizable Software Package
- HWiNFO, CrystalDiskInfo
- Peripherals Software/Firmware (QMK Toolbox, QMK MSYS, VIA, REALFORCE Software, Logitech G HUB, Etc.)
- Folding@home Client and BOINC Manager
Closing Comments

I fully realize that my build is far from balanced. For $1,500 (approximate total cost, minus the UPS + peripherals), I wager others could draw up a significantly more powerful system. But note that I’m no OC’er, and I have very minimal interest in “min-maxing” my build’s price-to-performance. It works perfectly well for my current use case – primarily gaming and F@H/BOINC – and I’ve yet to encounter any detrimental hardware issues I couldn’t troubleshoot.
Would also like to send many thanks in @Den’s direction – a very significant number of Hoshī’s PC parts and peripherals were gifted by him! ![]()
- CableMod ModMesh Basic Cable Extension Kit - Carbon: Used in Cotton Candy Threads!
- Seagate BarraCuda 4 TB 3.5" 7200RPM HDD
- 1 × Noctua NF-F12 chromax.black: Used in Chisai!
- GK64 Keeb
- NIU Mini Keeb
- Qisan Magicforce Numpad
- Fostex HP-A4BL DAC/AMP: Featured in Revisiting My First Setup - Fostex HP-A4BL & AKG K712 Pro!