Main System Components:
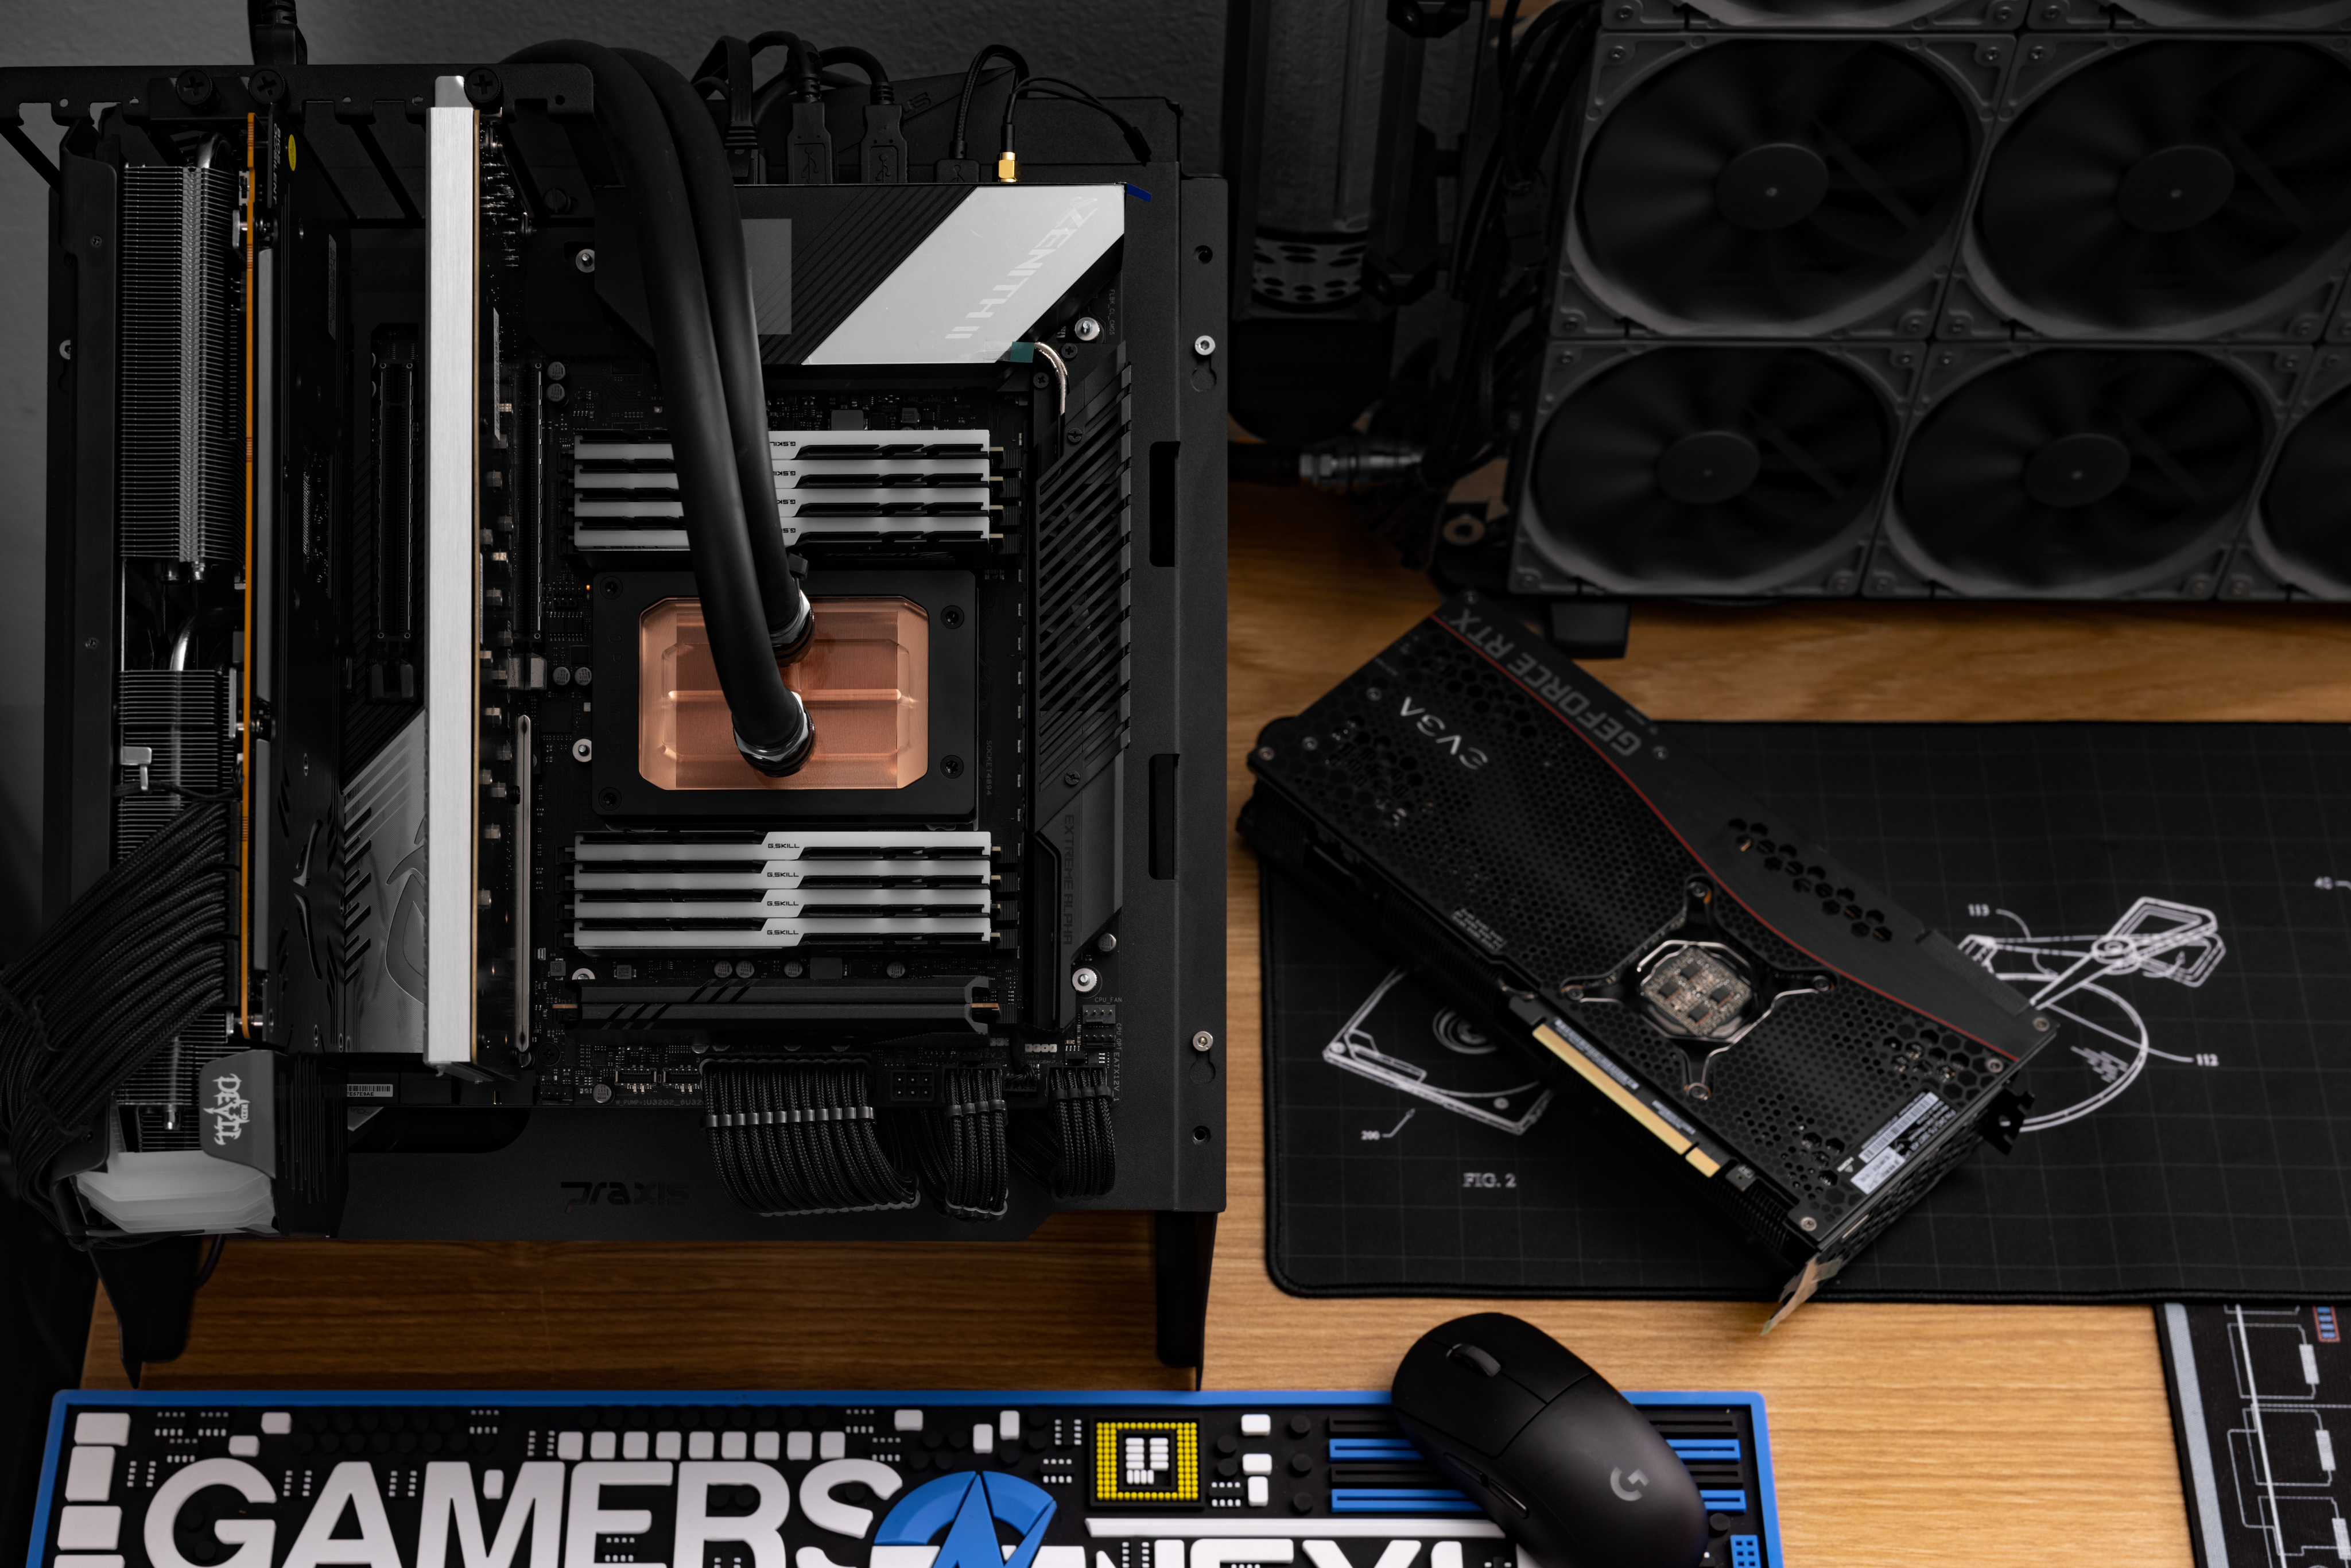
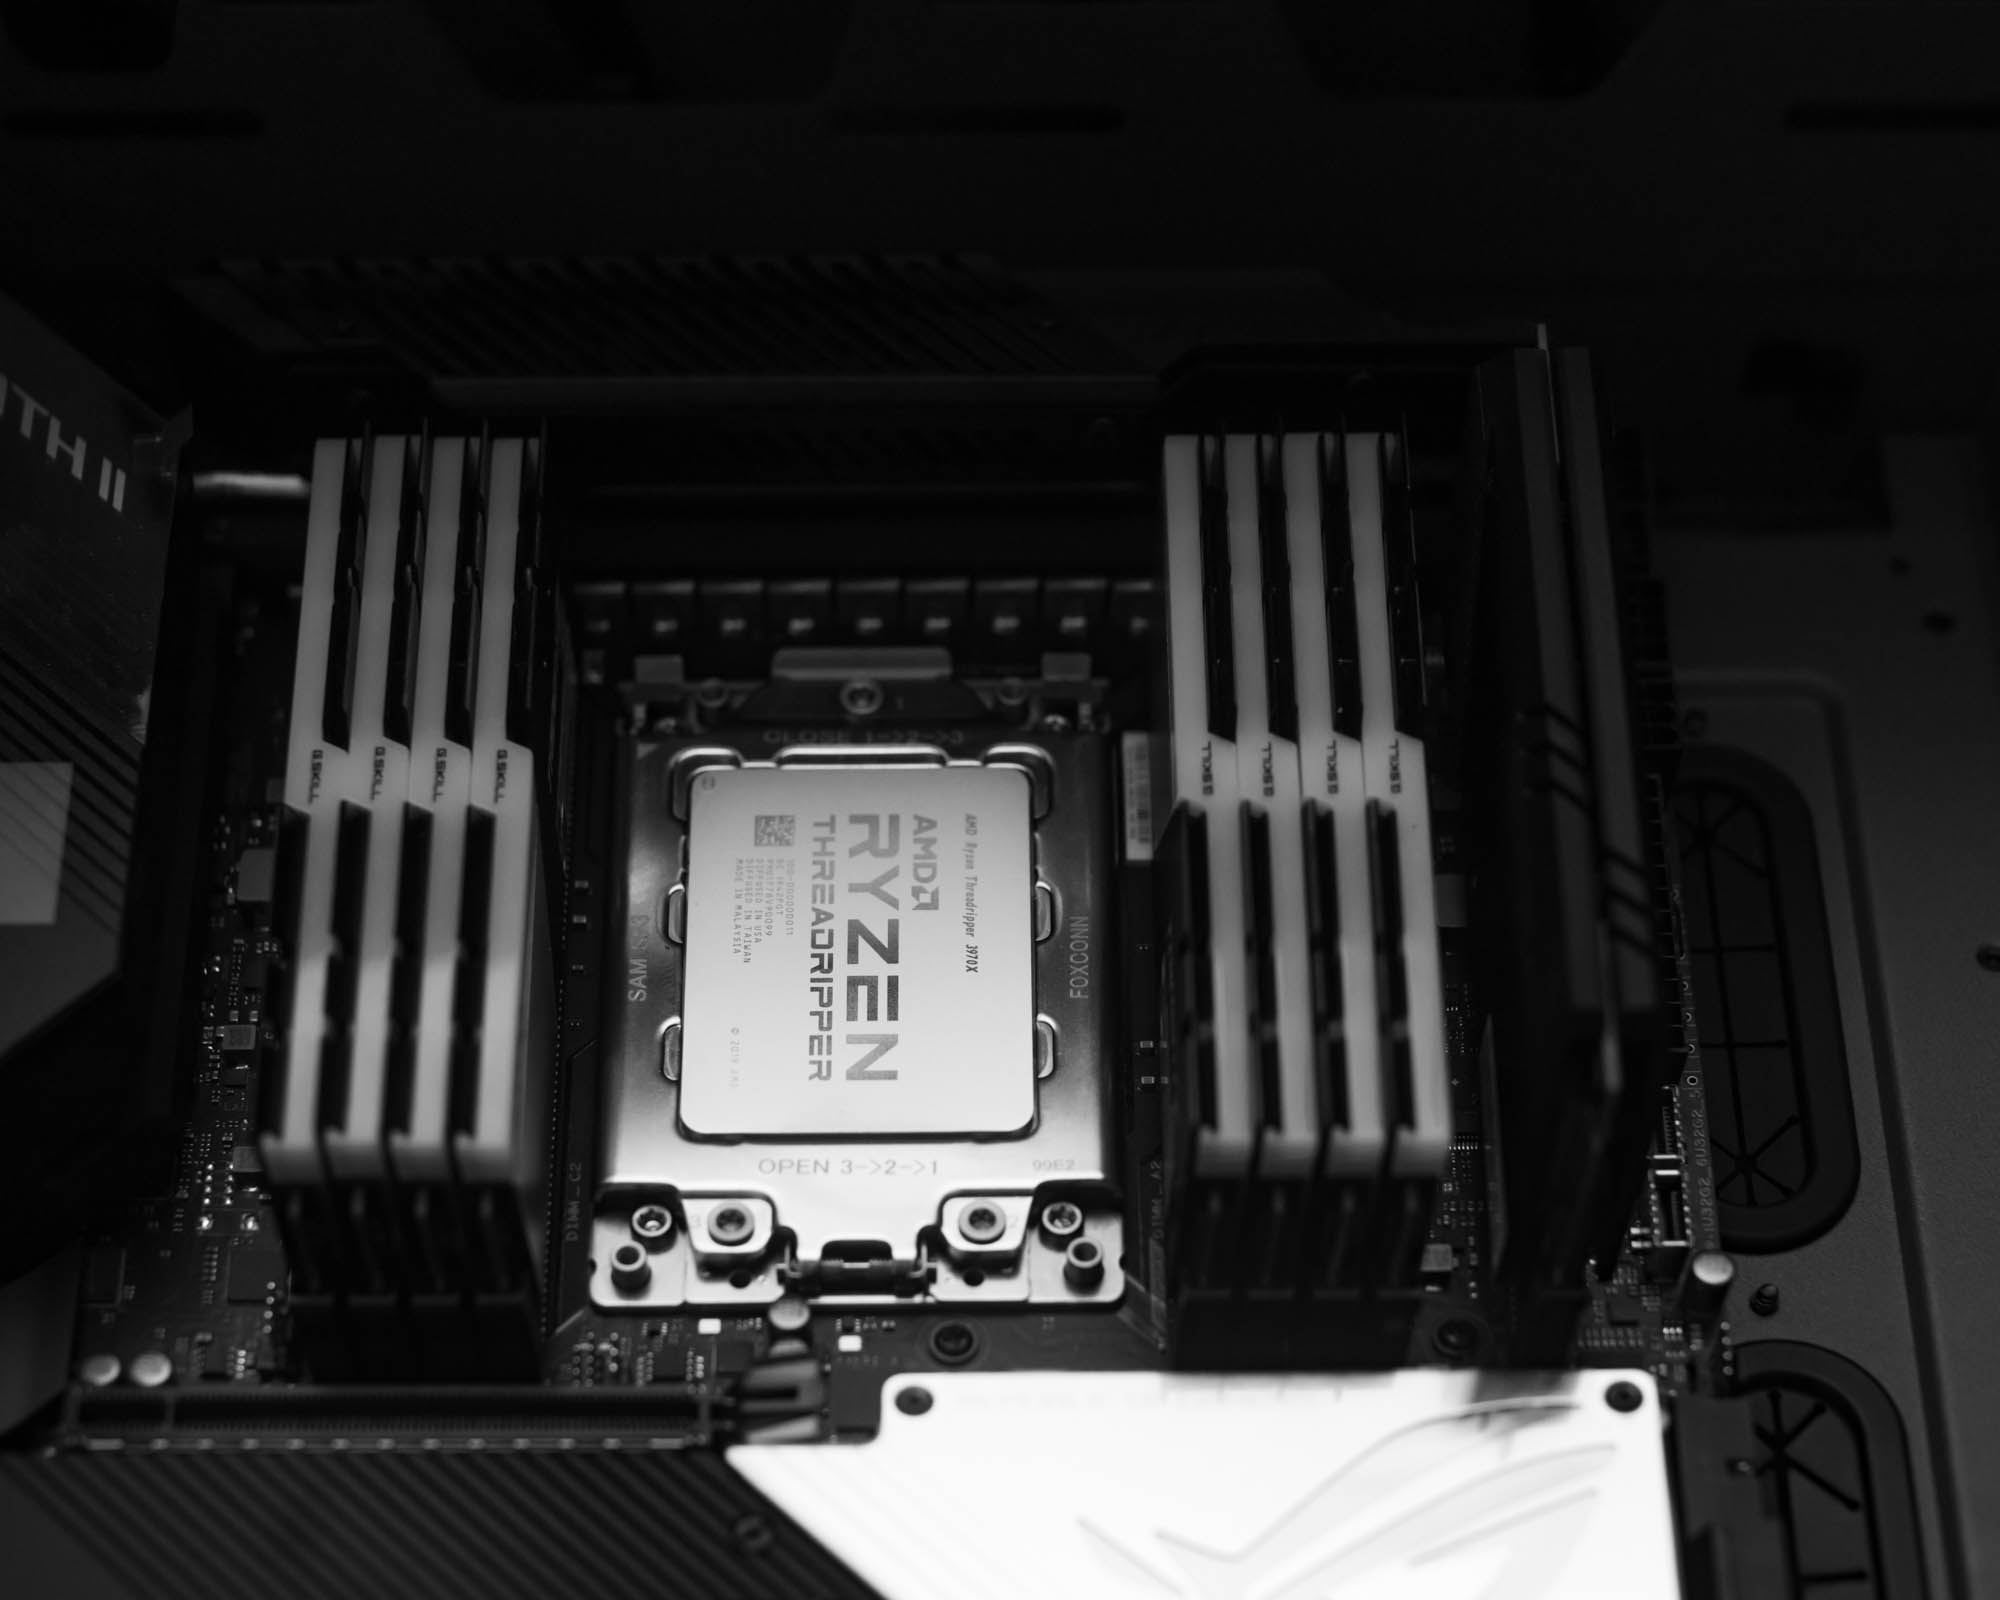
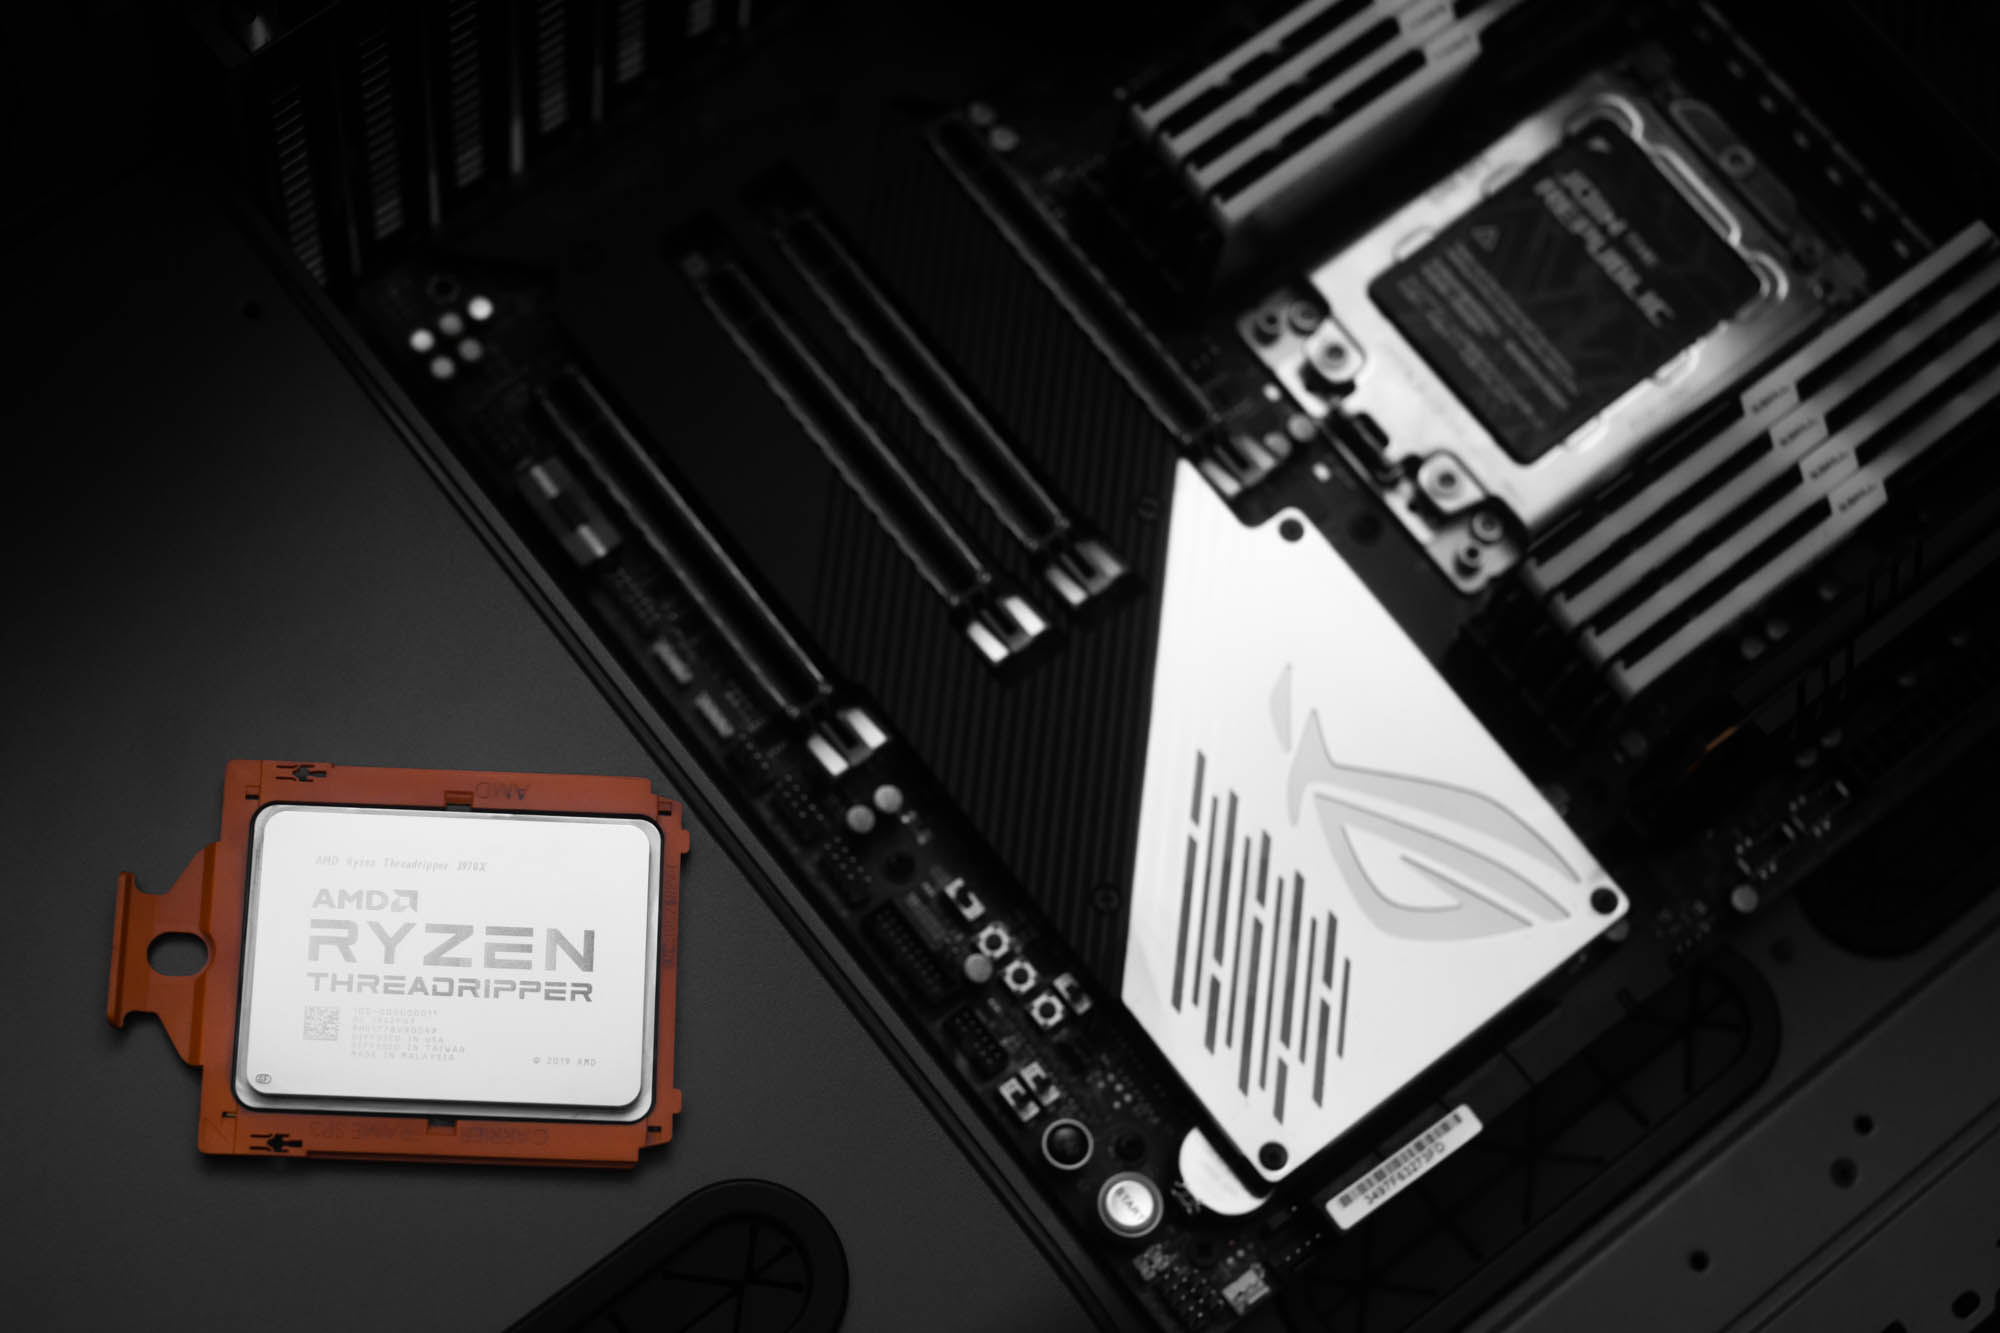
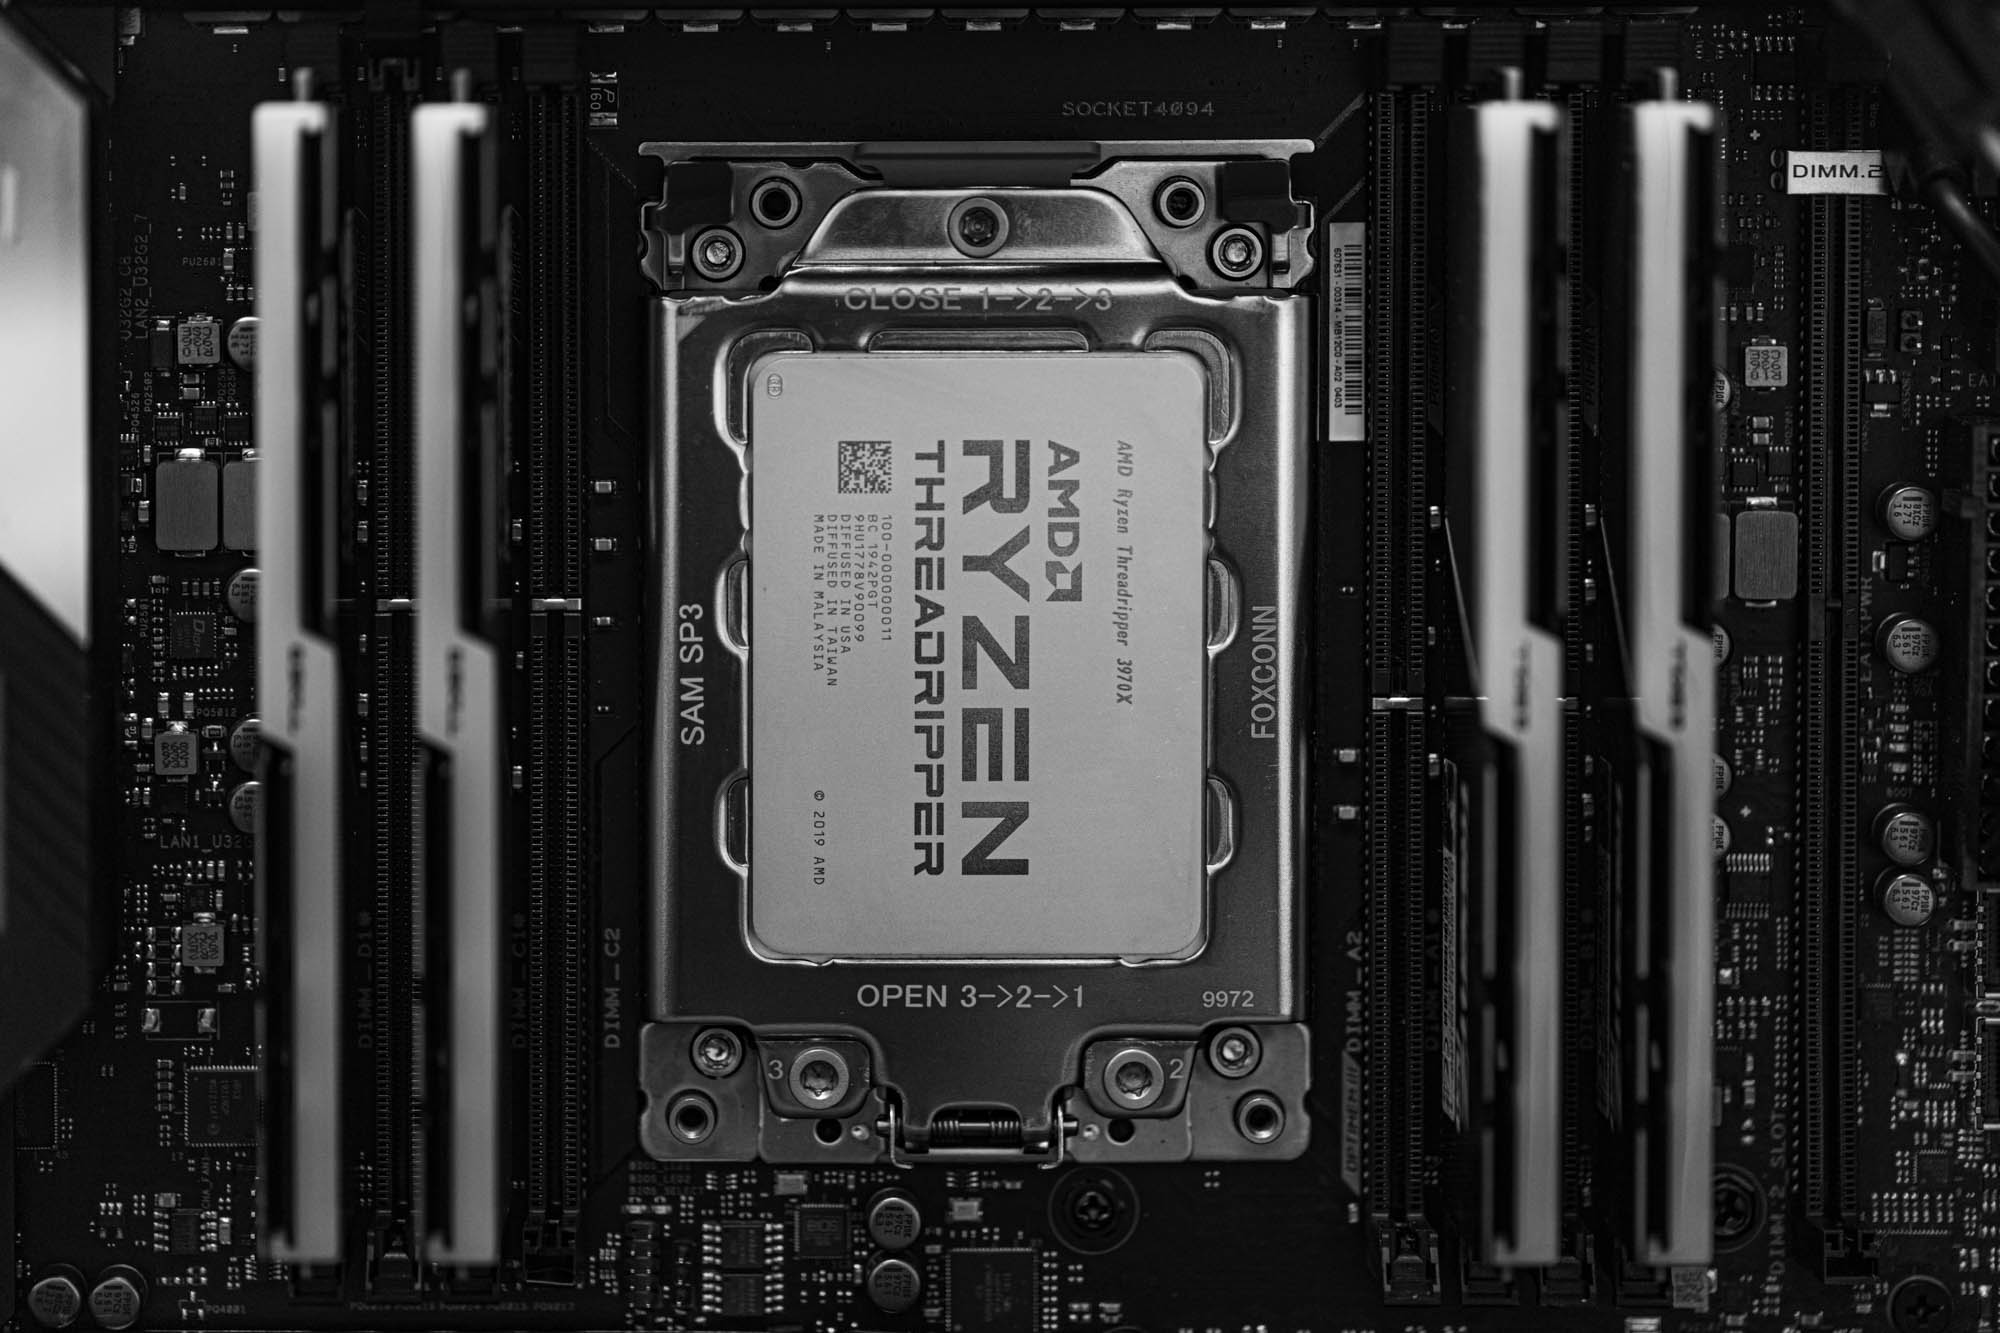
AMD Threadripper 3970X 3.7 GHz 32-Core Processor
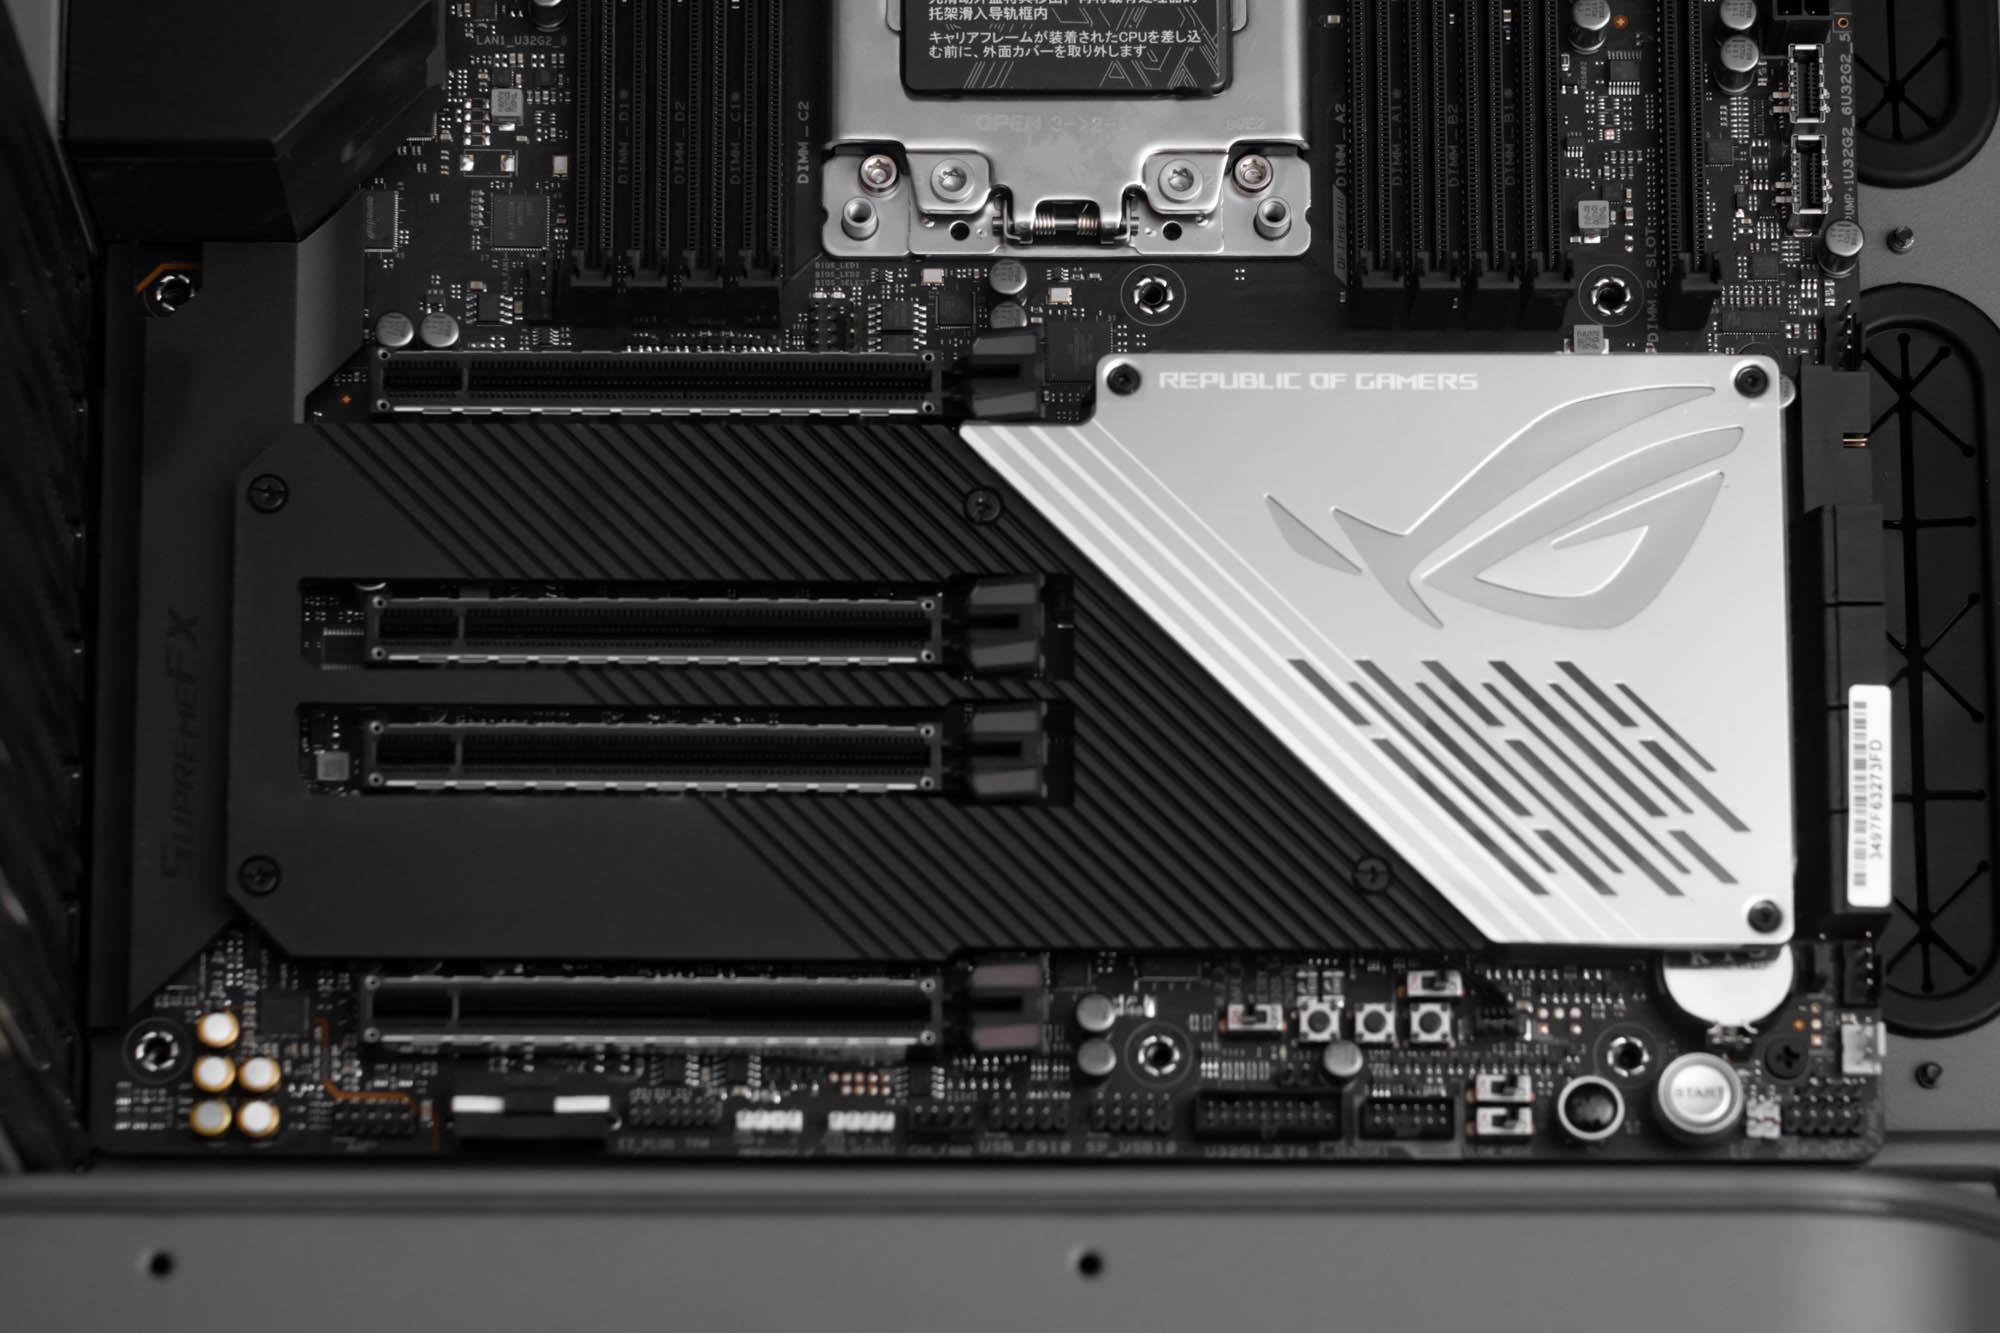
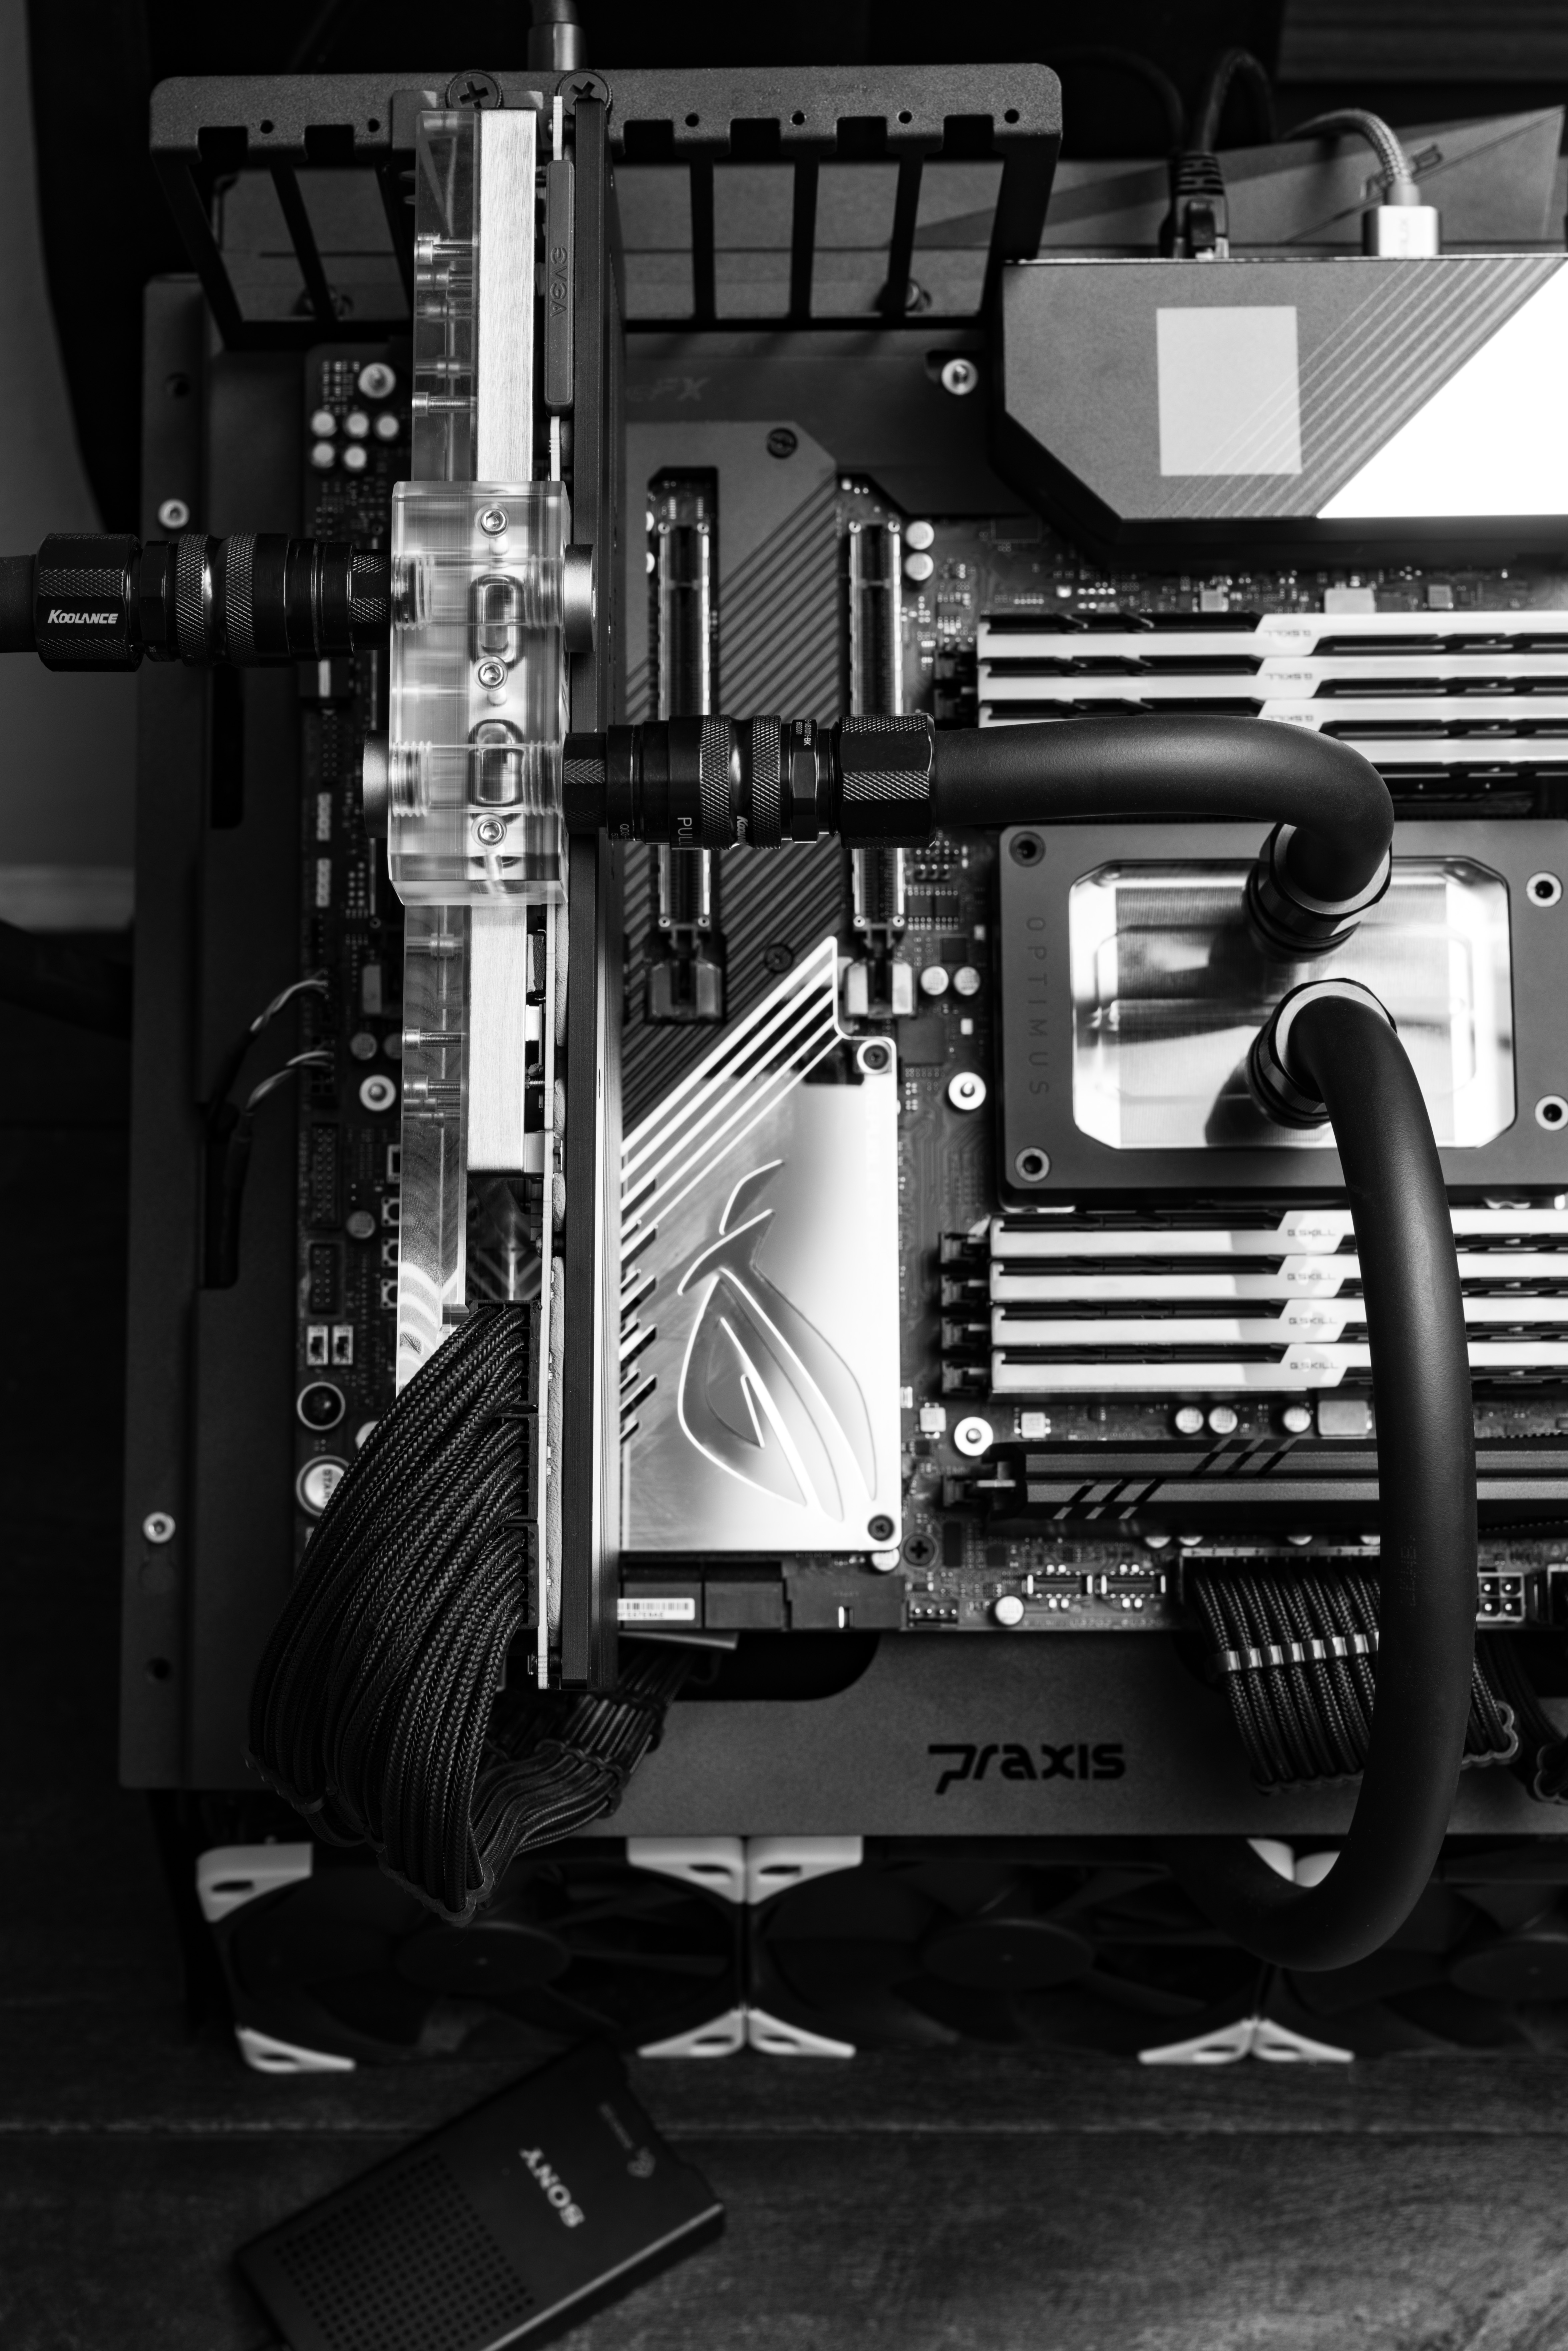
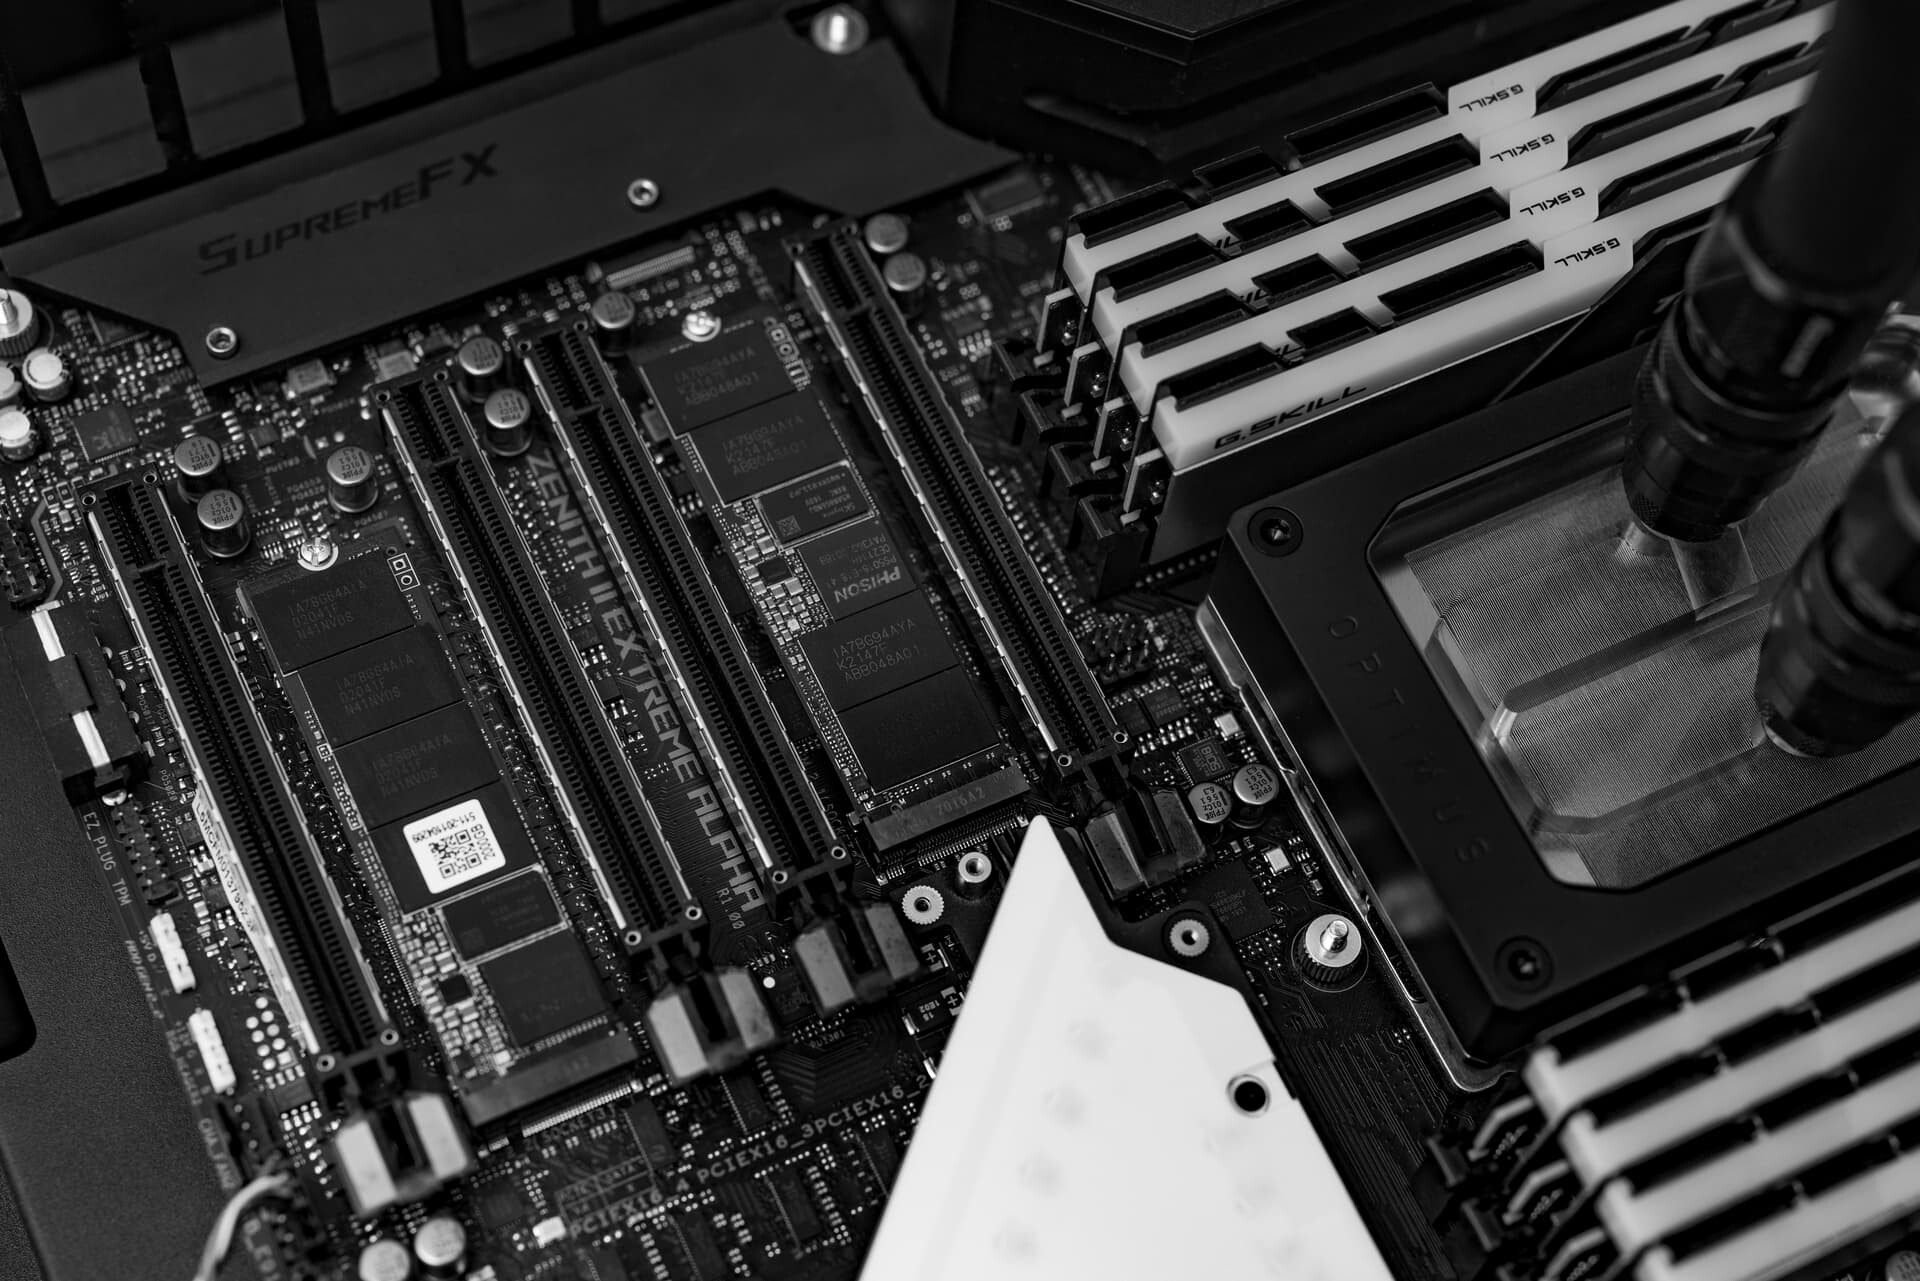
Motherboard: Asus ROG ZENITH II EXTREME ALPHA EATX sTRX4 Motherboard
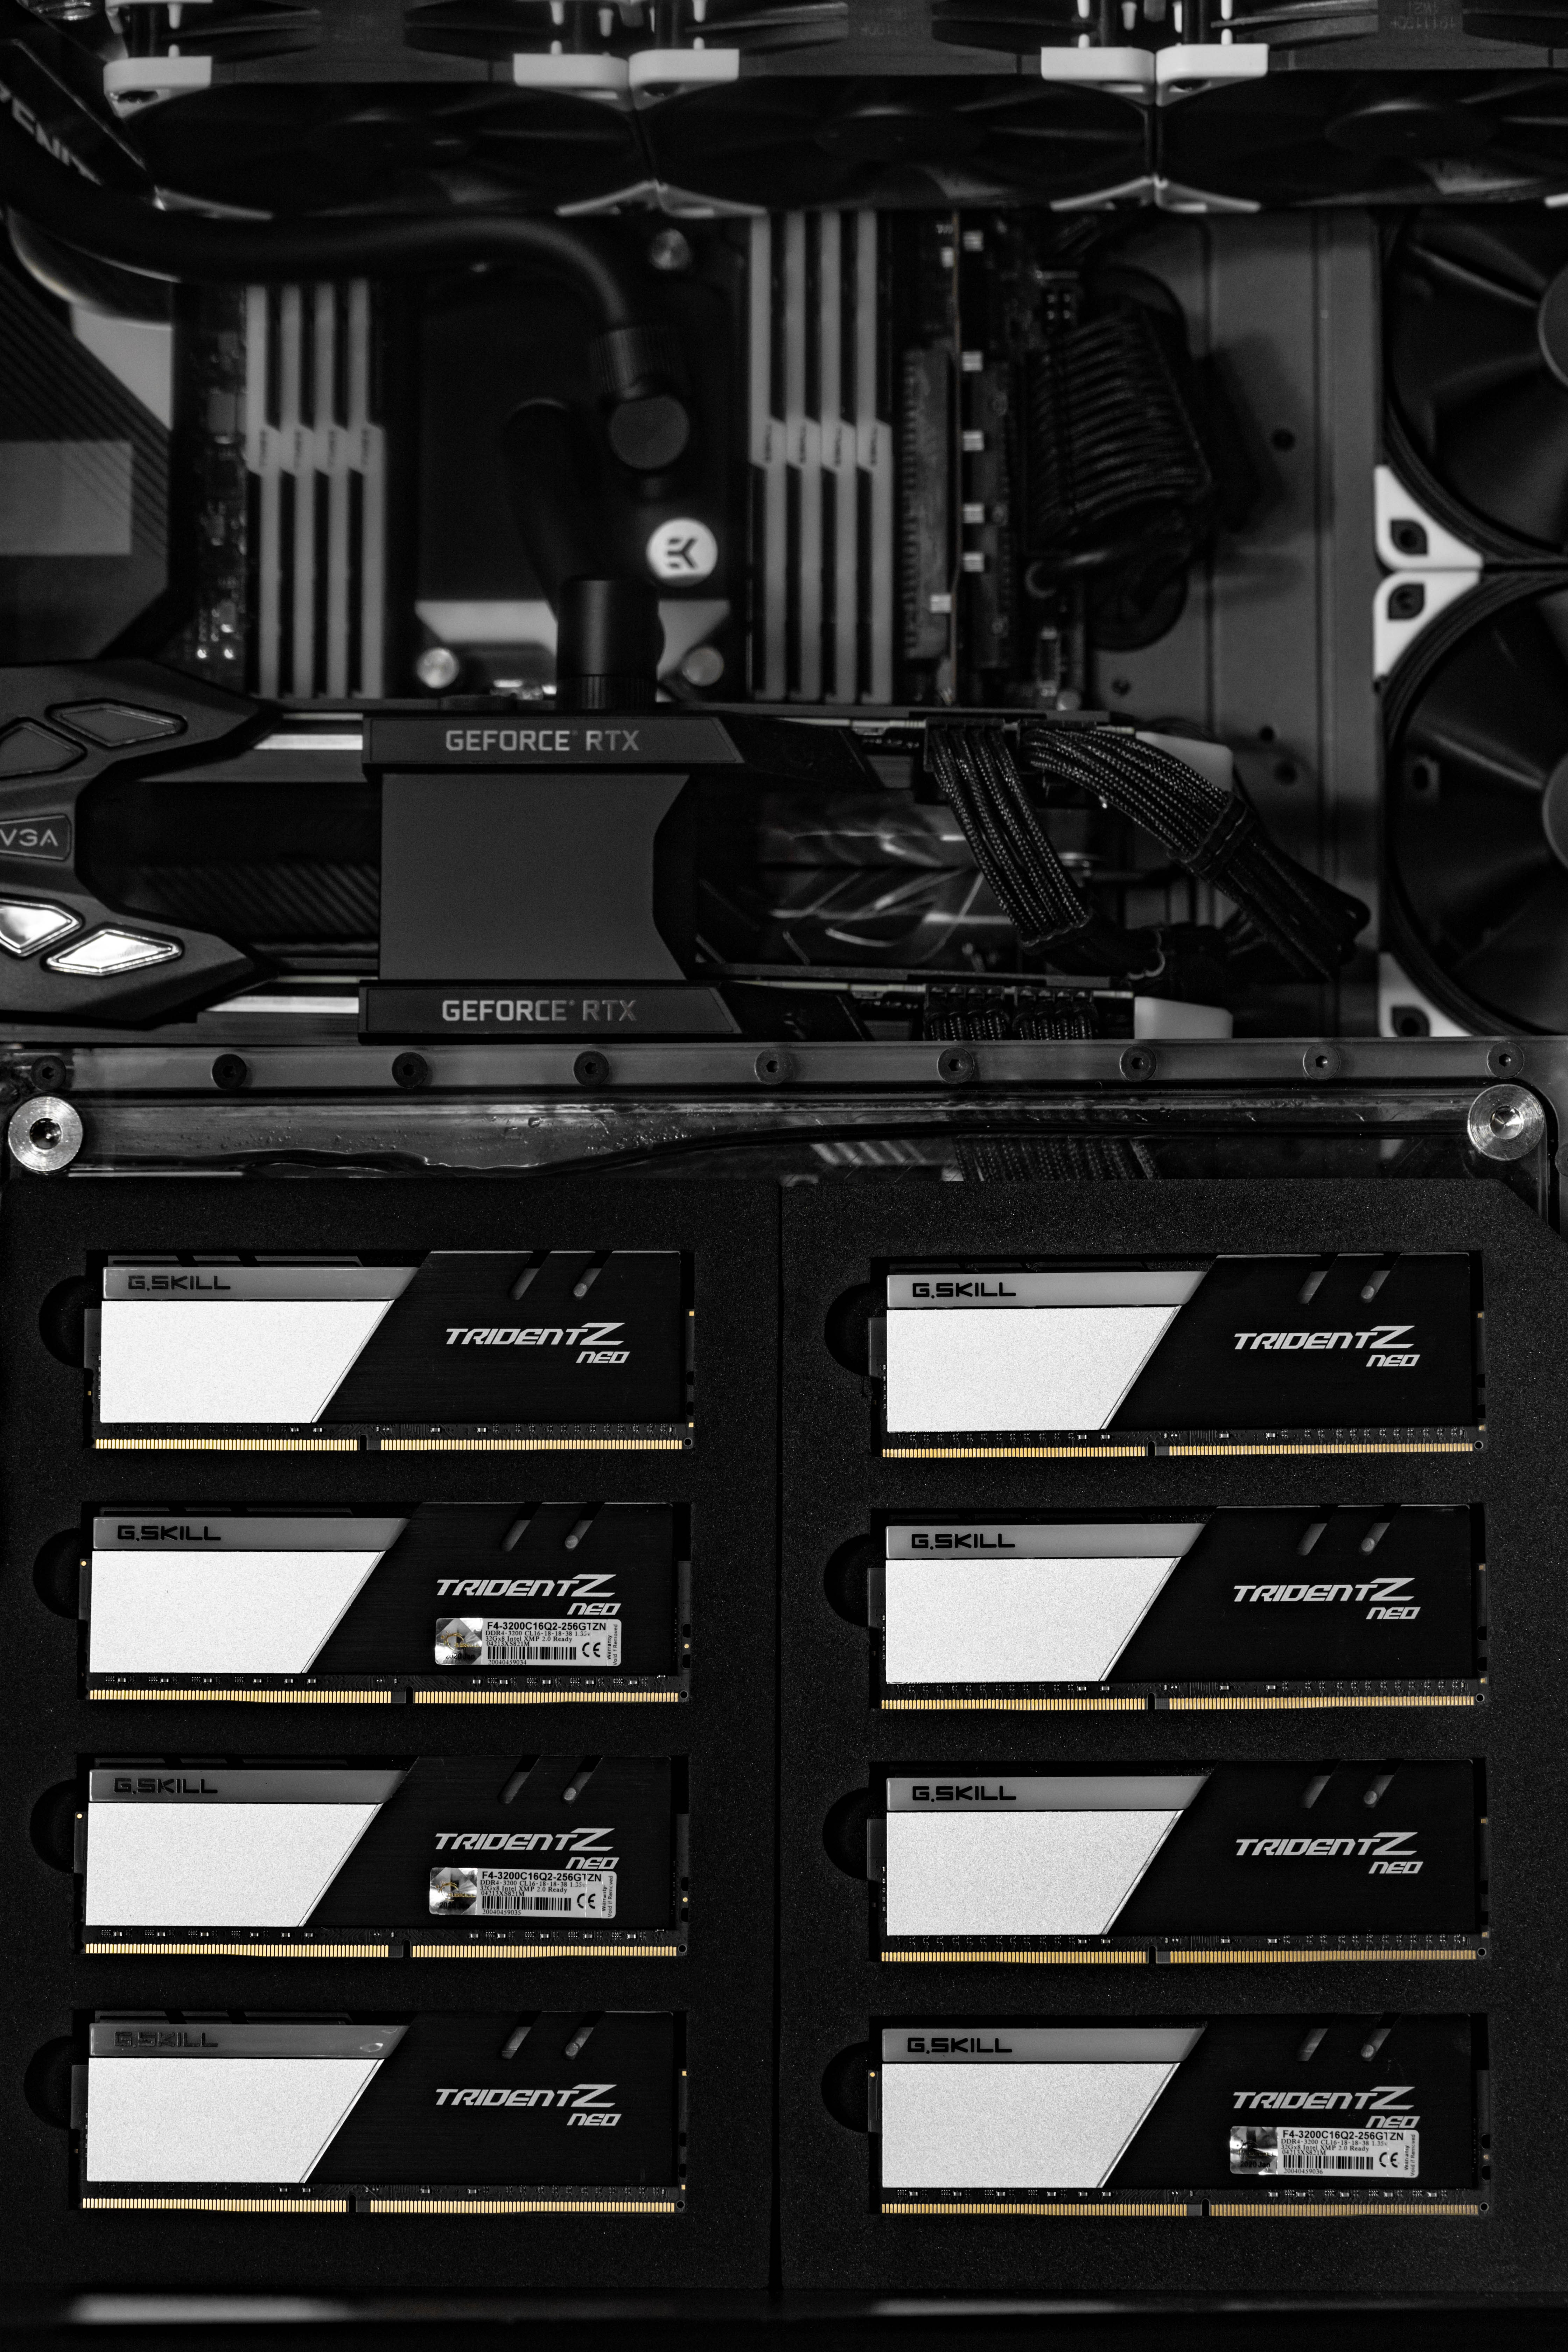
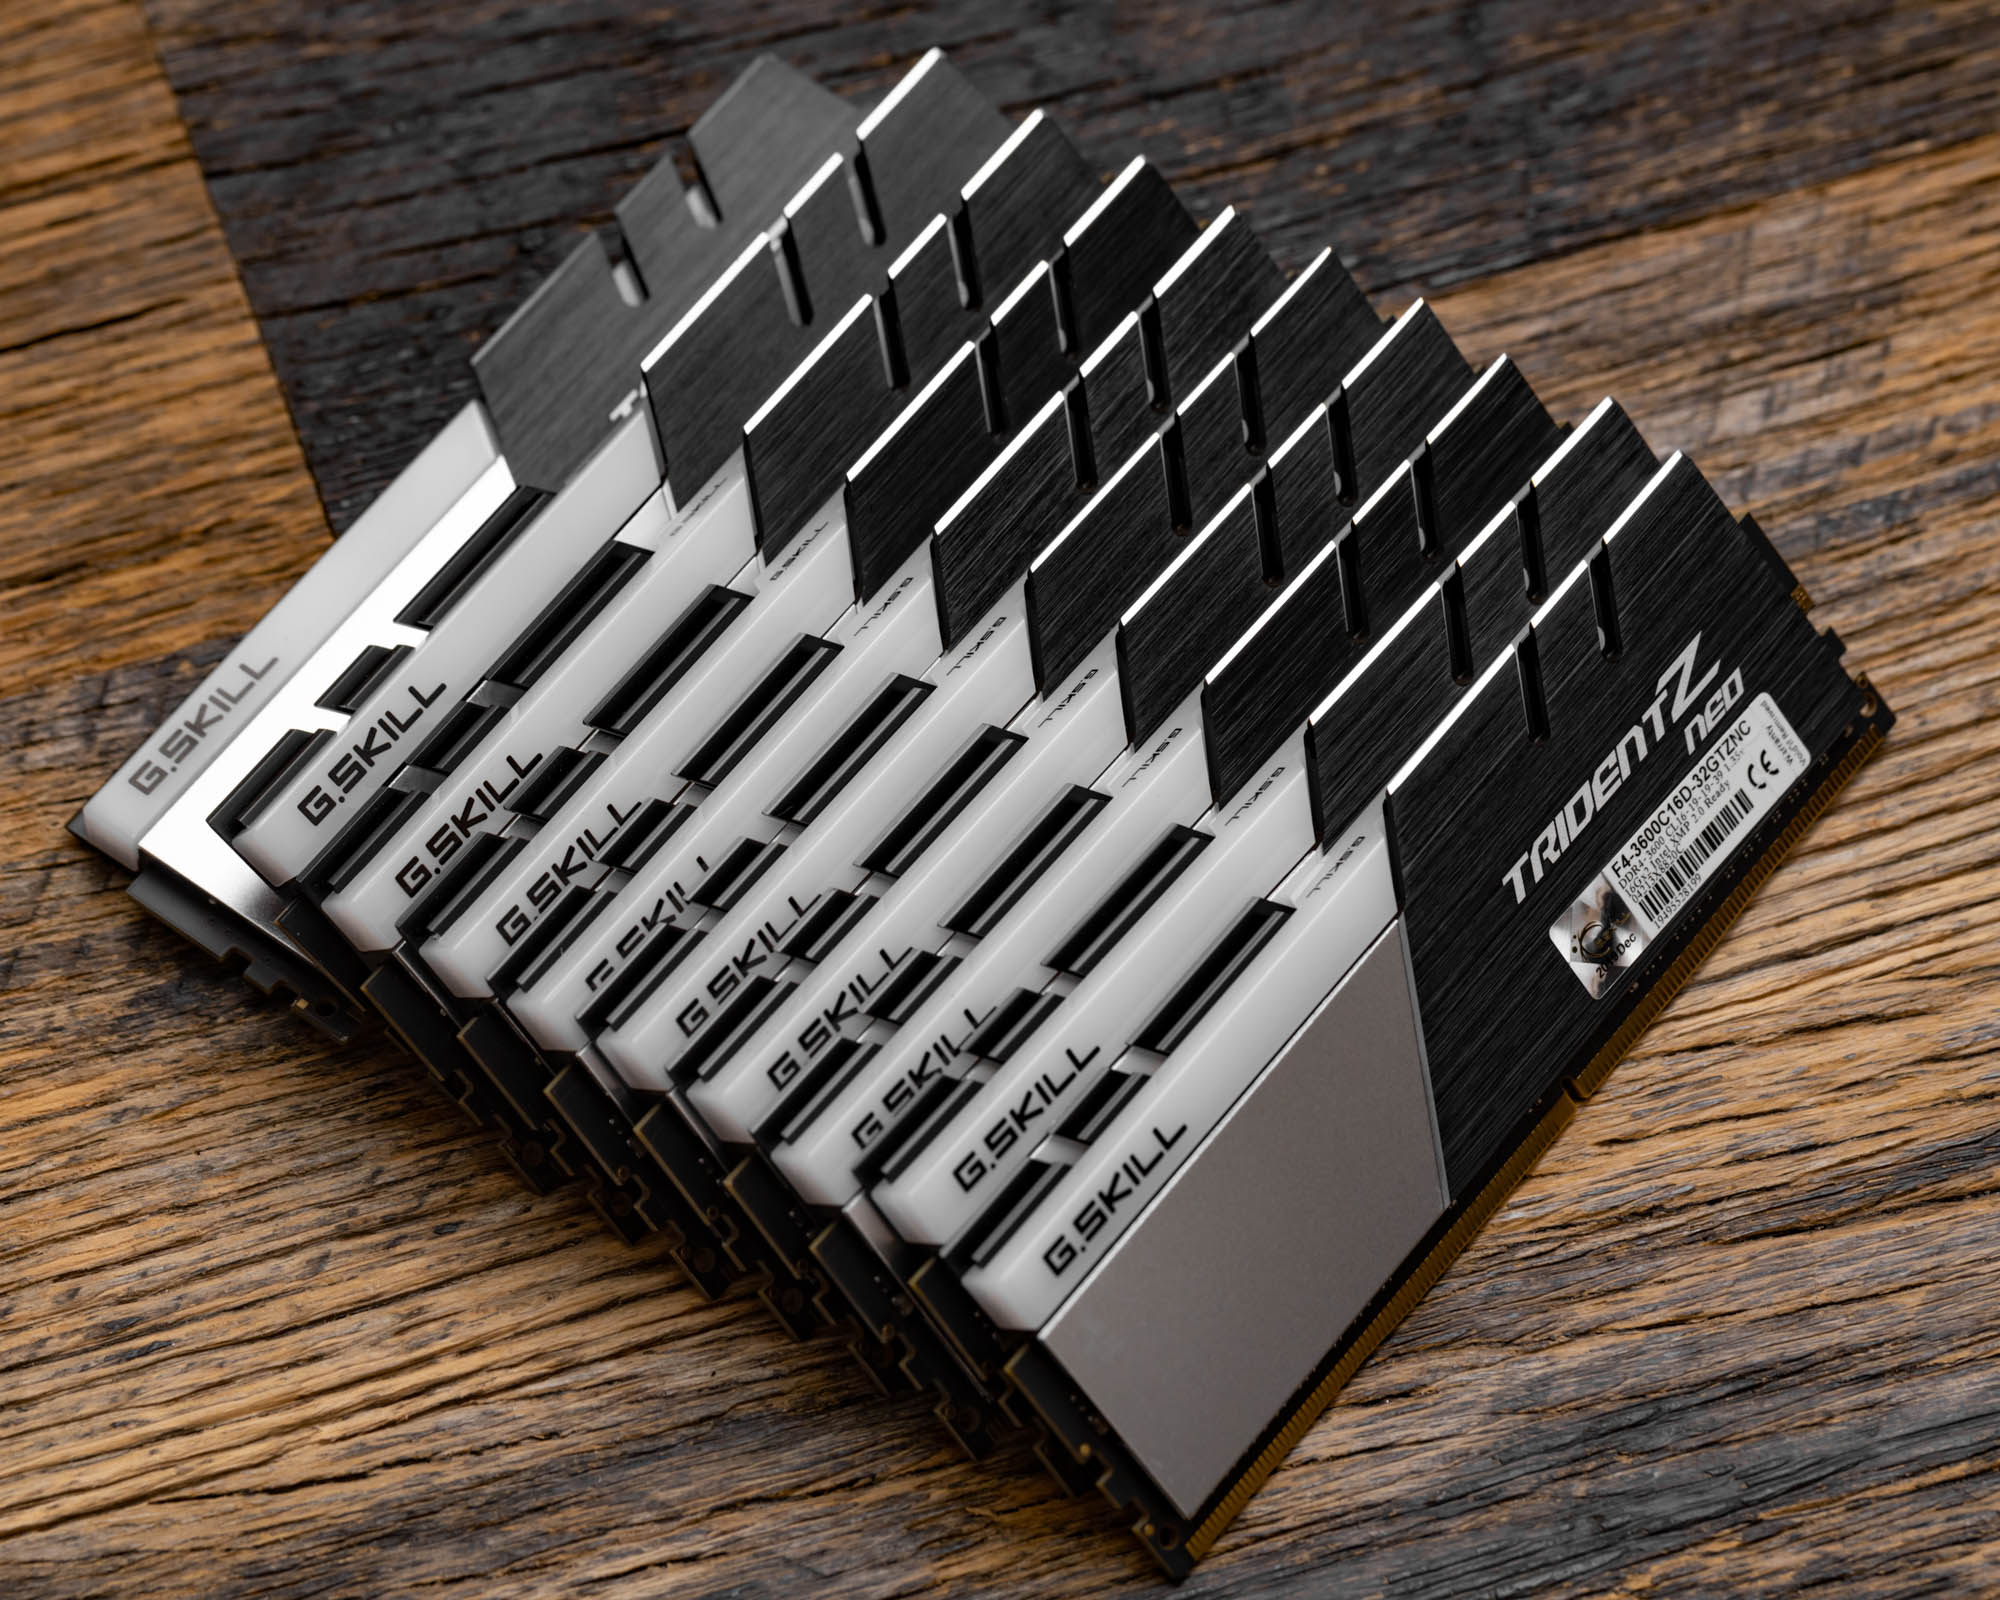
Memory: G.Skill Trident Z Neo 256 GB (8 x 32 GB) DDR4-3200 CL16 Memory
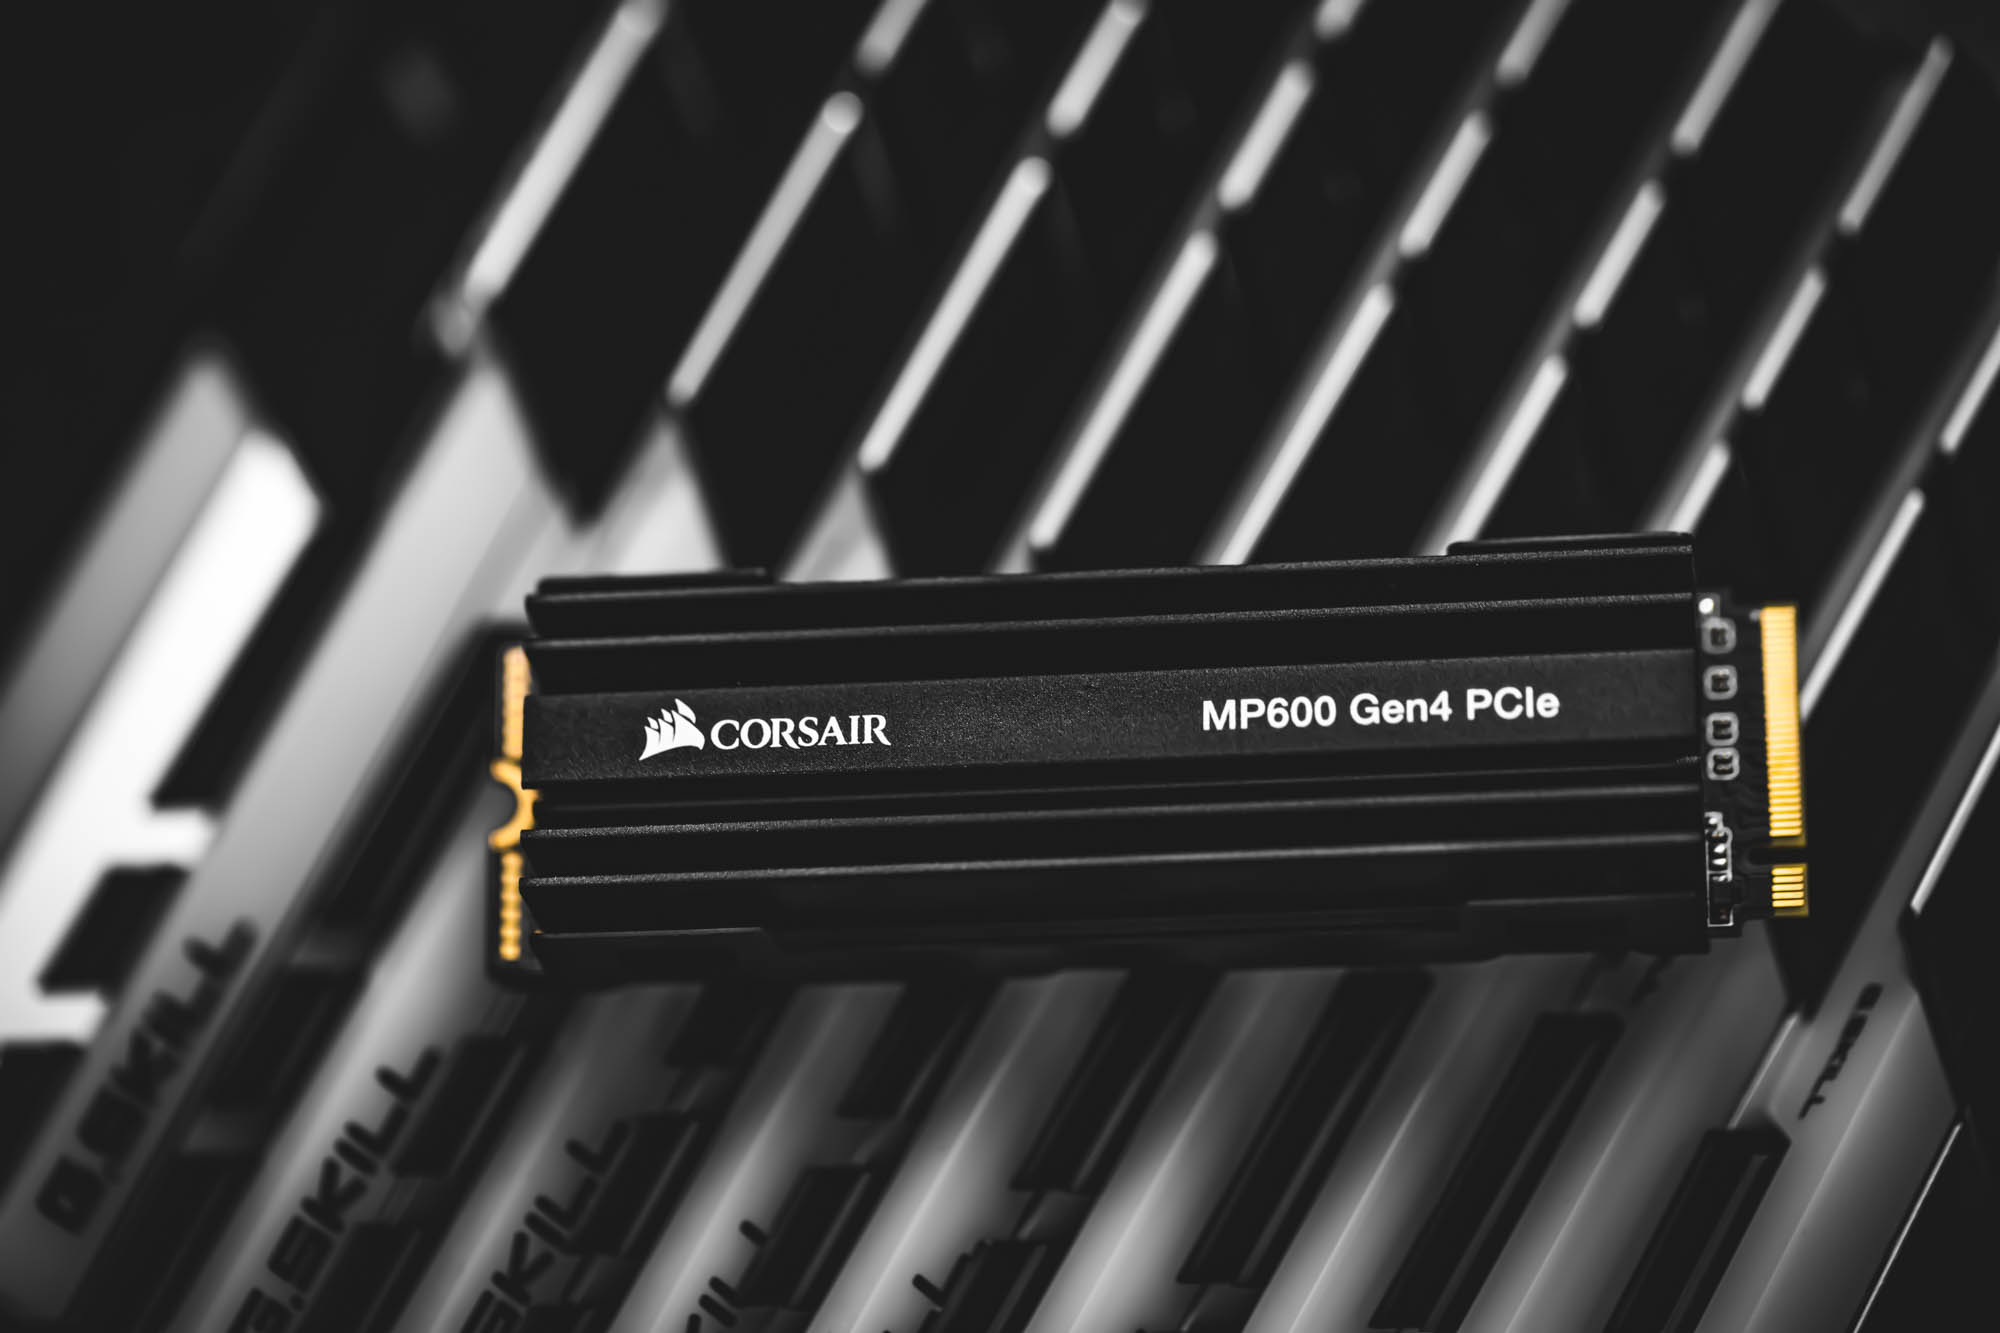
Corsair MP600 Force Series Gen4 2 TB M.2-2280 NVME Solid State Drive
Samsung 980 Pro 1 TB M.2-2280 NVME Solid State Drive
Seagate FireCude 530 2 TB M.2-2280 NVME Solid State Drive
Samsung 980 Pro 2 TB M.2-2280 NVME Solid State Drive
Samsung 980 Pro 2 TB M.2-2280 NVME Solid State Drive
ADATA XPG GAMMIX S70 2 TB M.2-2280 NVME Solid State Drive
ADATA XPG GAMMIX S70 2 TB M.2-2280 NVME Solid State Drive
Sabrent Rocket 4TB M.2-2280 NVME Solid State Drive
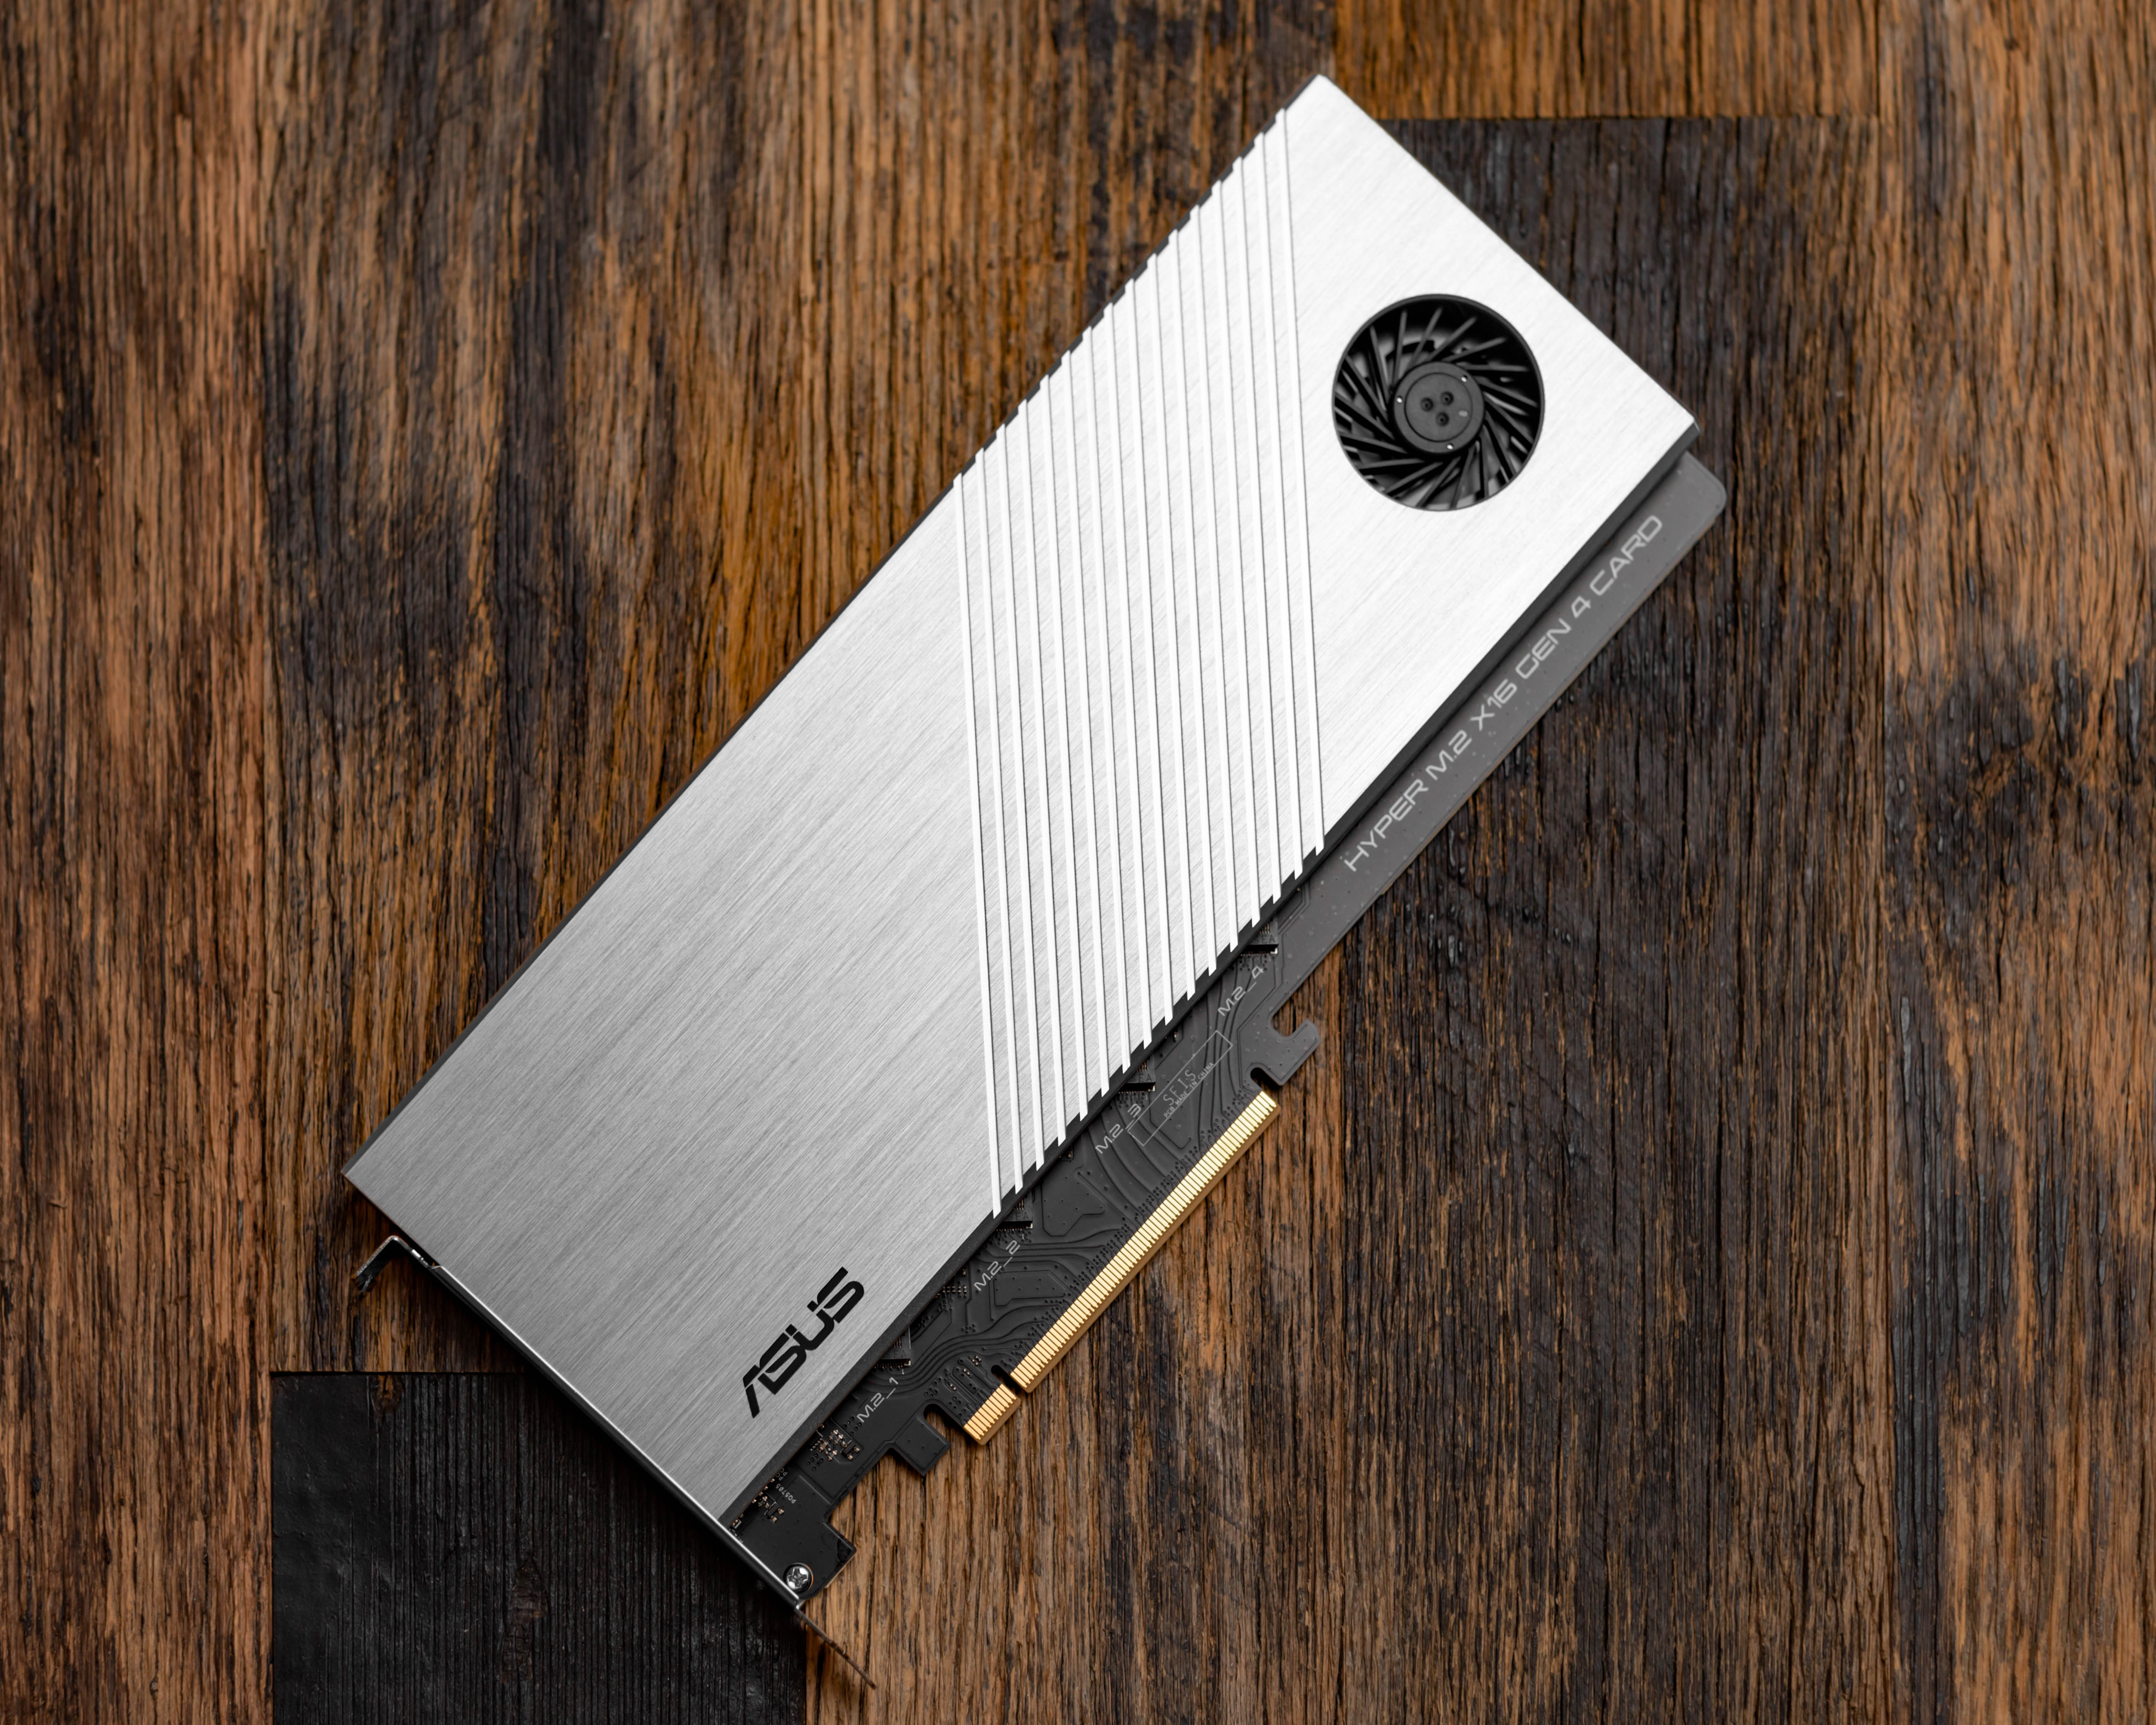
ASUS Hyper M.2 X16 PCIe 4.0 X4 Expansion Card
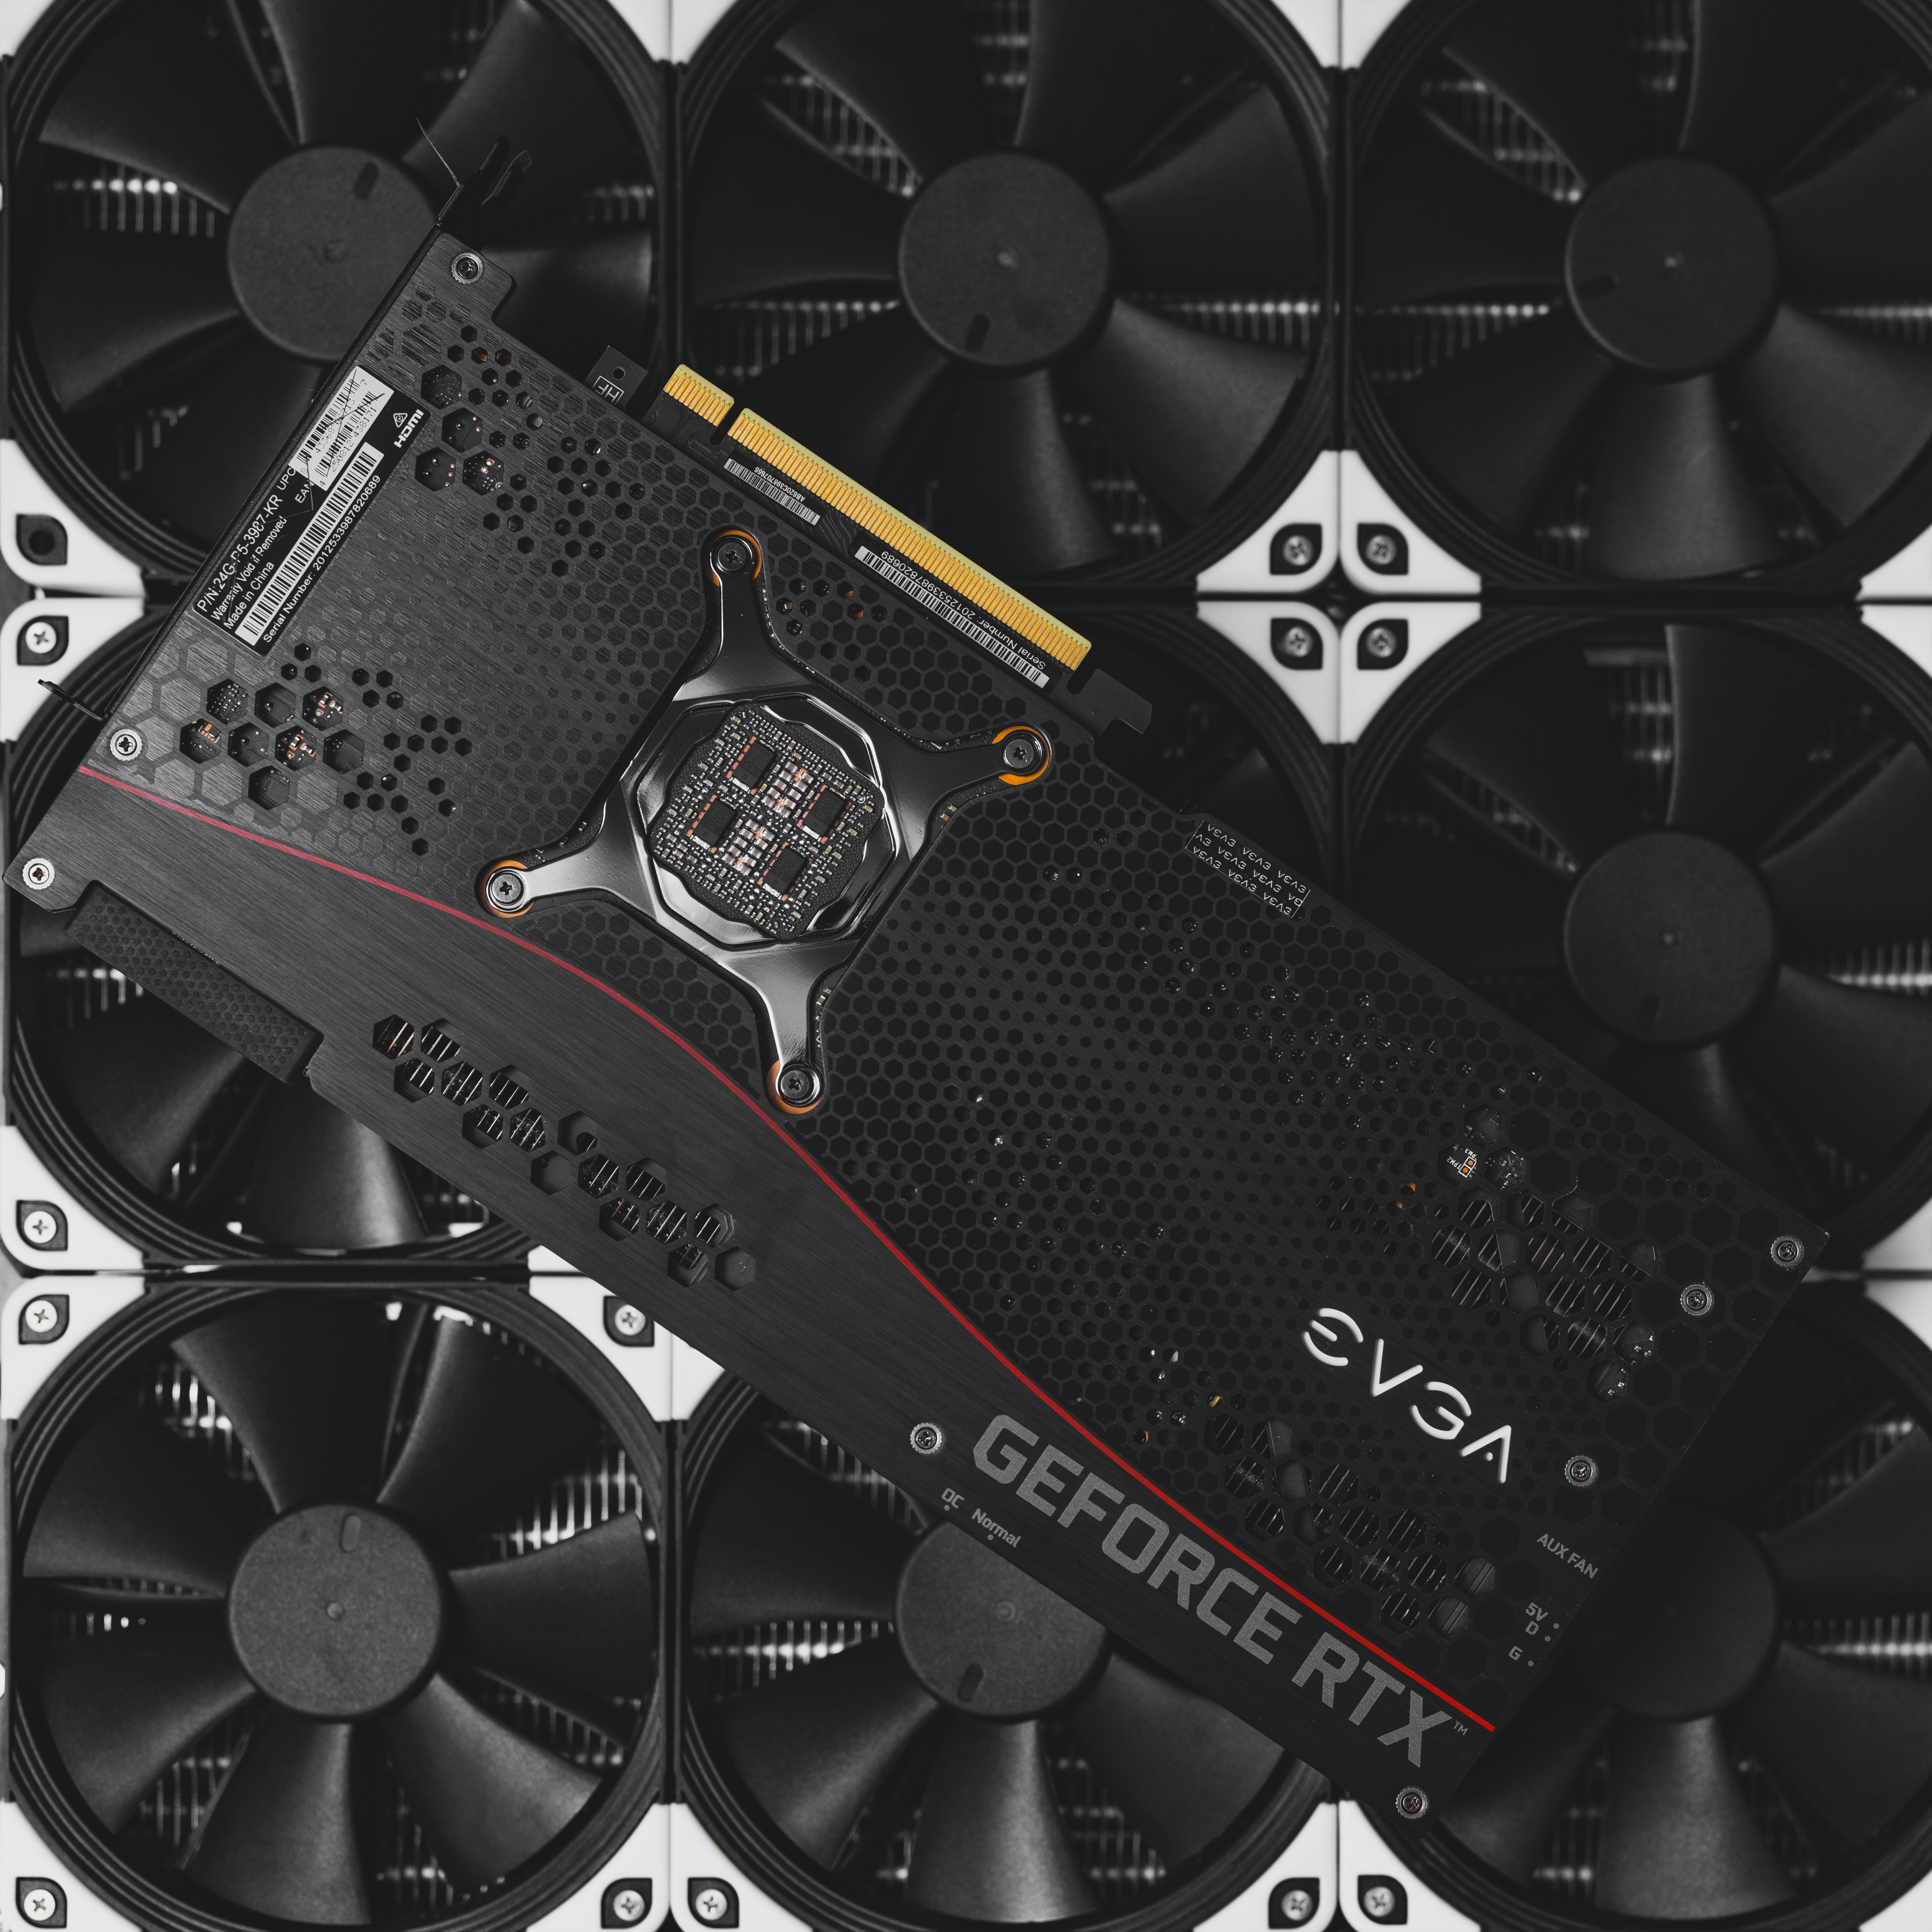
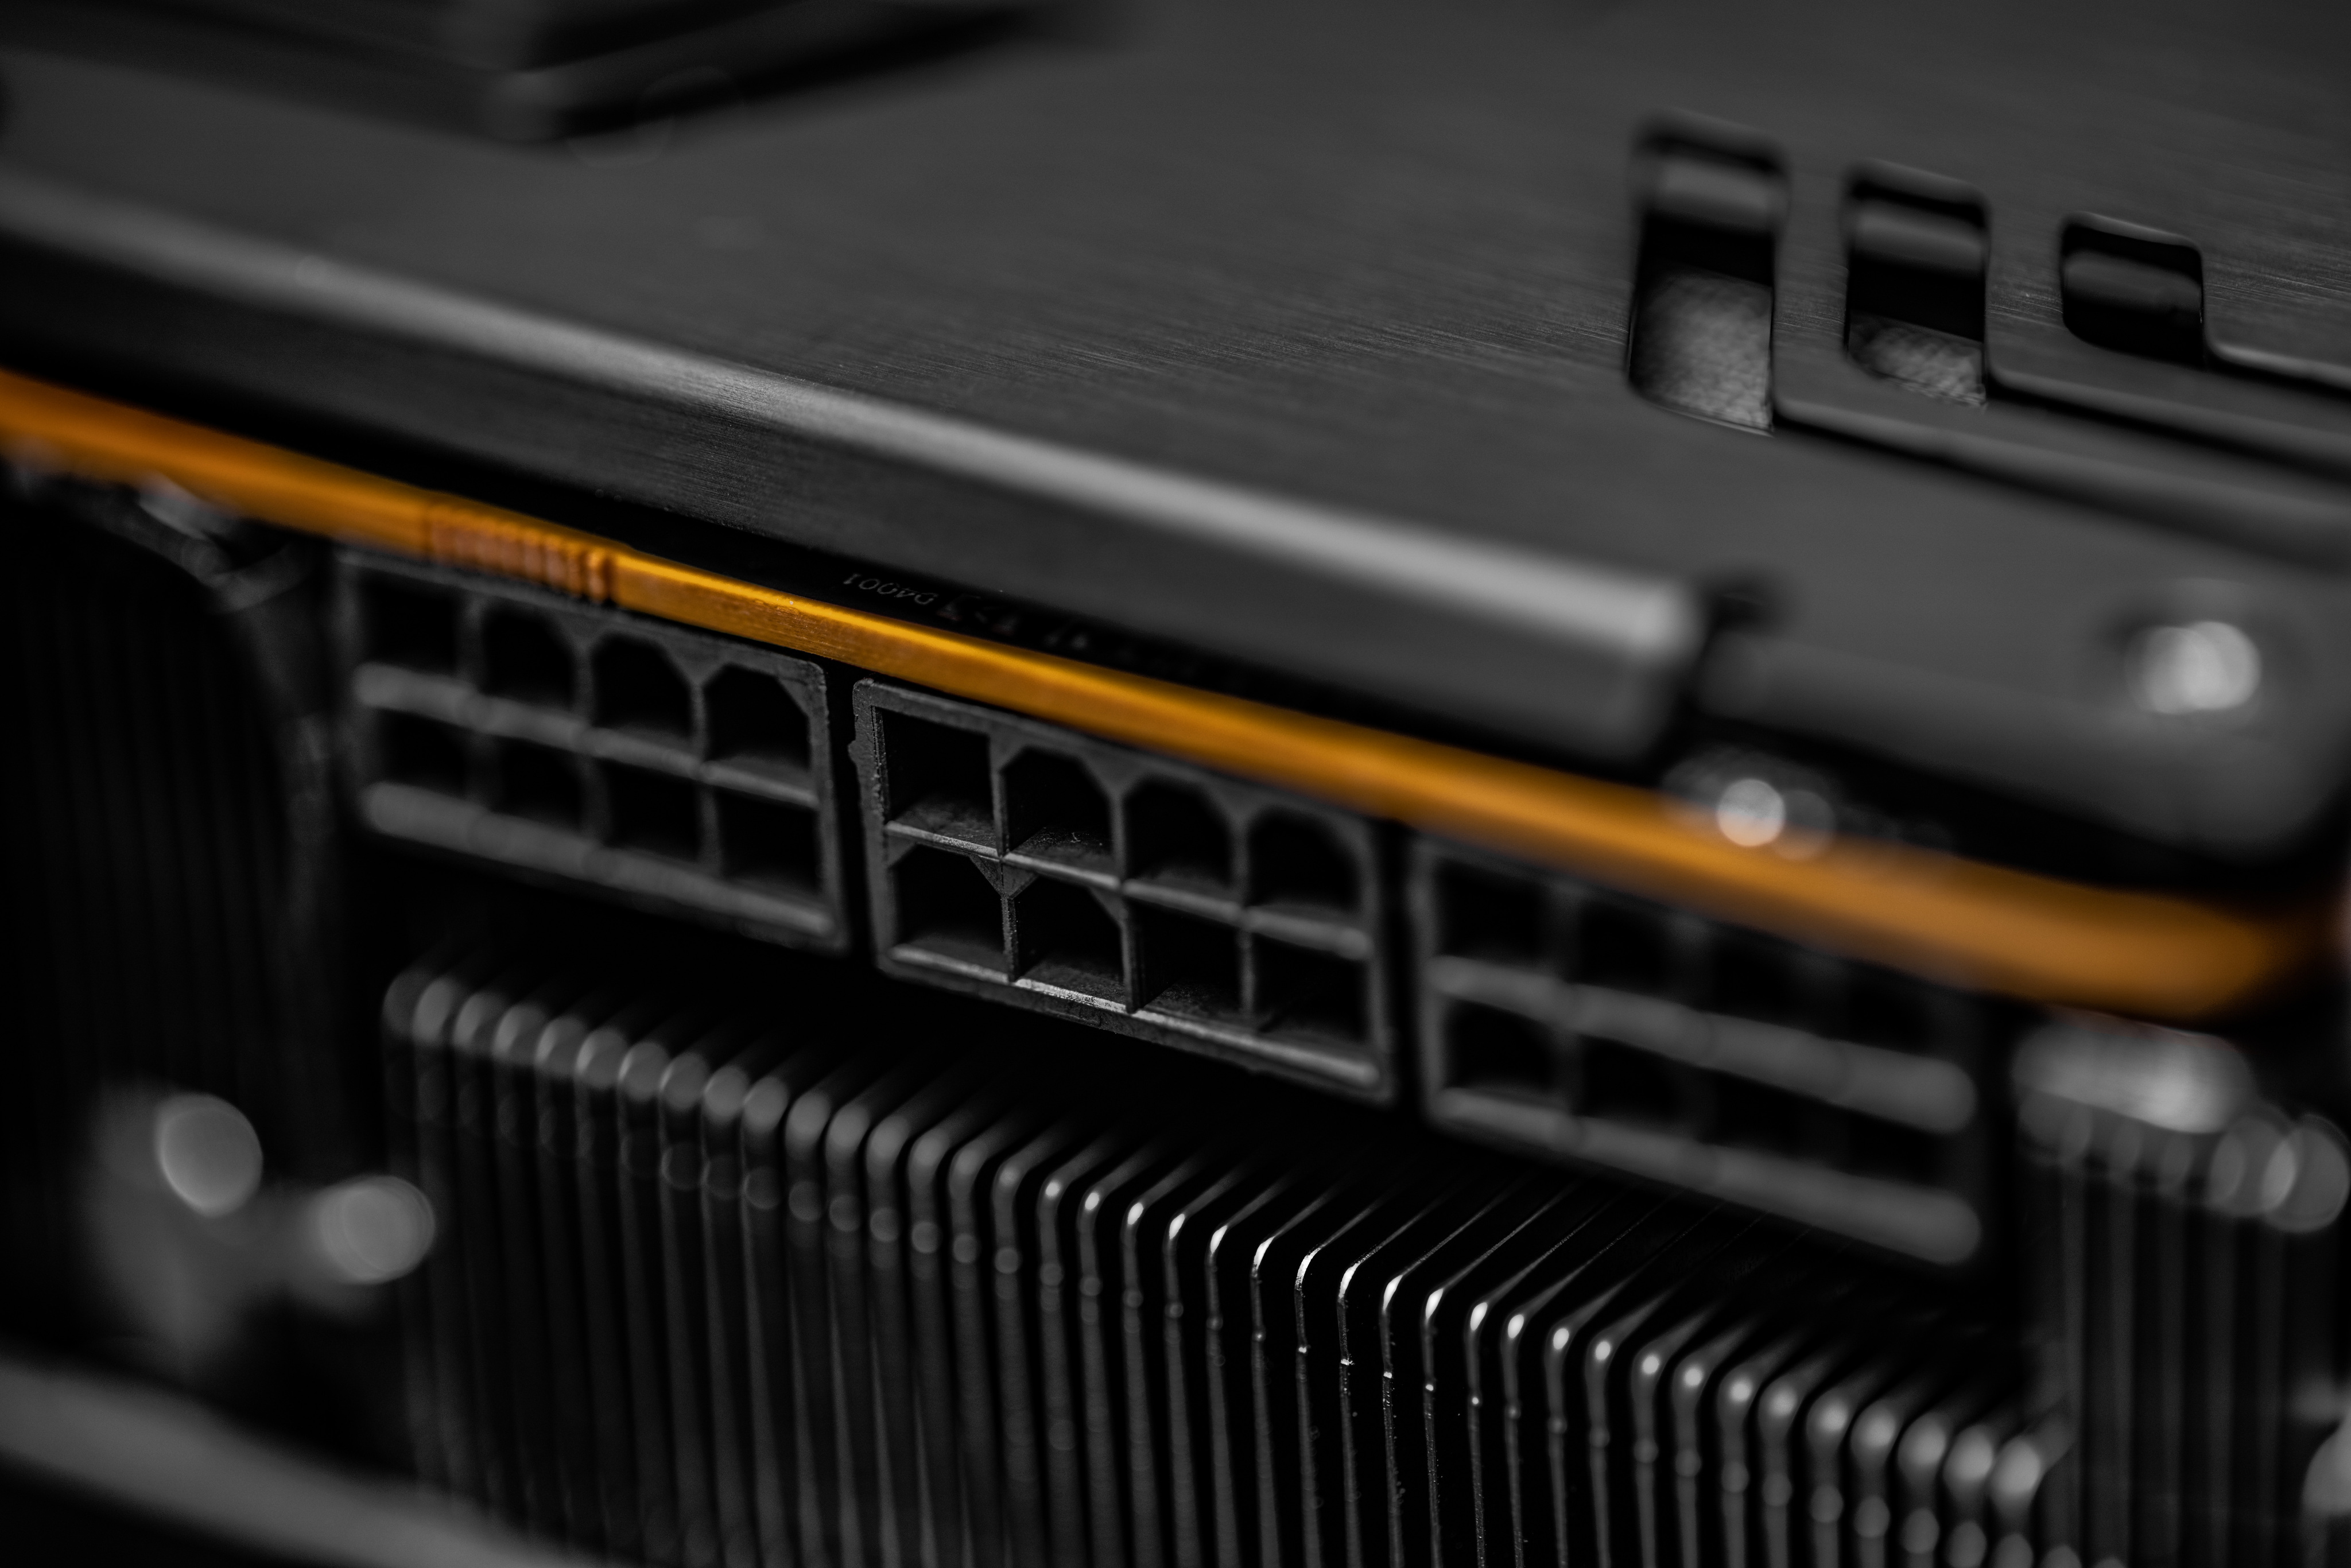
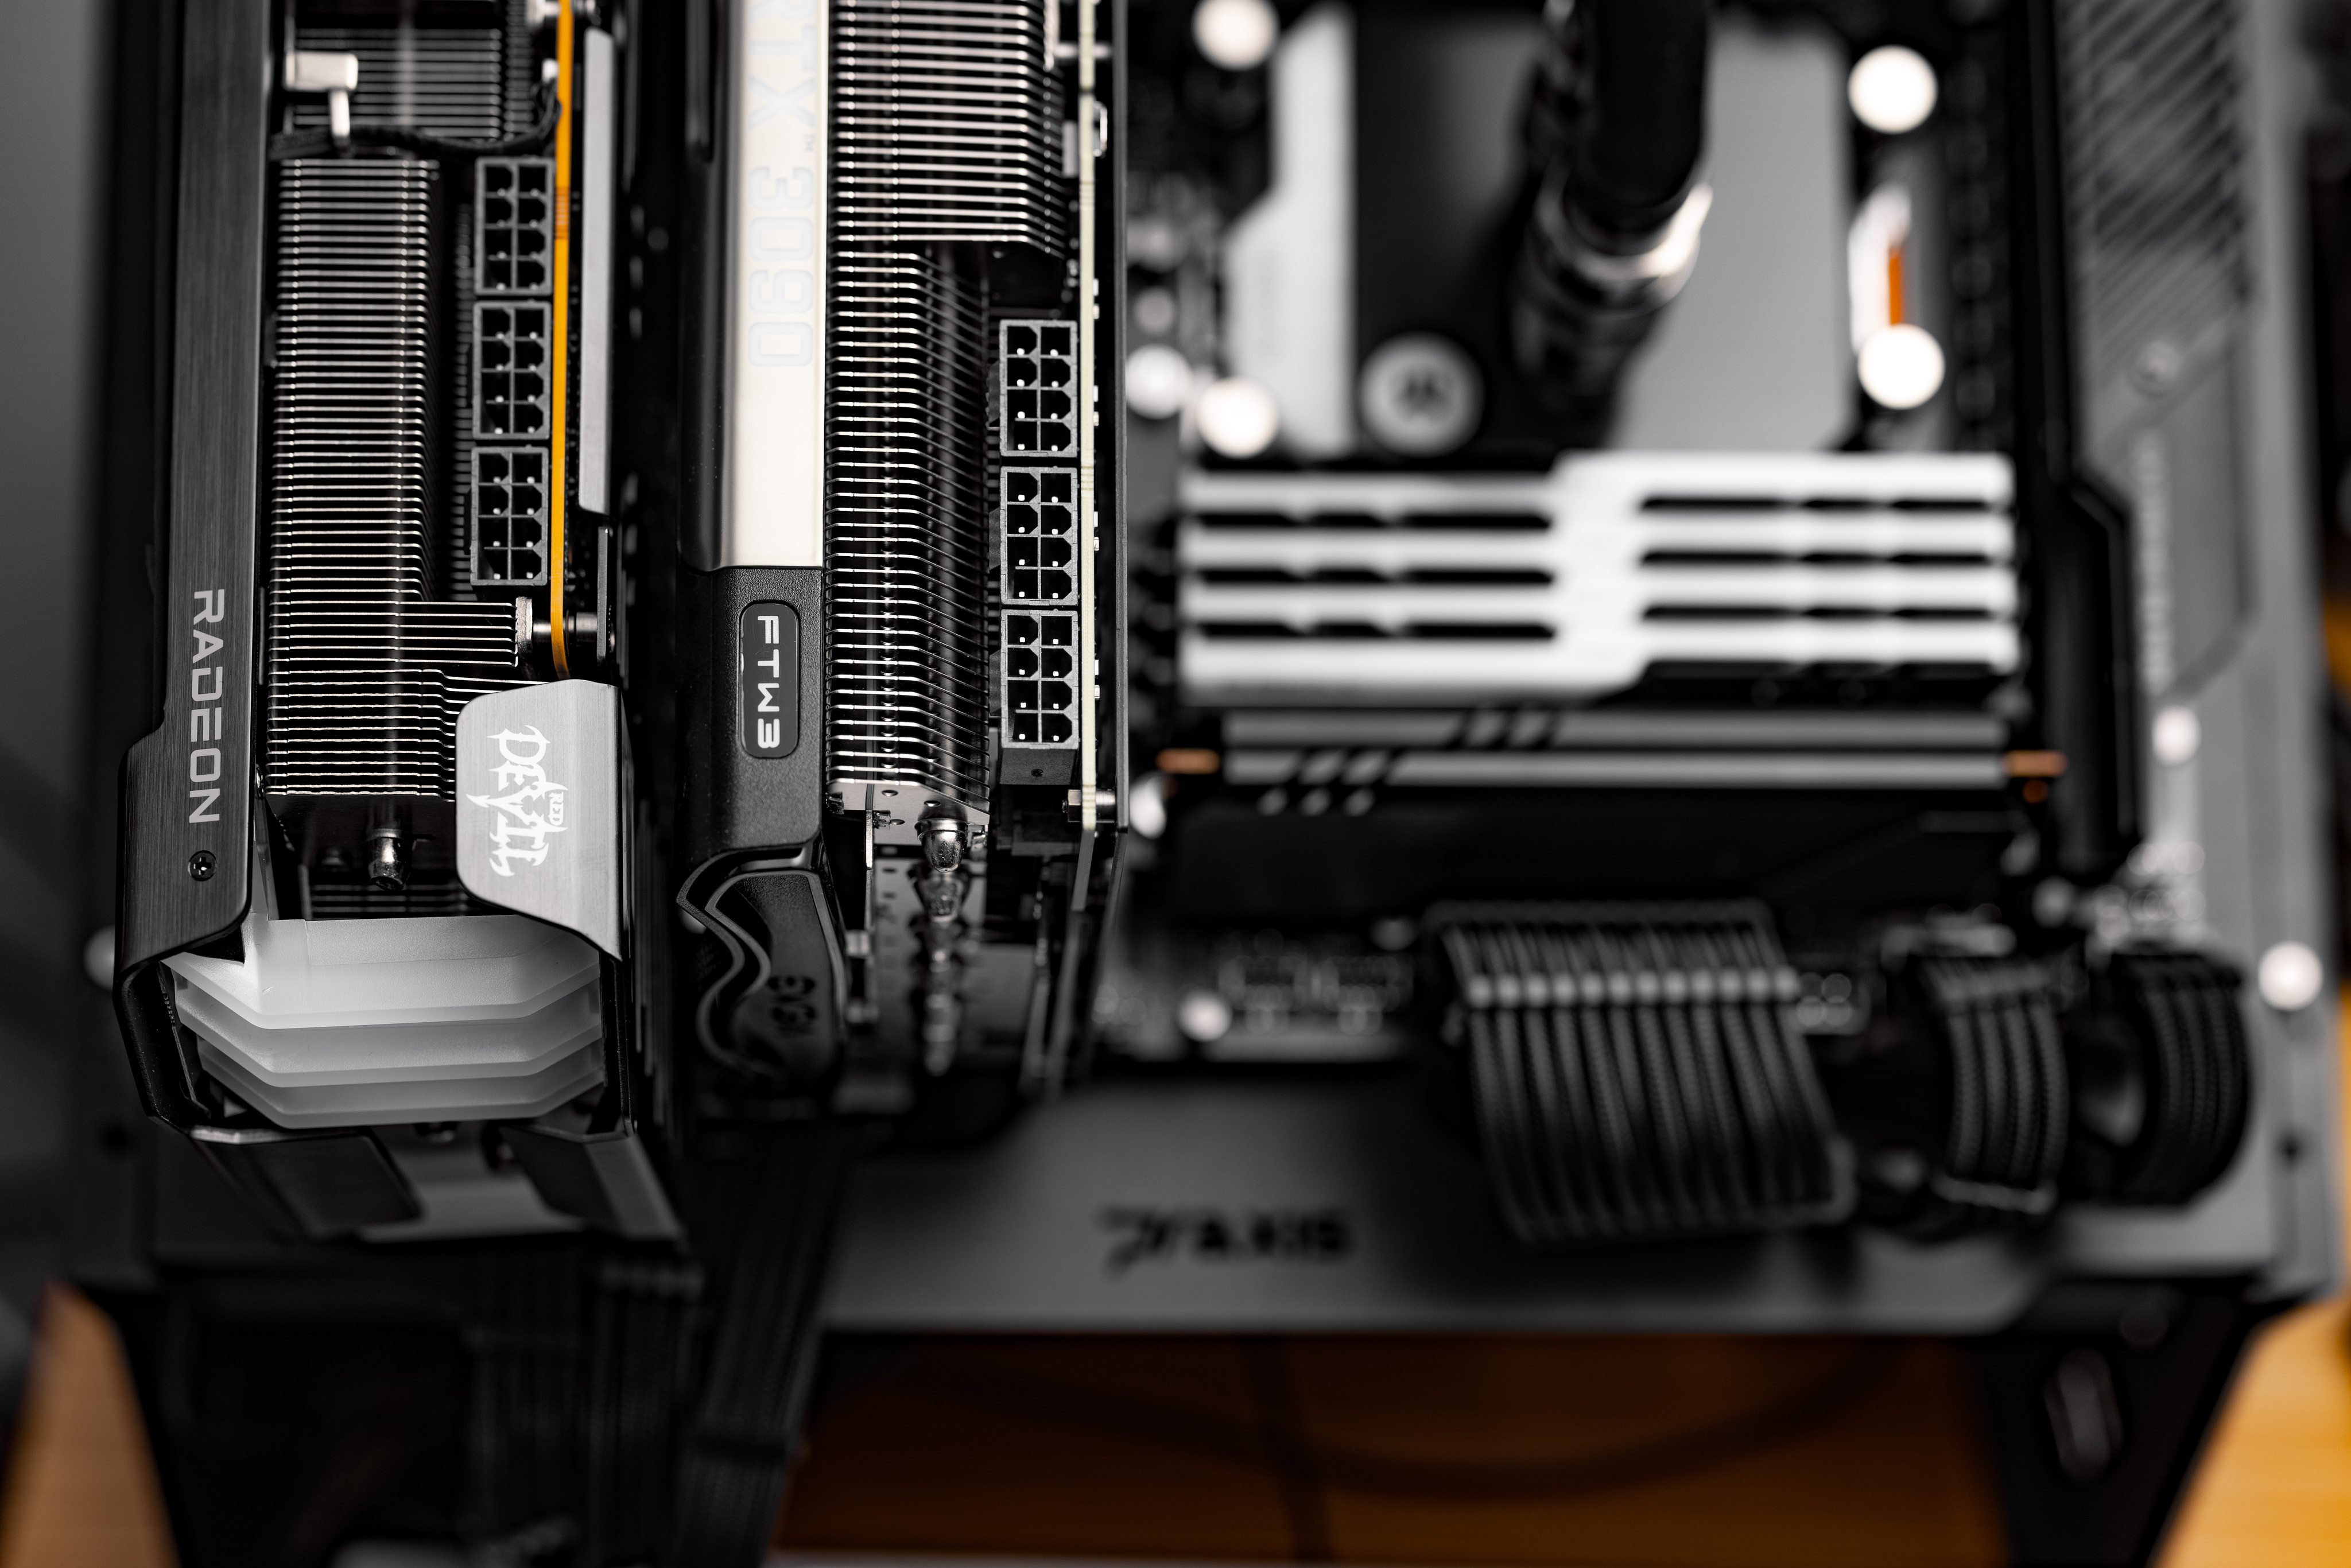
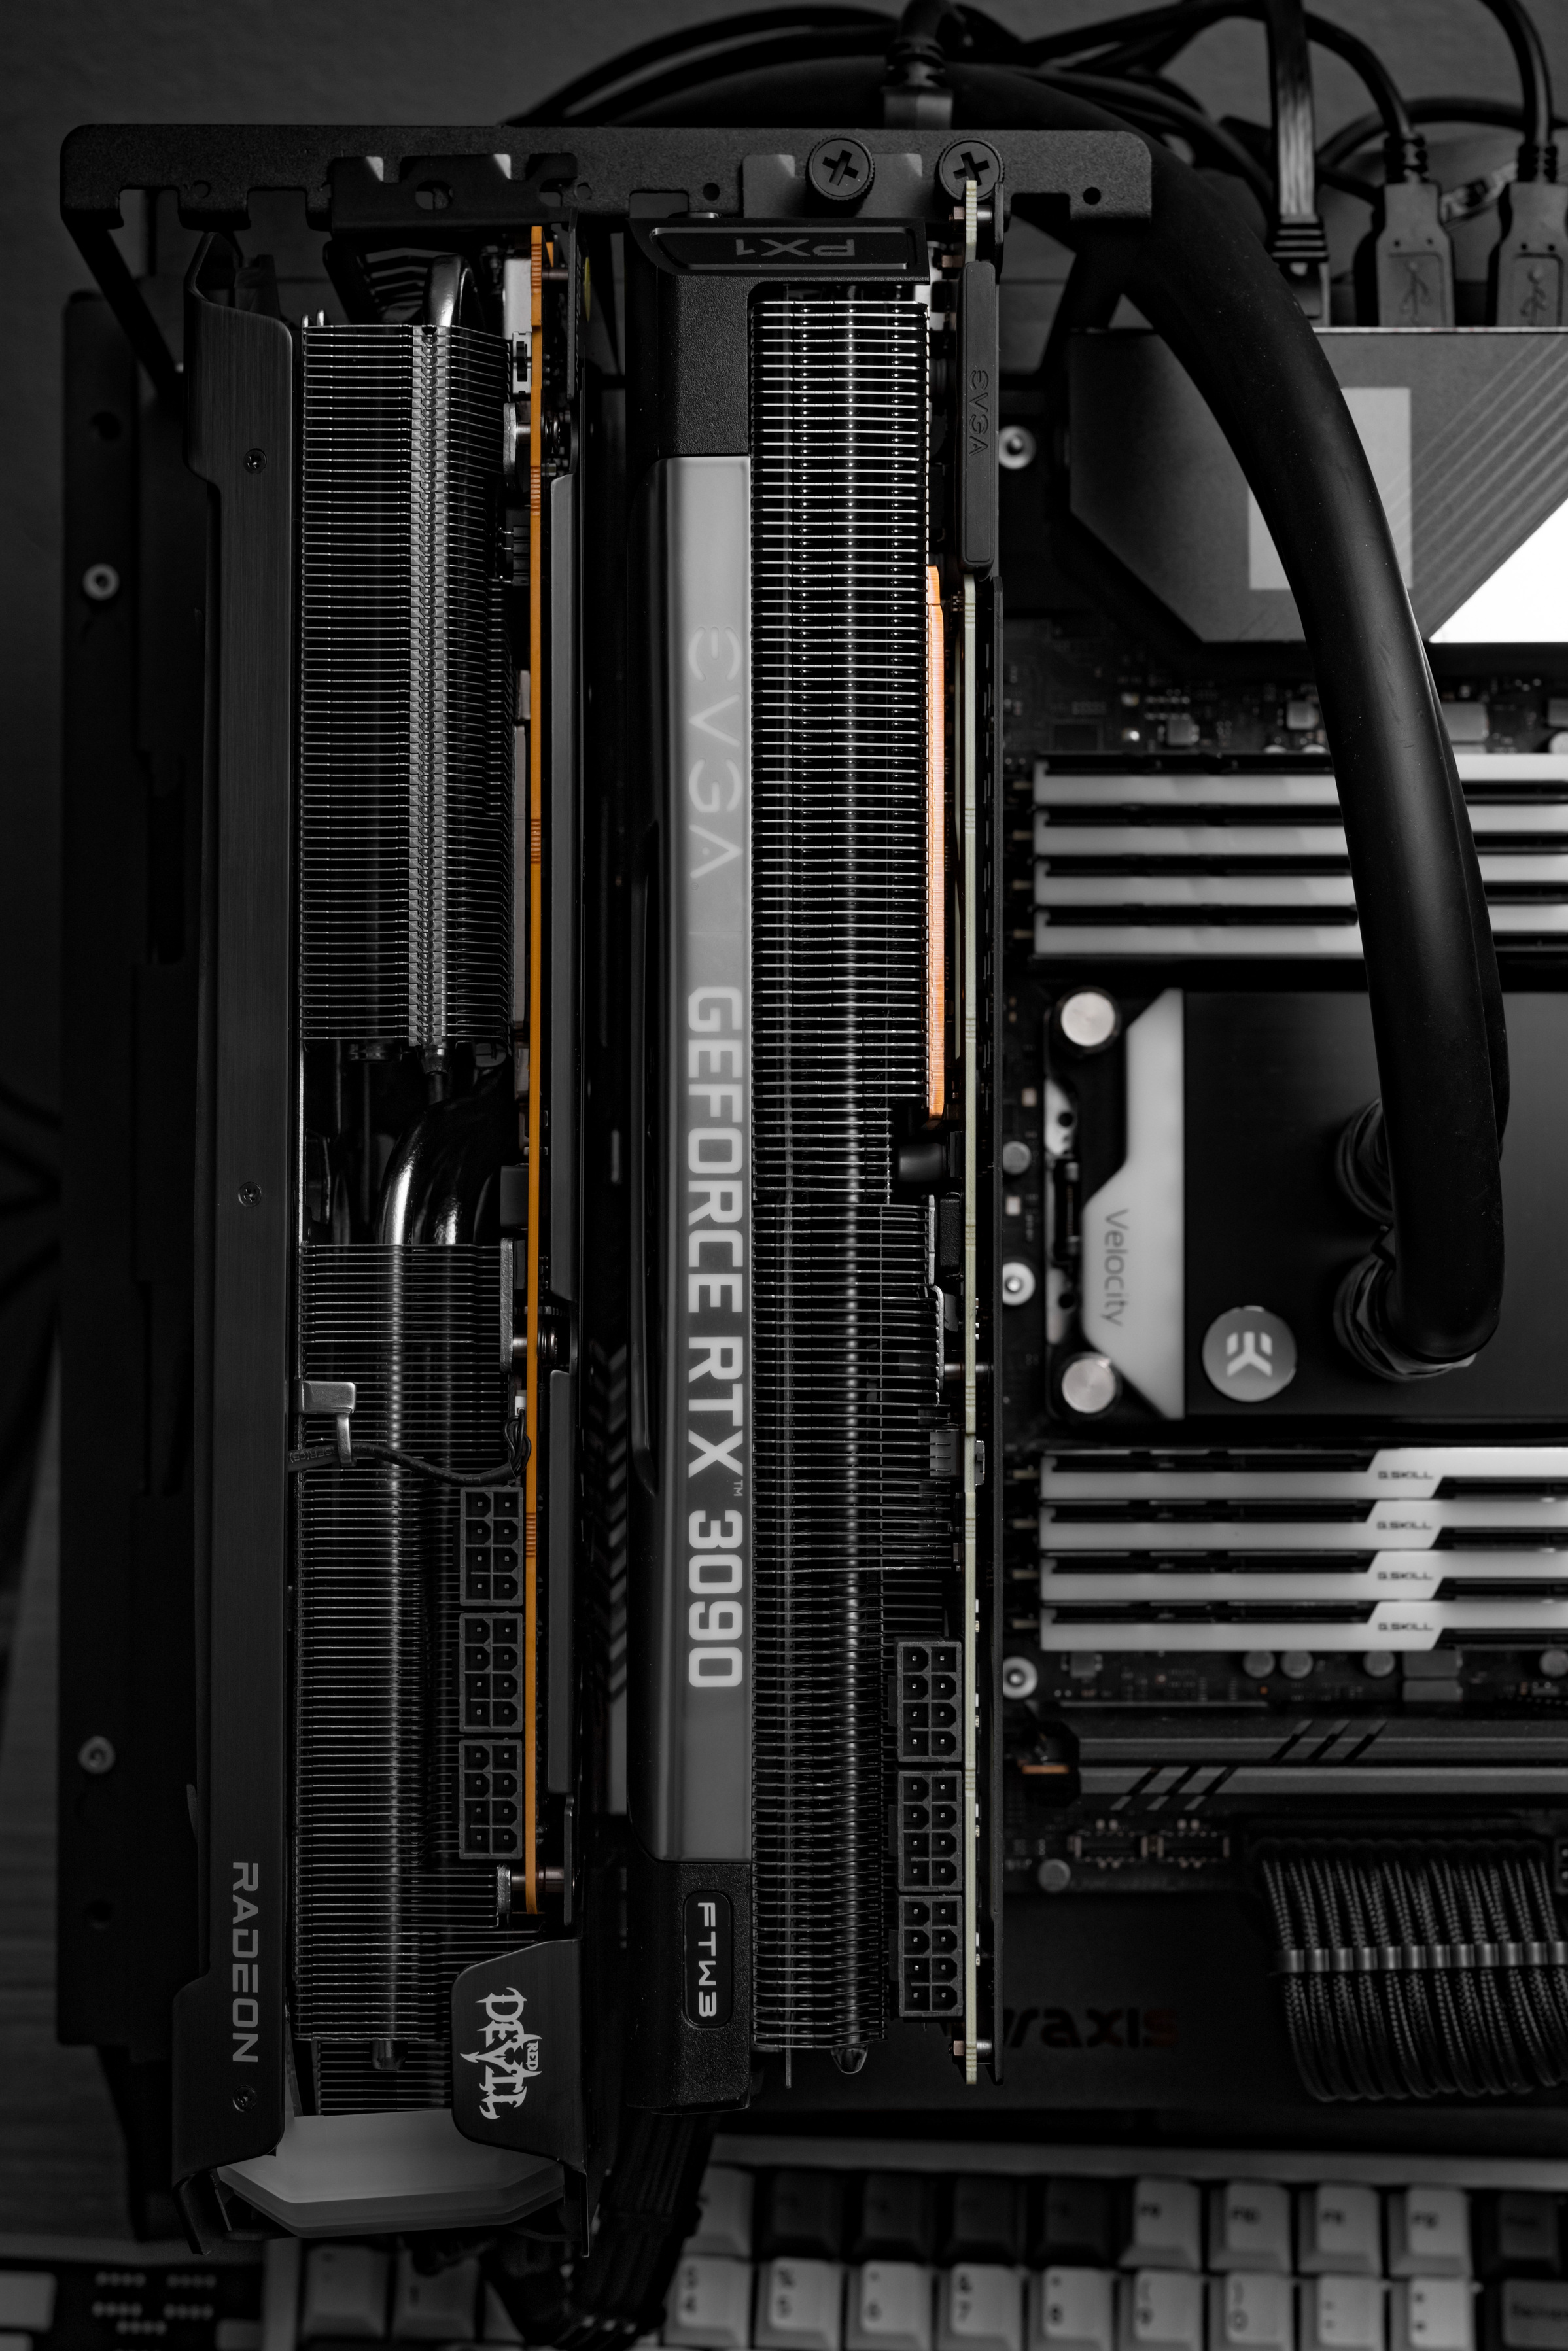
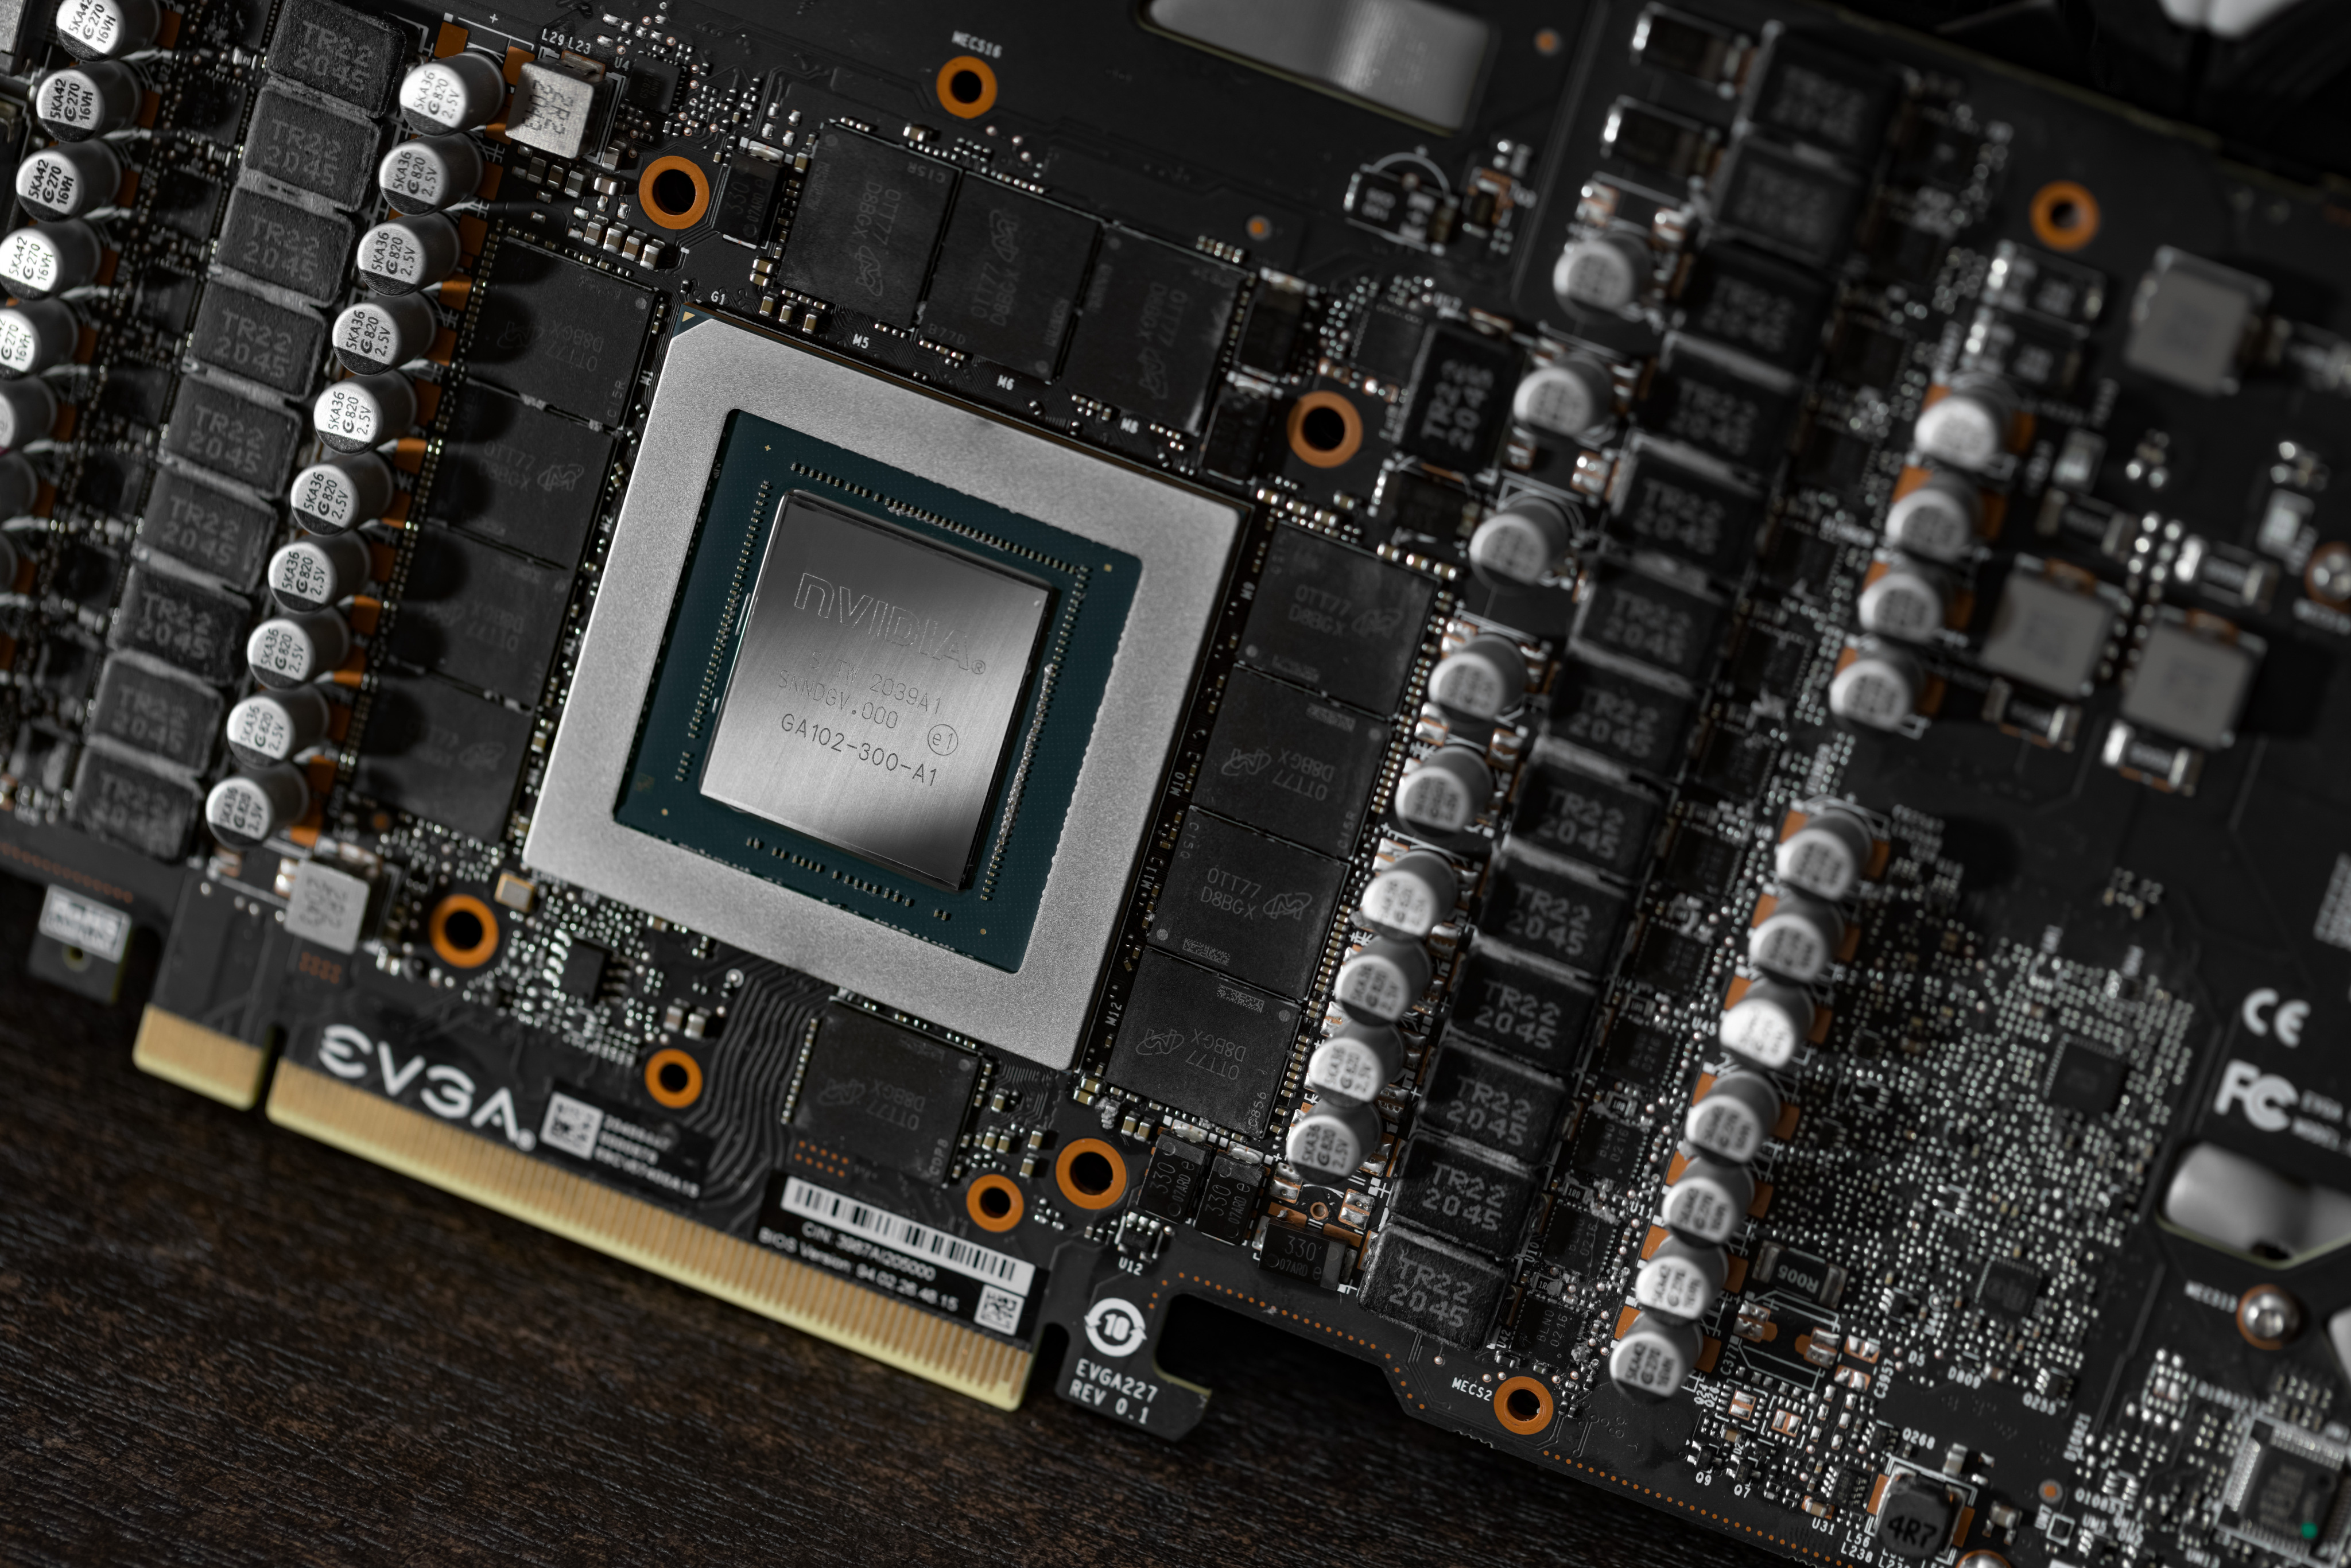
EVGA GeForce RTX 3090 24 GB FTW3 ULTRA GAMING Video Card
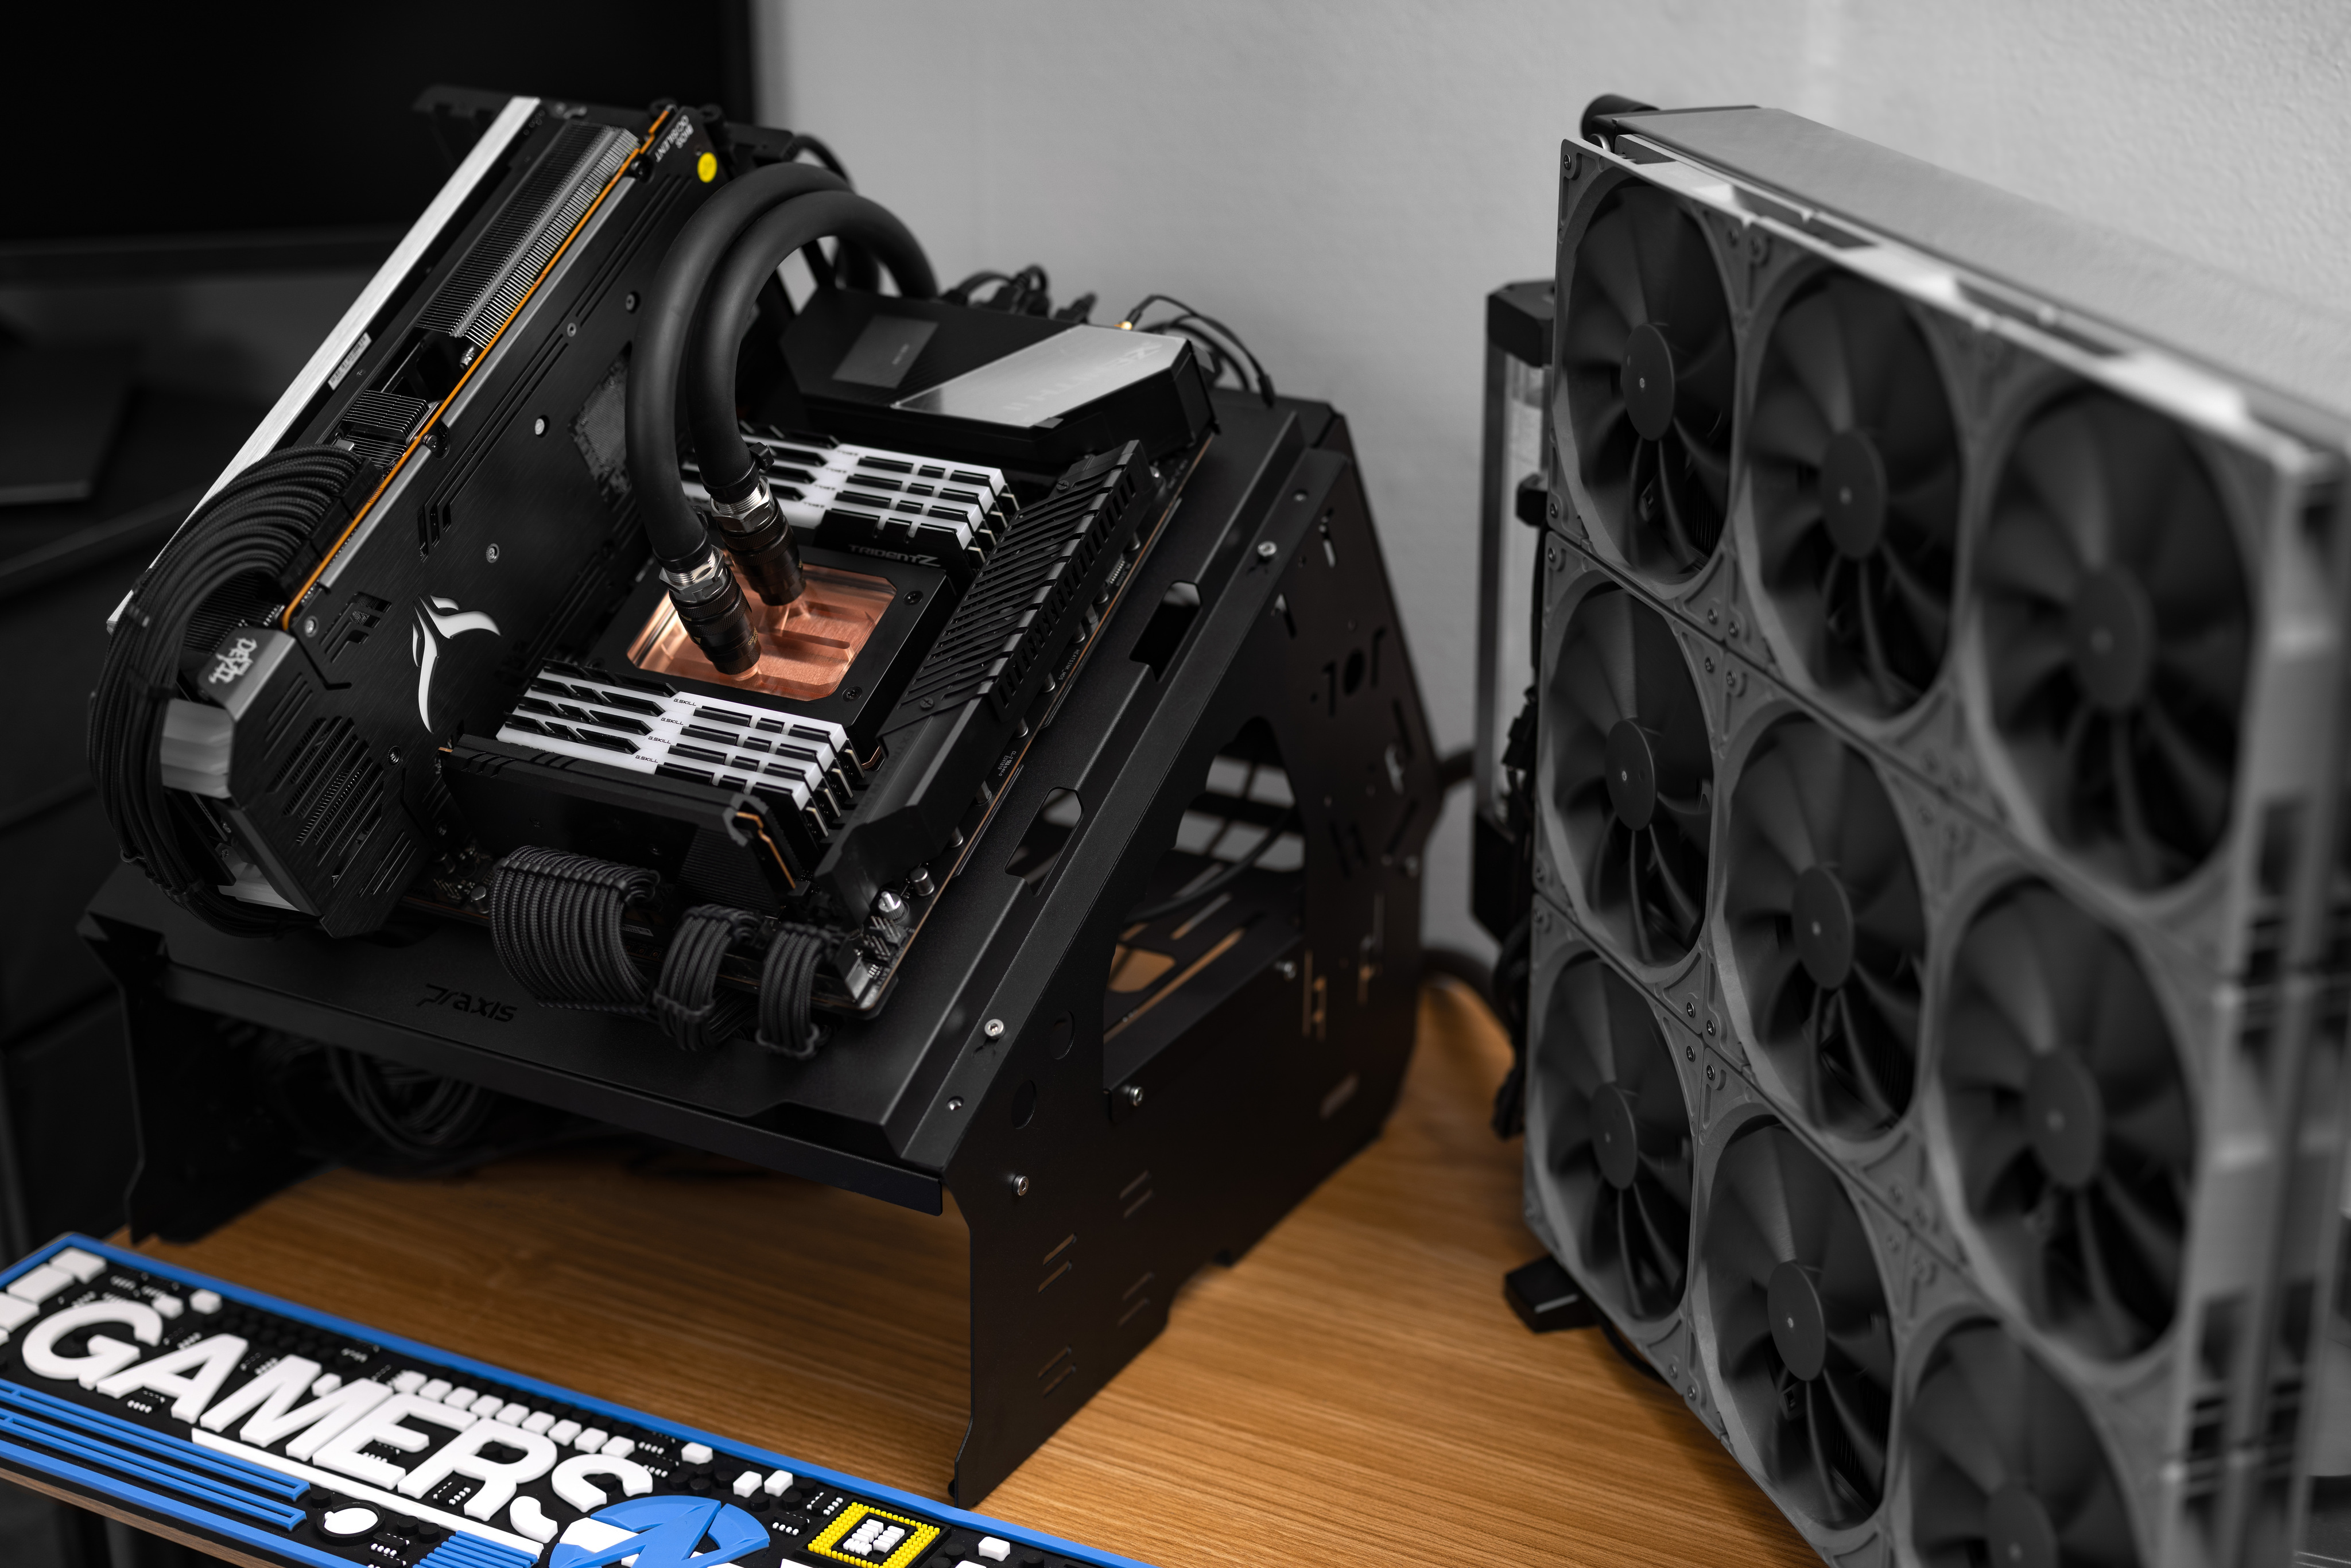
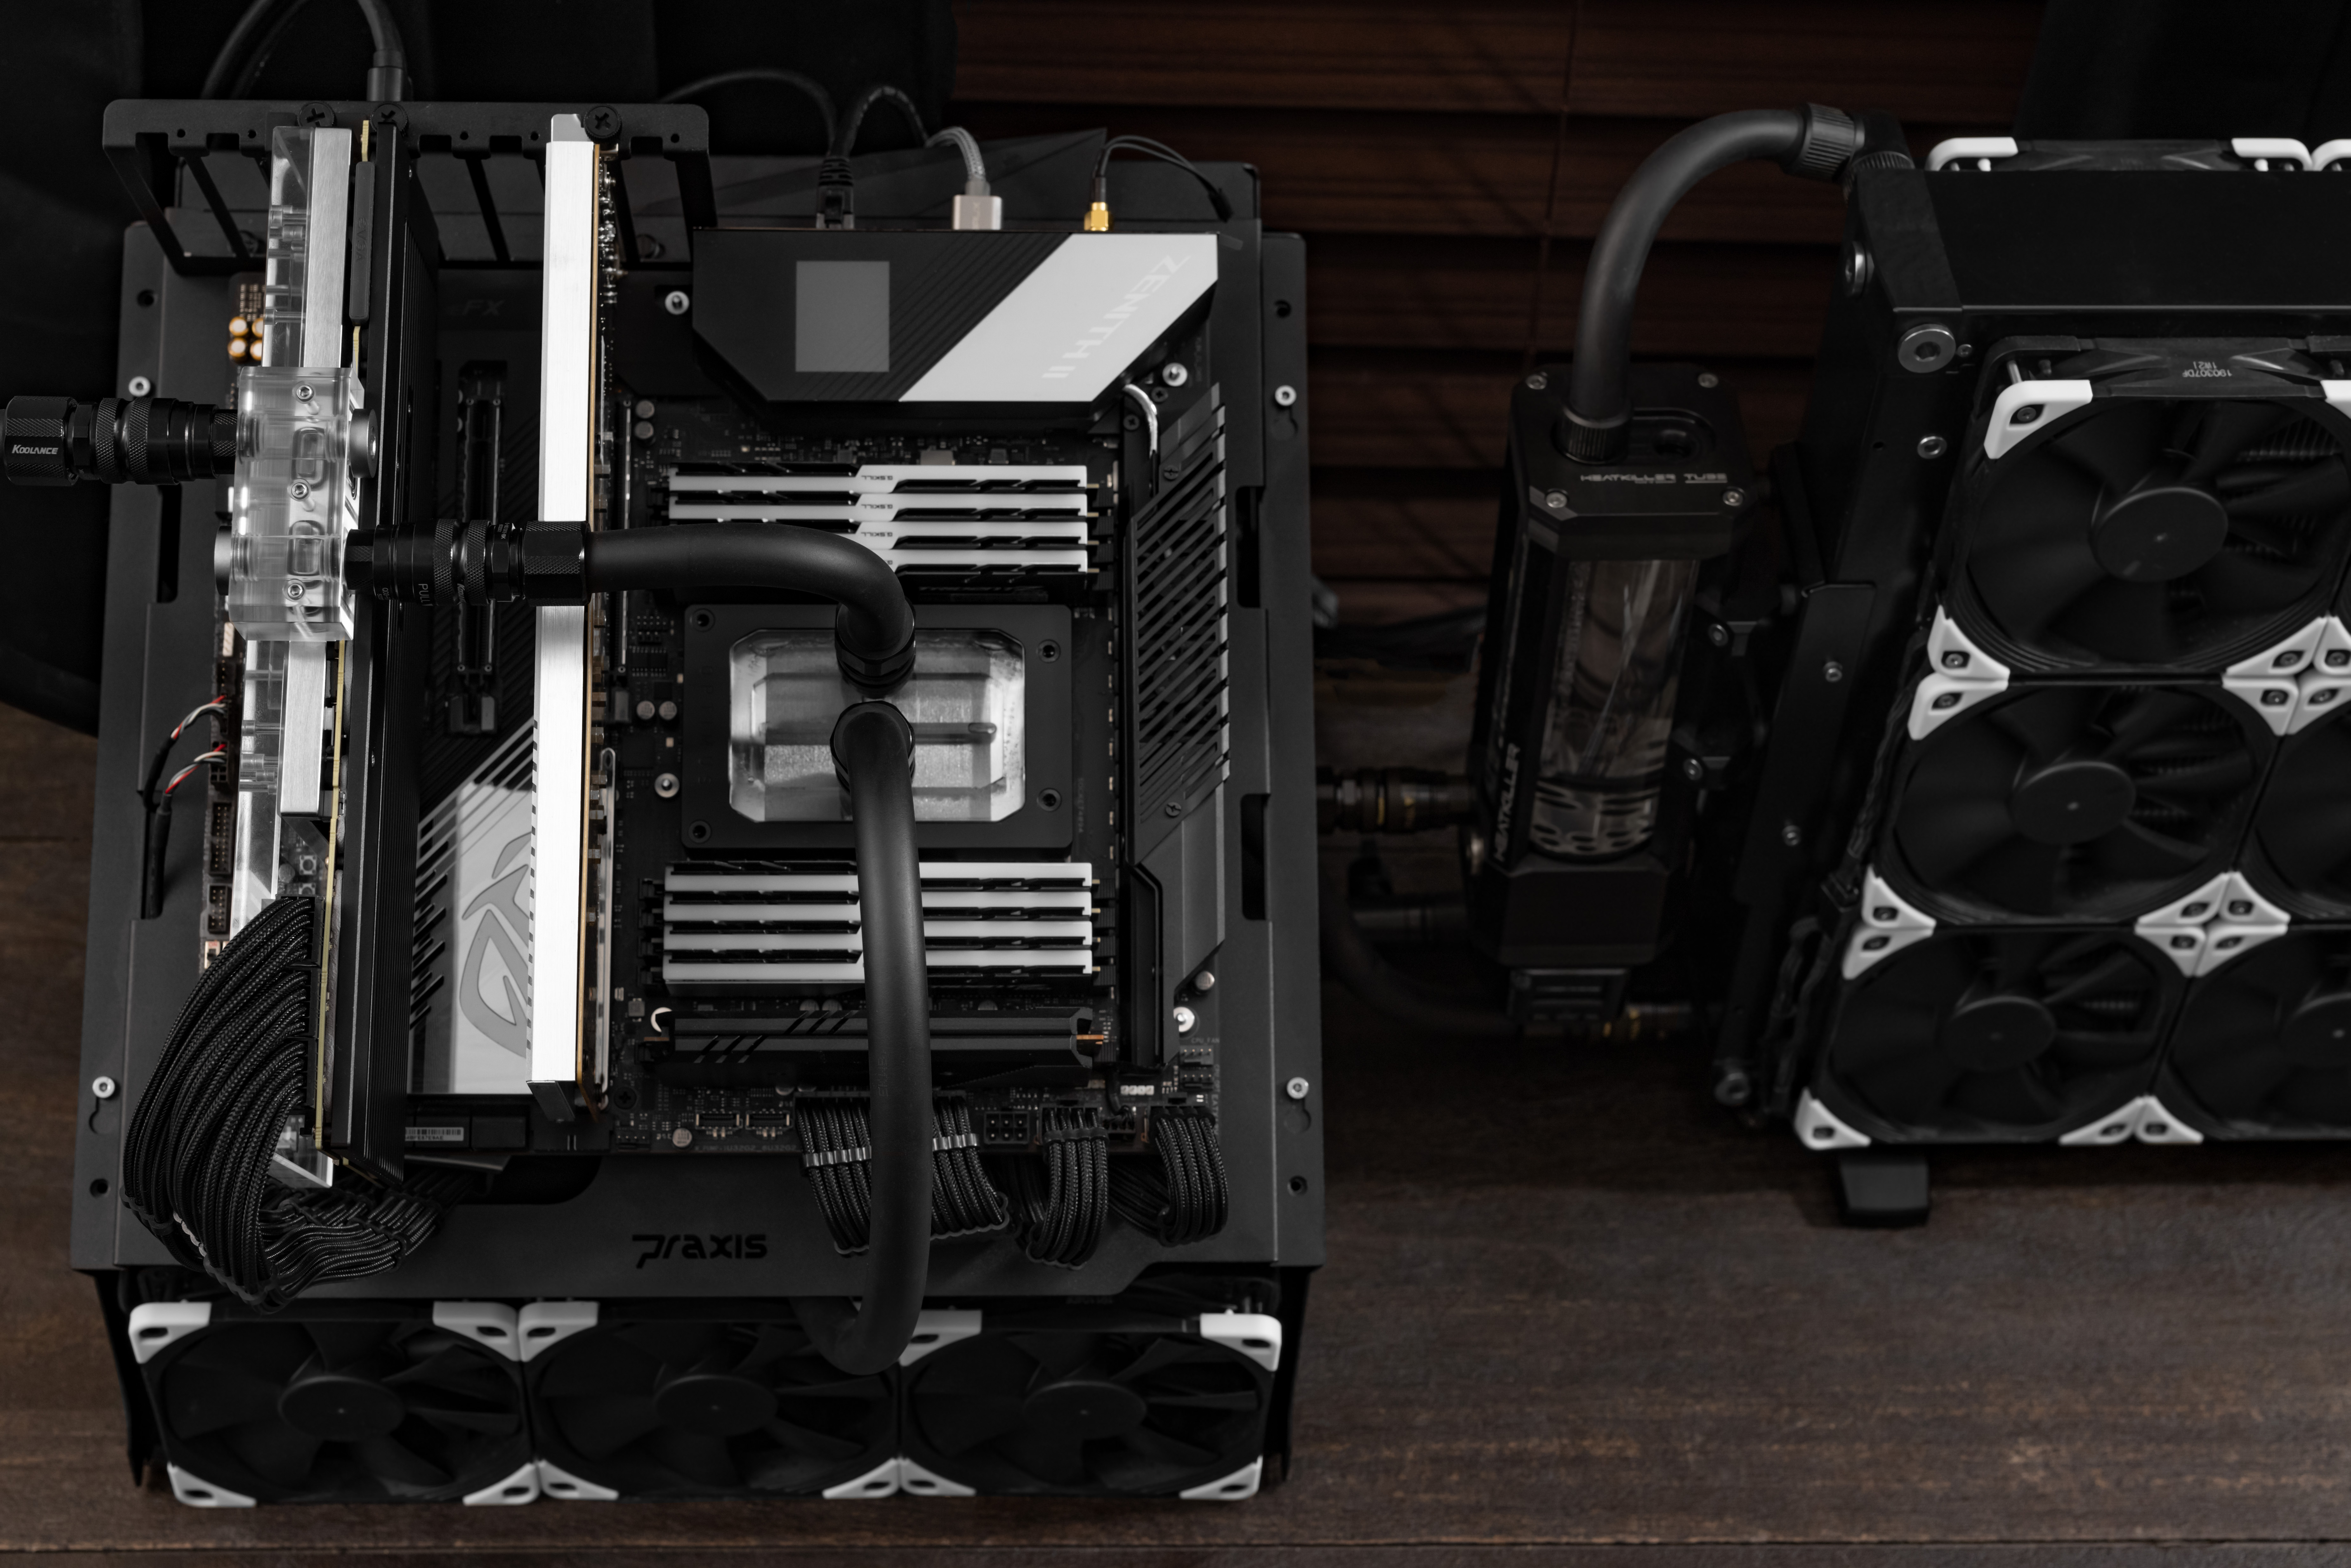
PrimoChill Praxis WetBenchSX ATX Test Bench Case
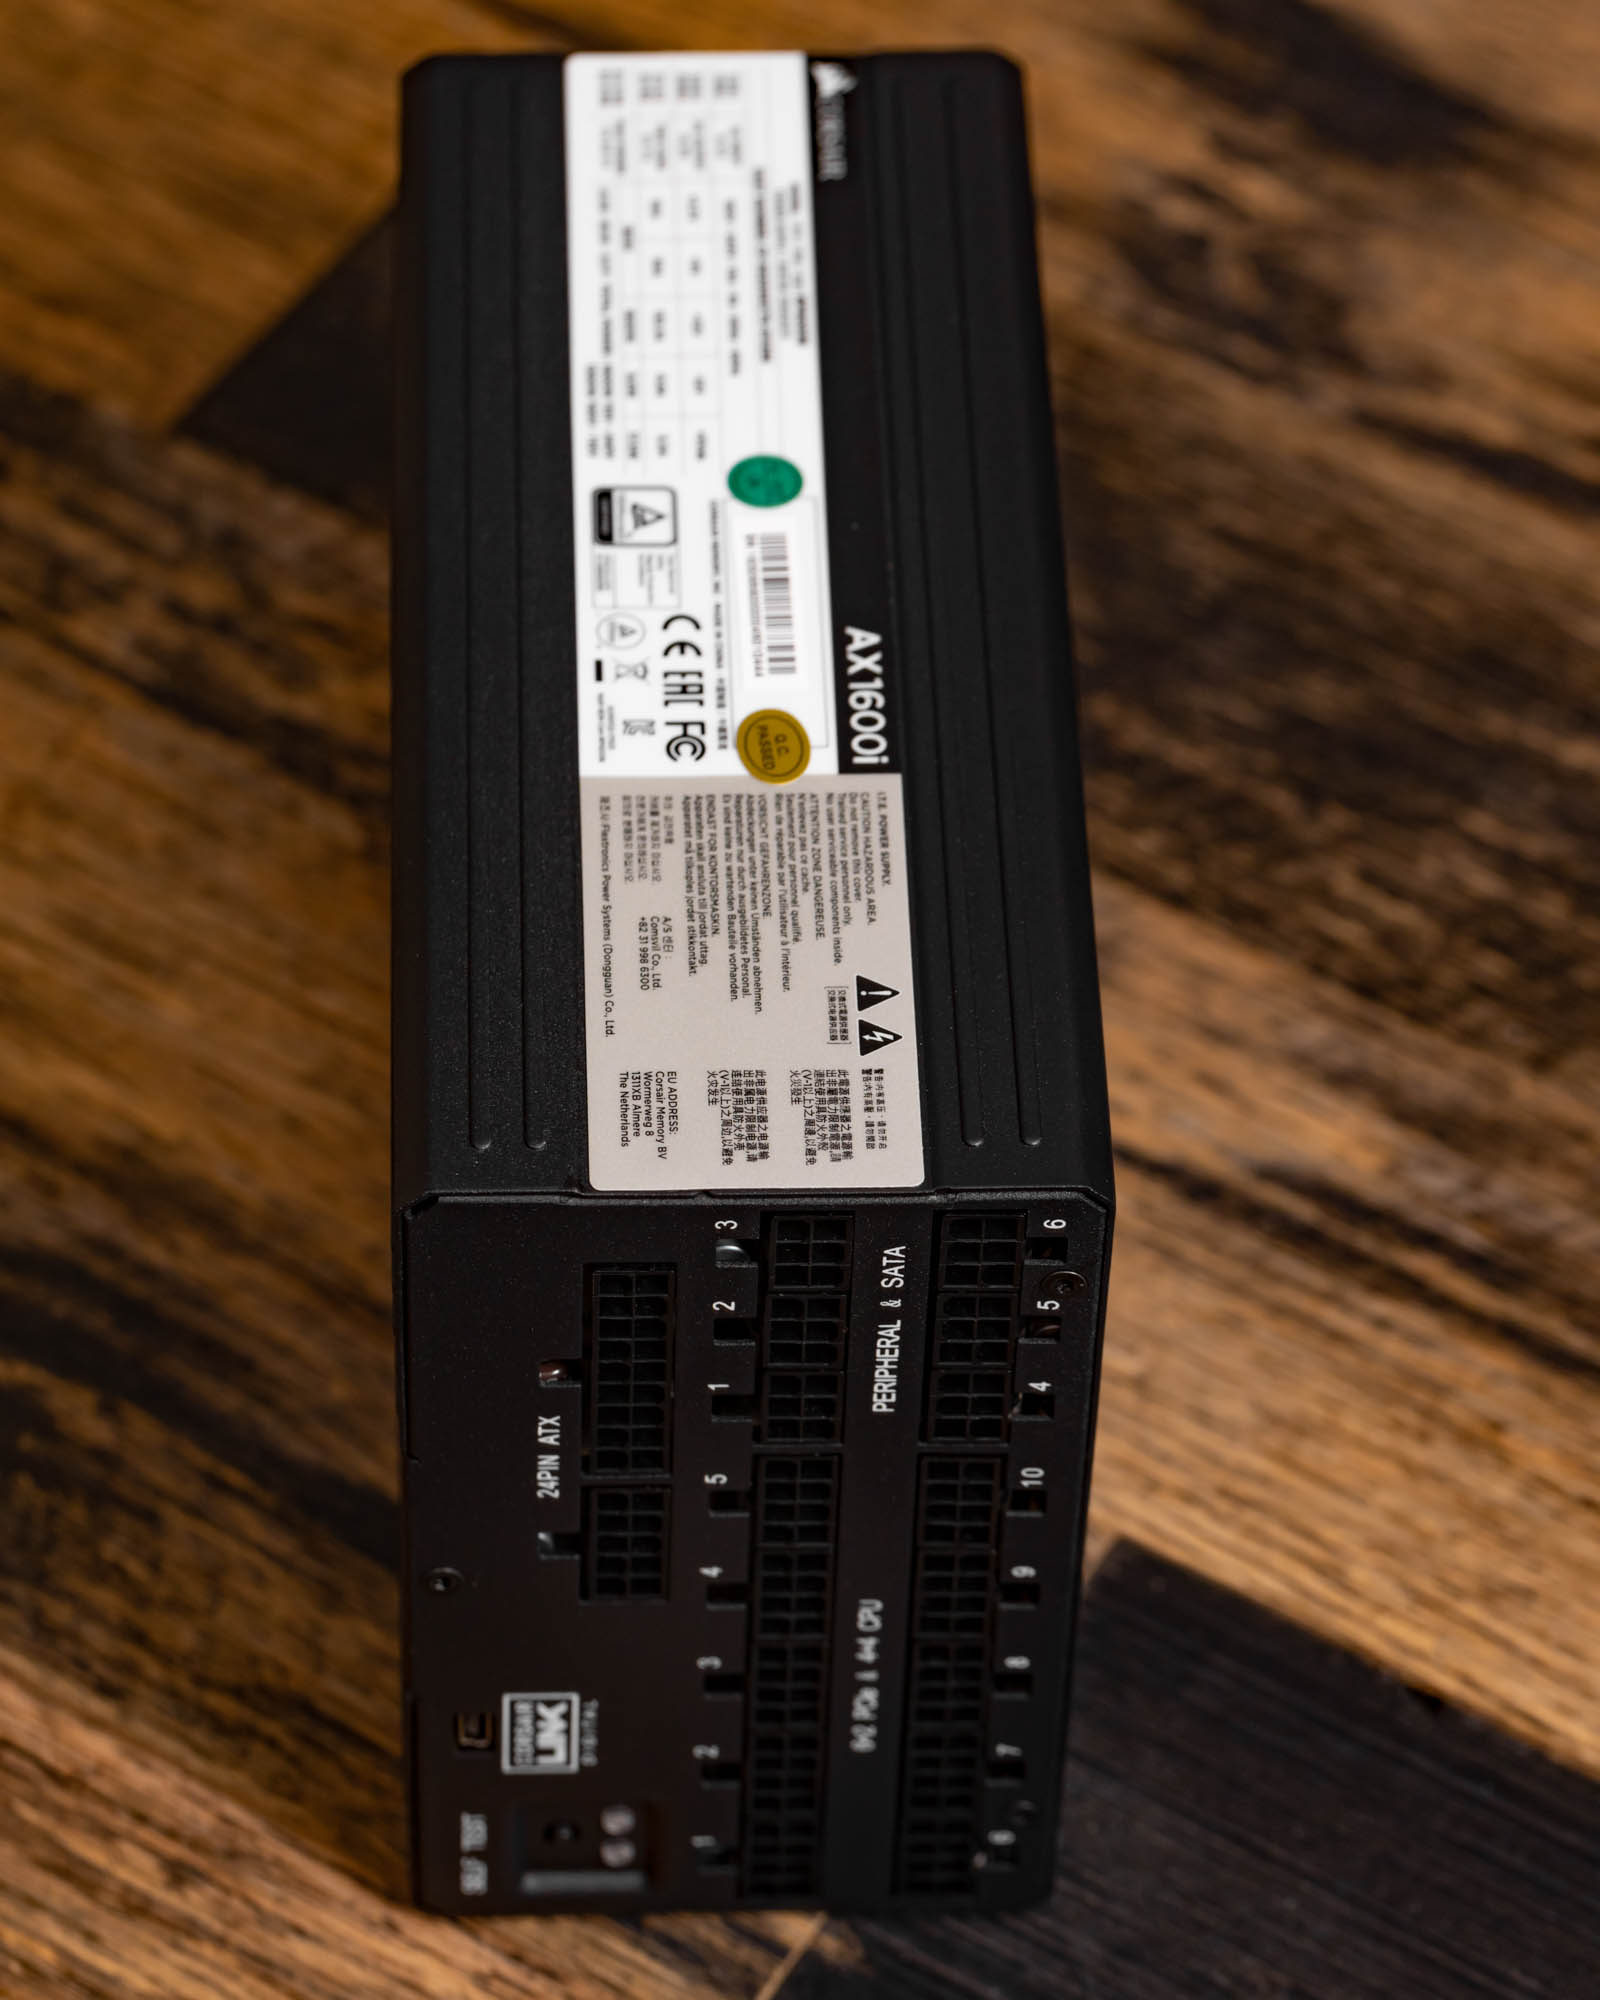
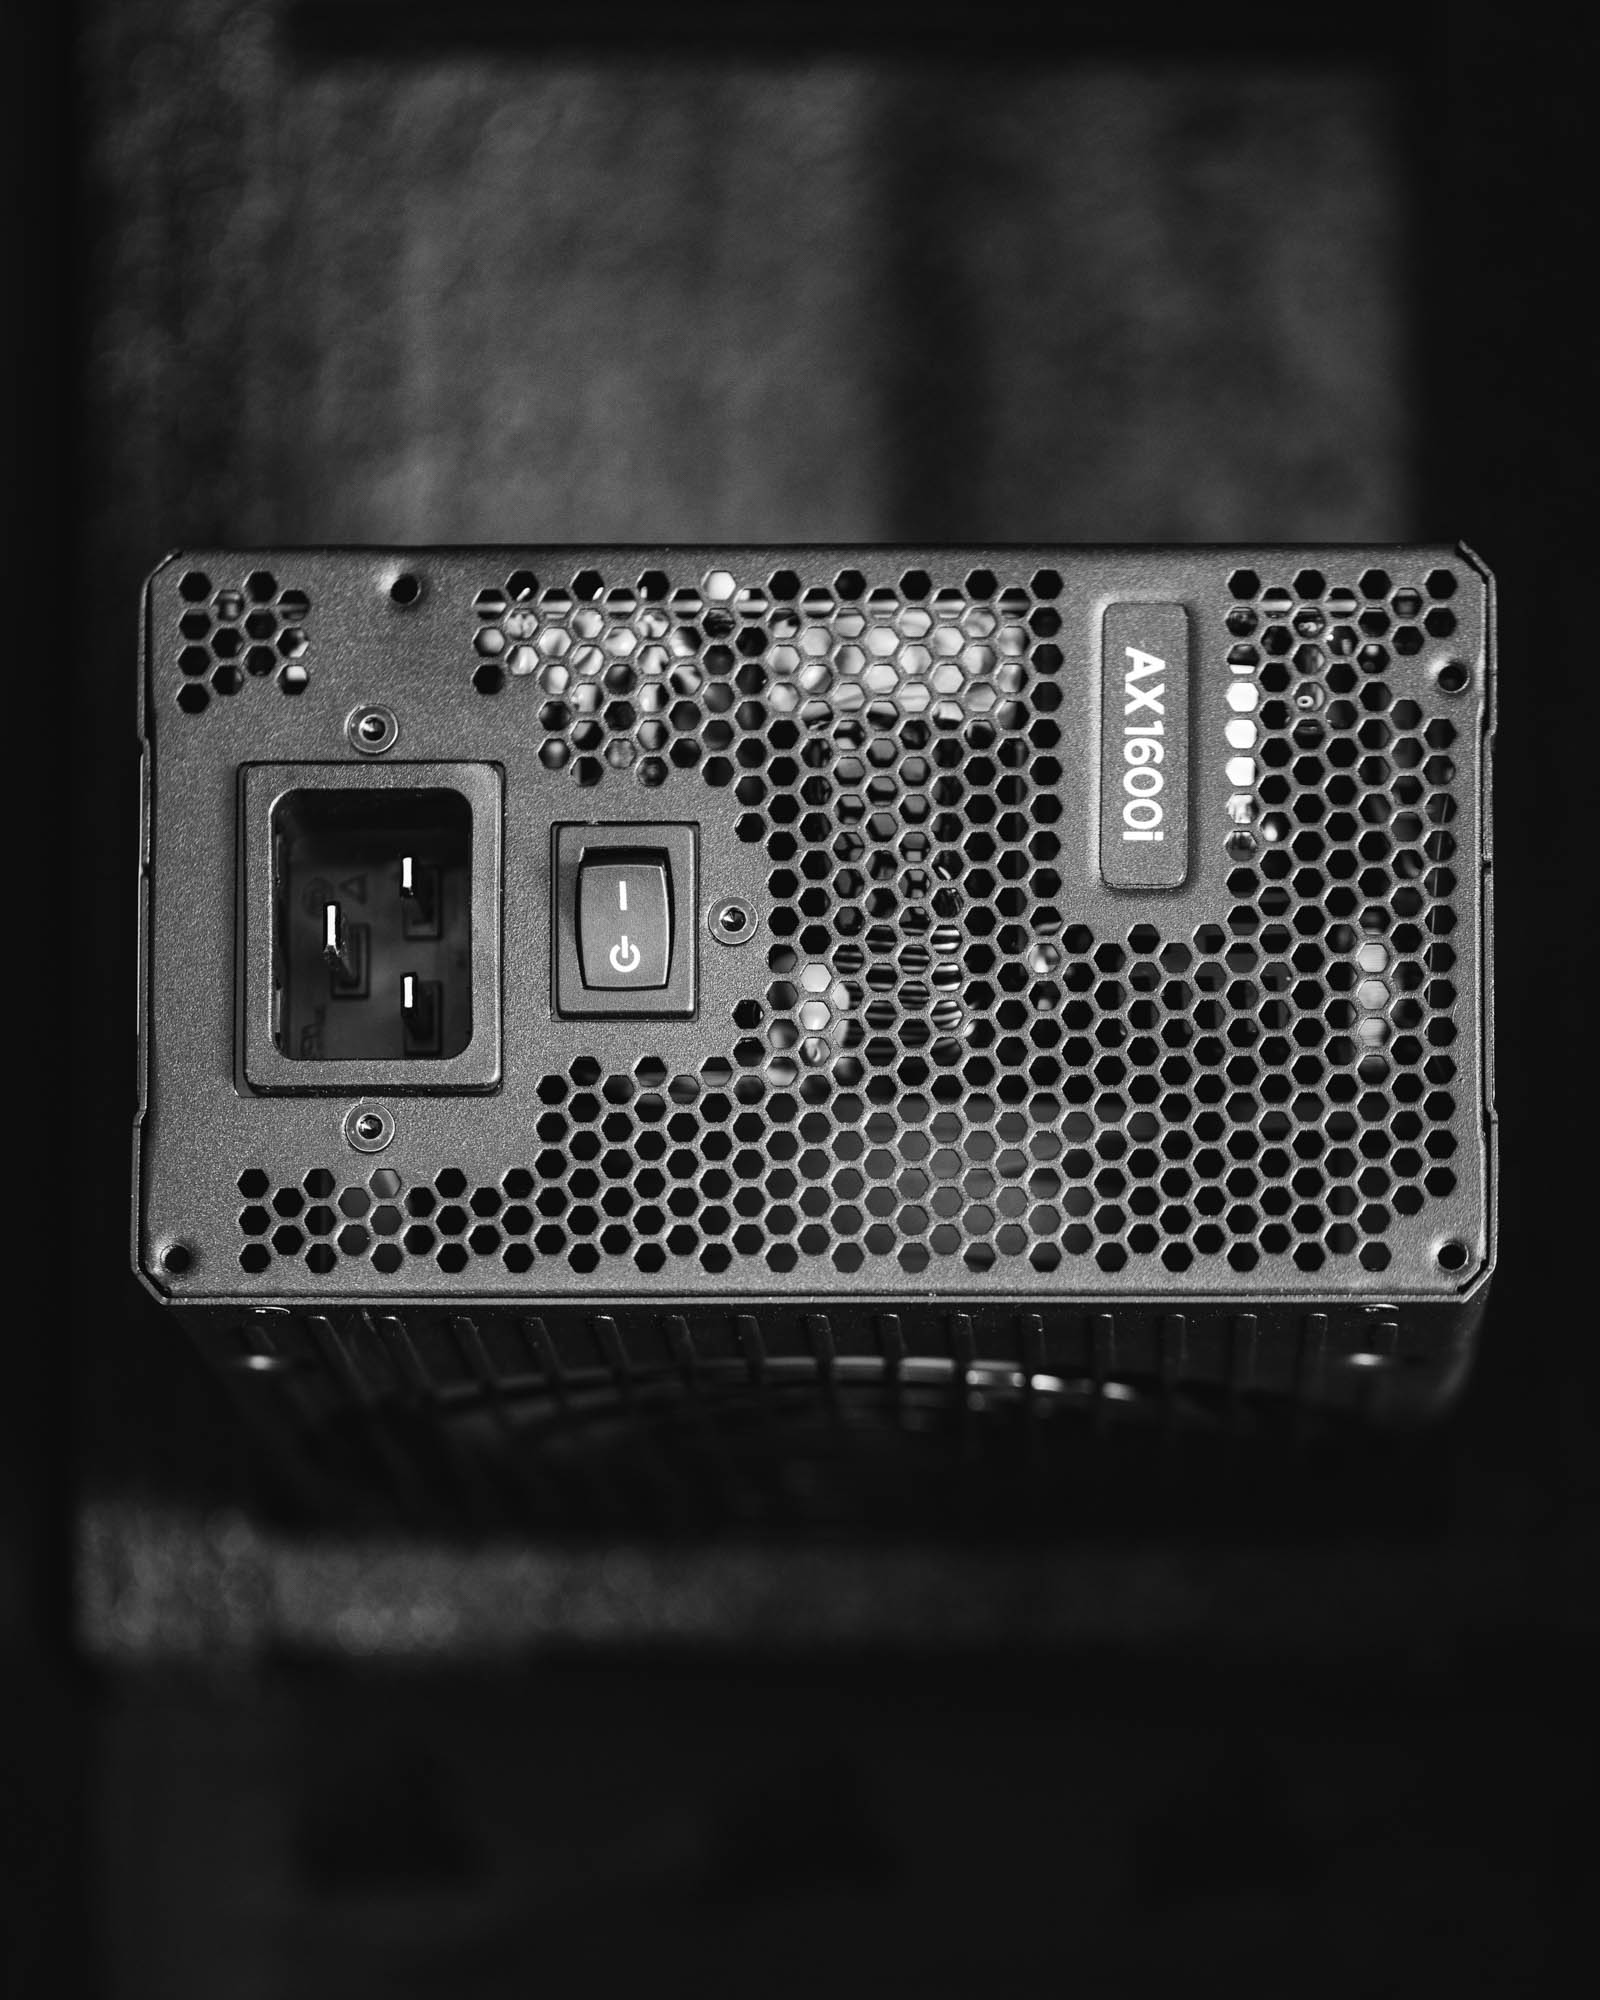
Corsair AXi 1600 W 80+ Titanium Certified Fully Modular ATX Power Supply
CableMod PRO ModMesh C-Series RMi & RMx Cable Kit (Black)
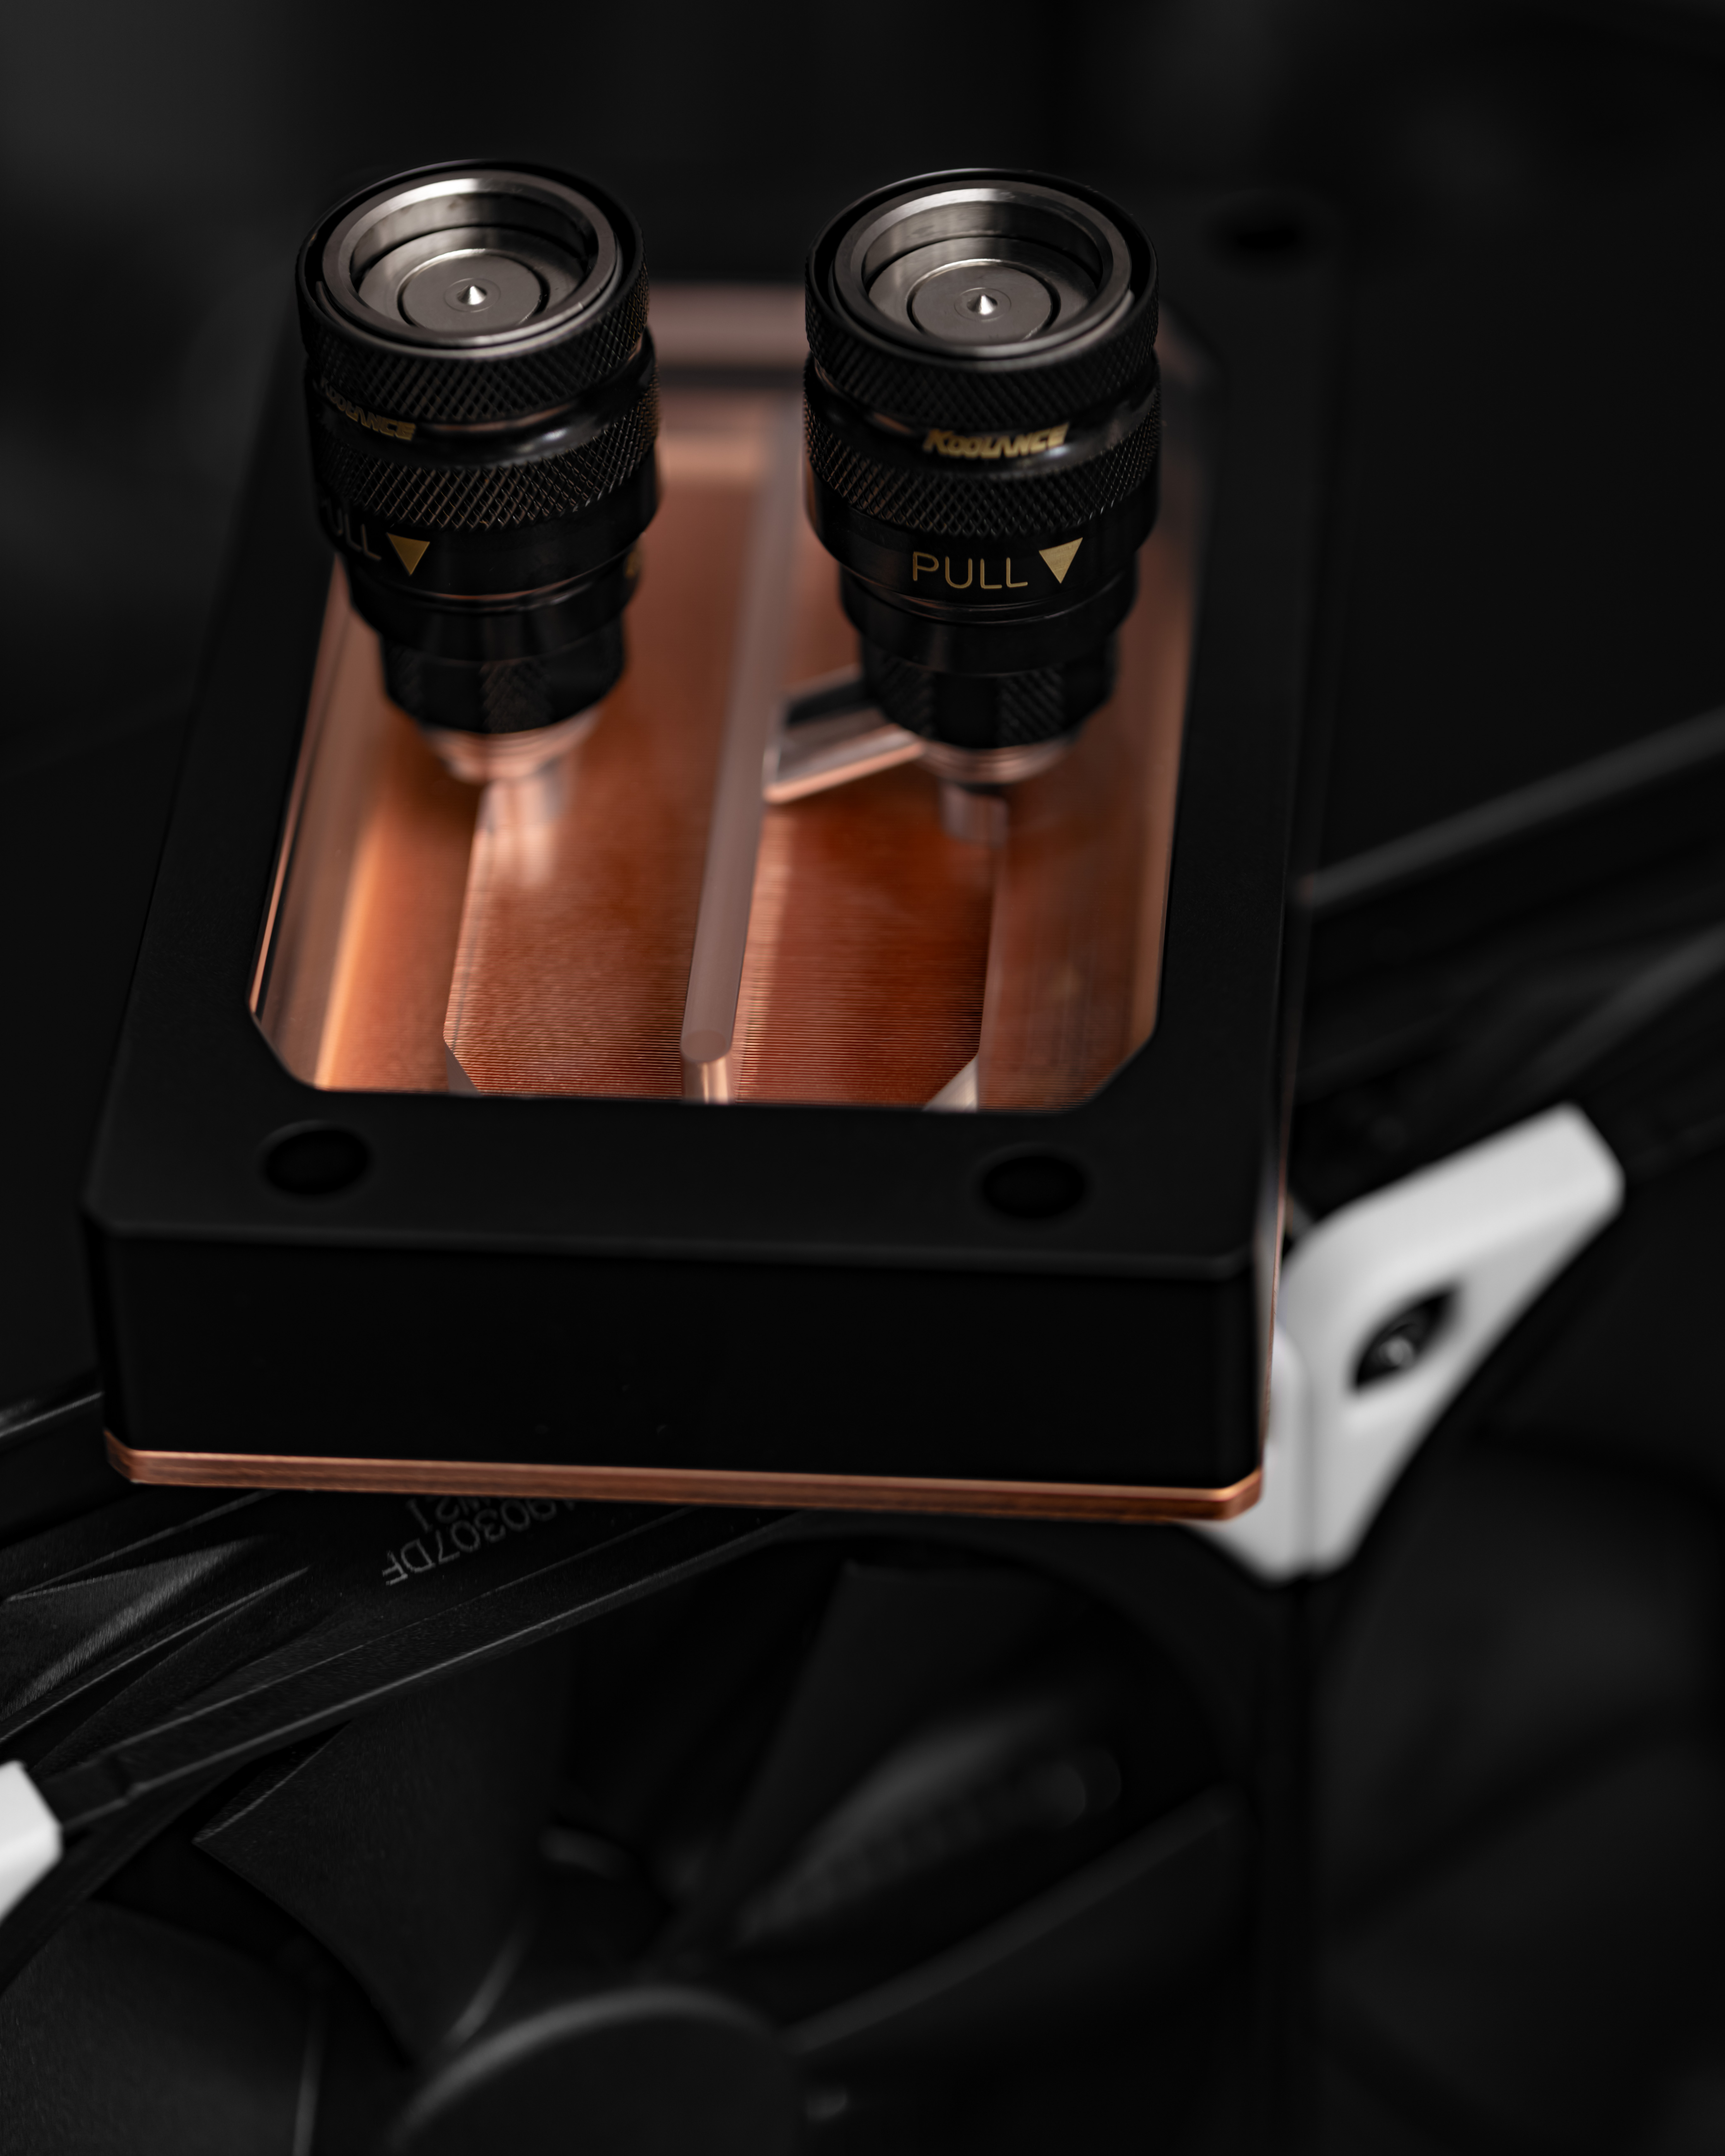
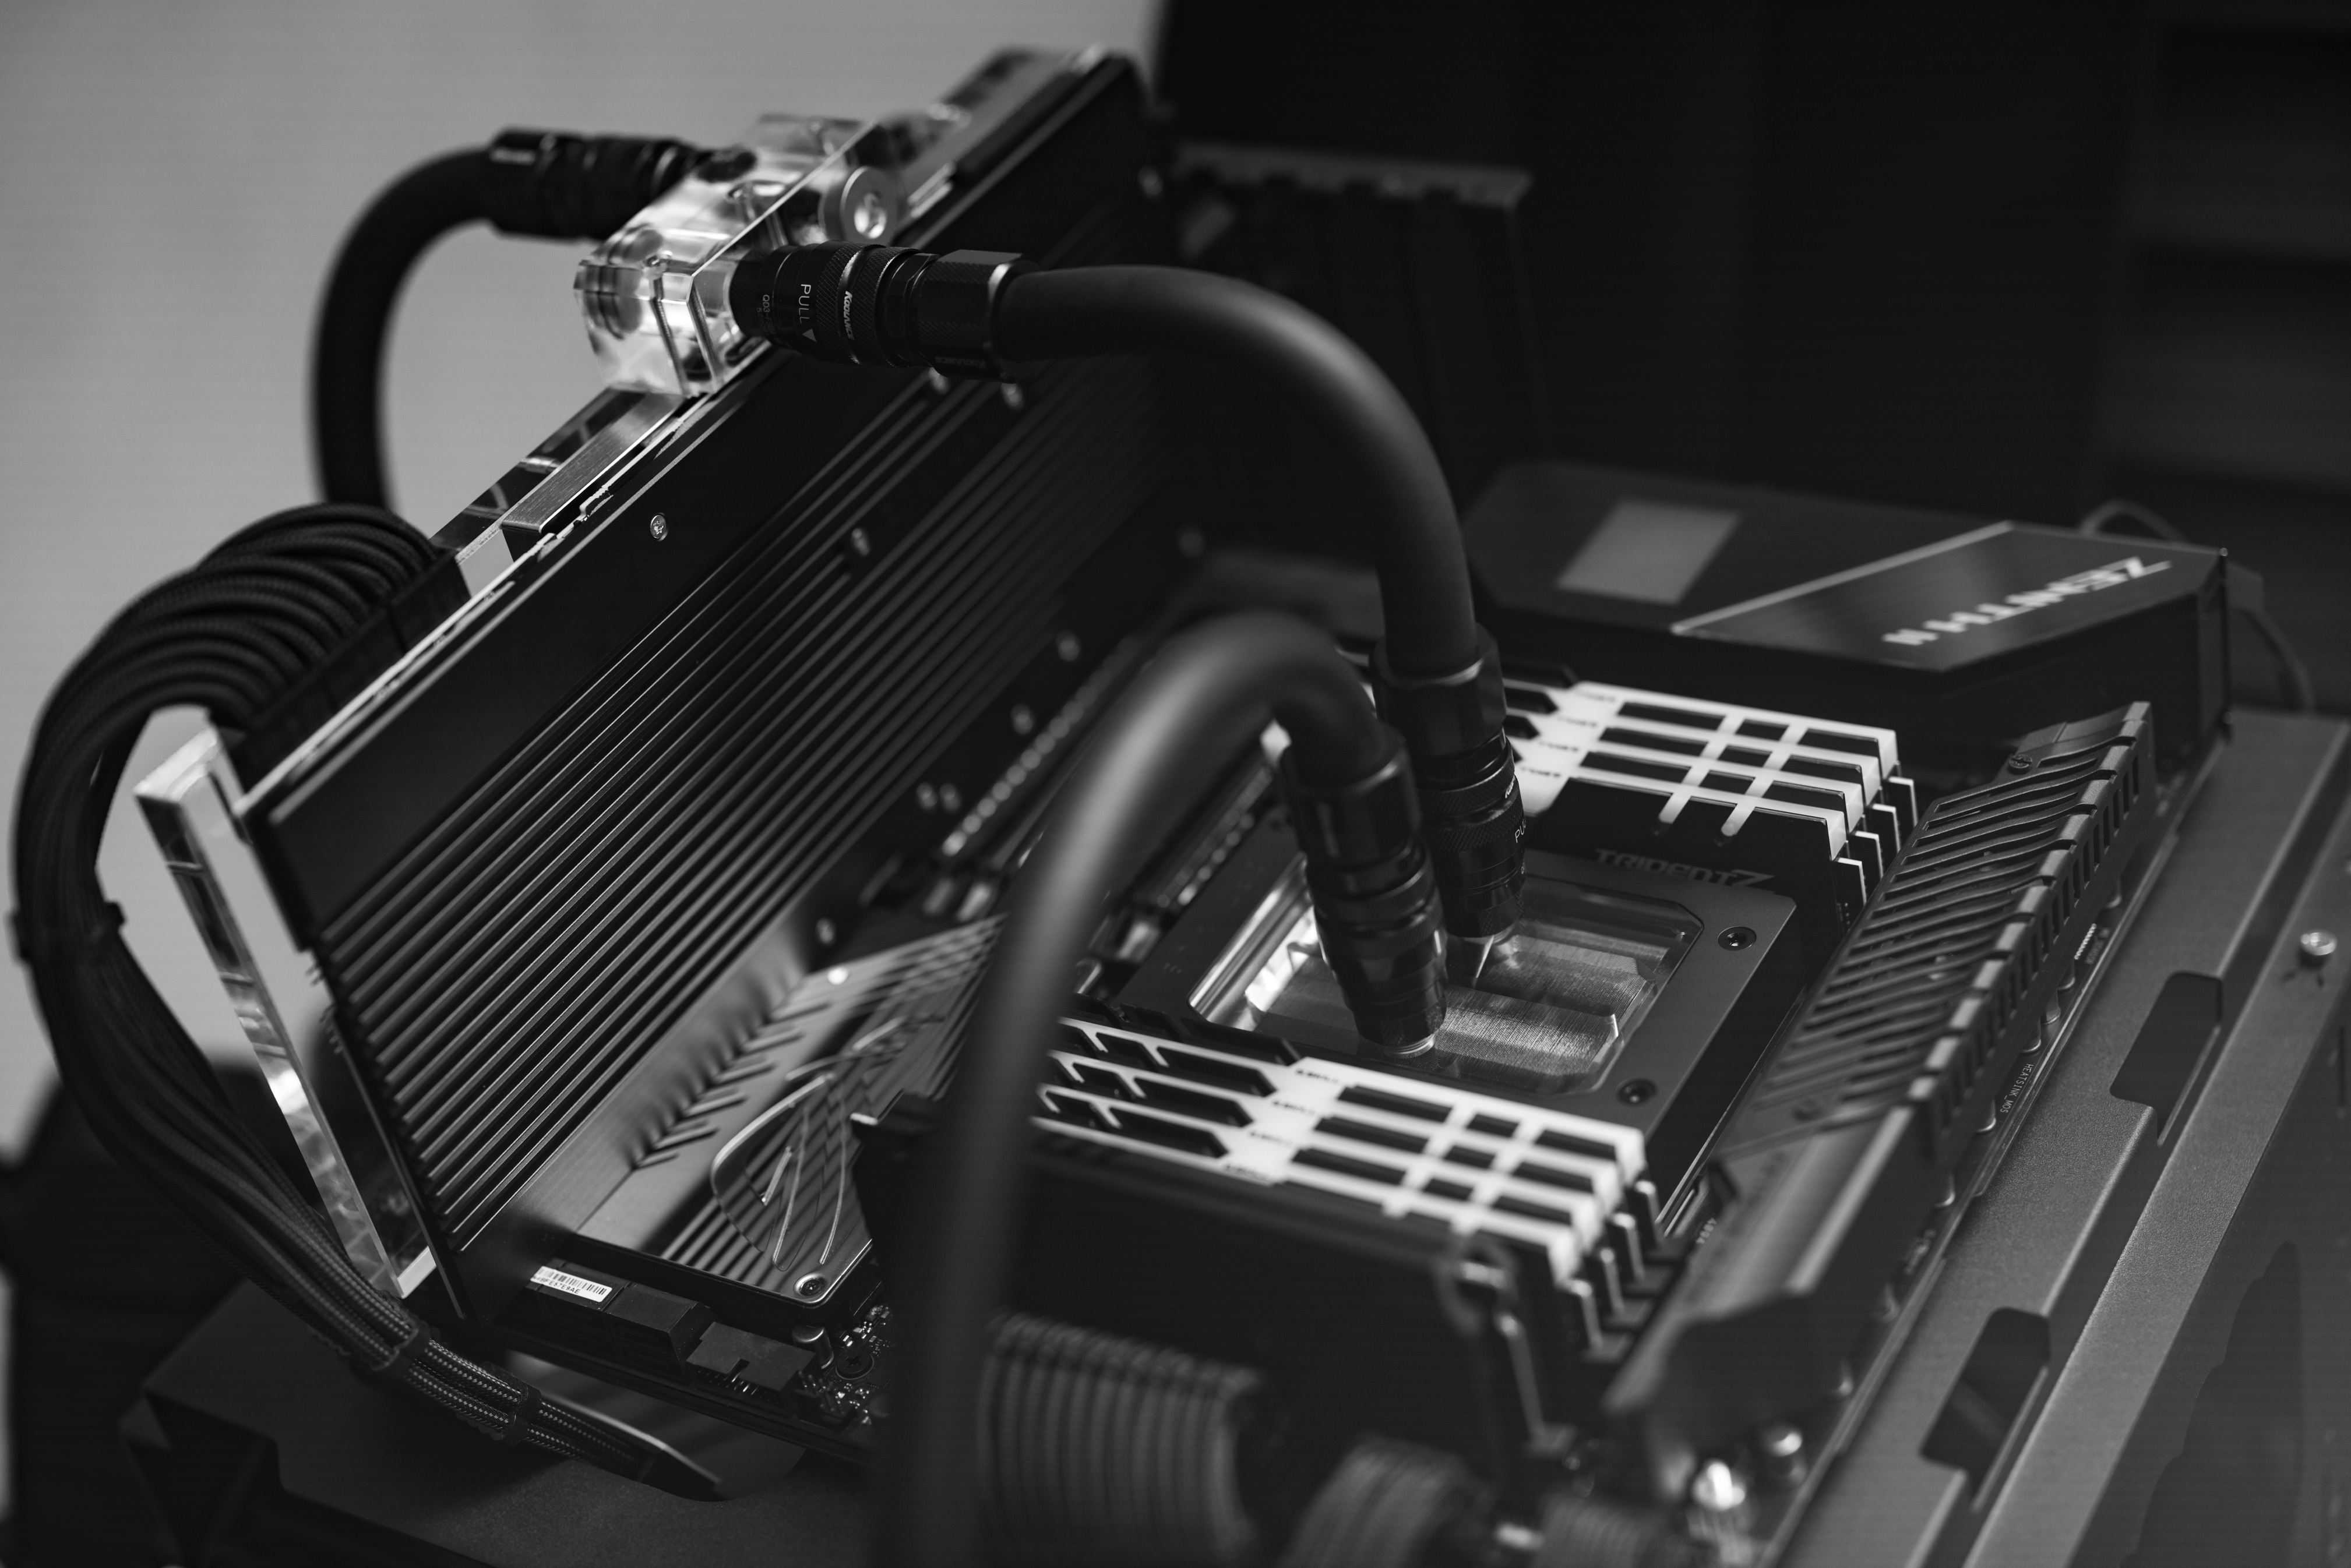
Optimus Absolute Threadripper 3+ CPU Block - Copper Plate - Black Billet
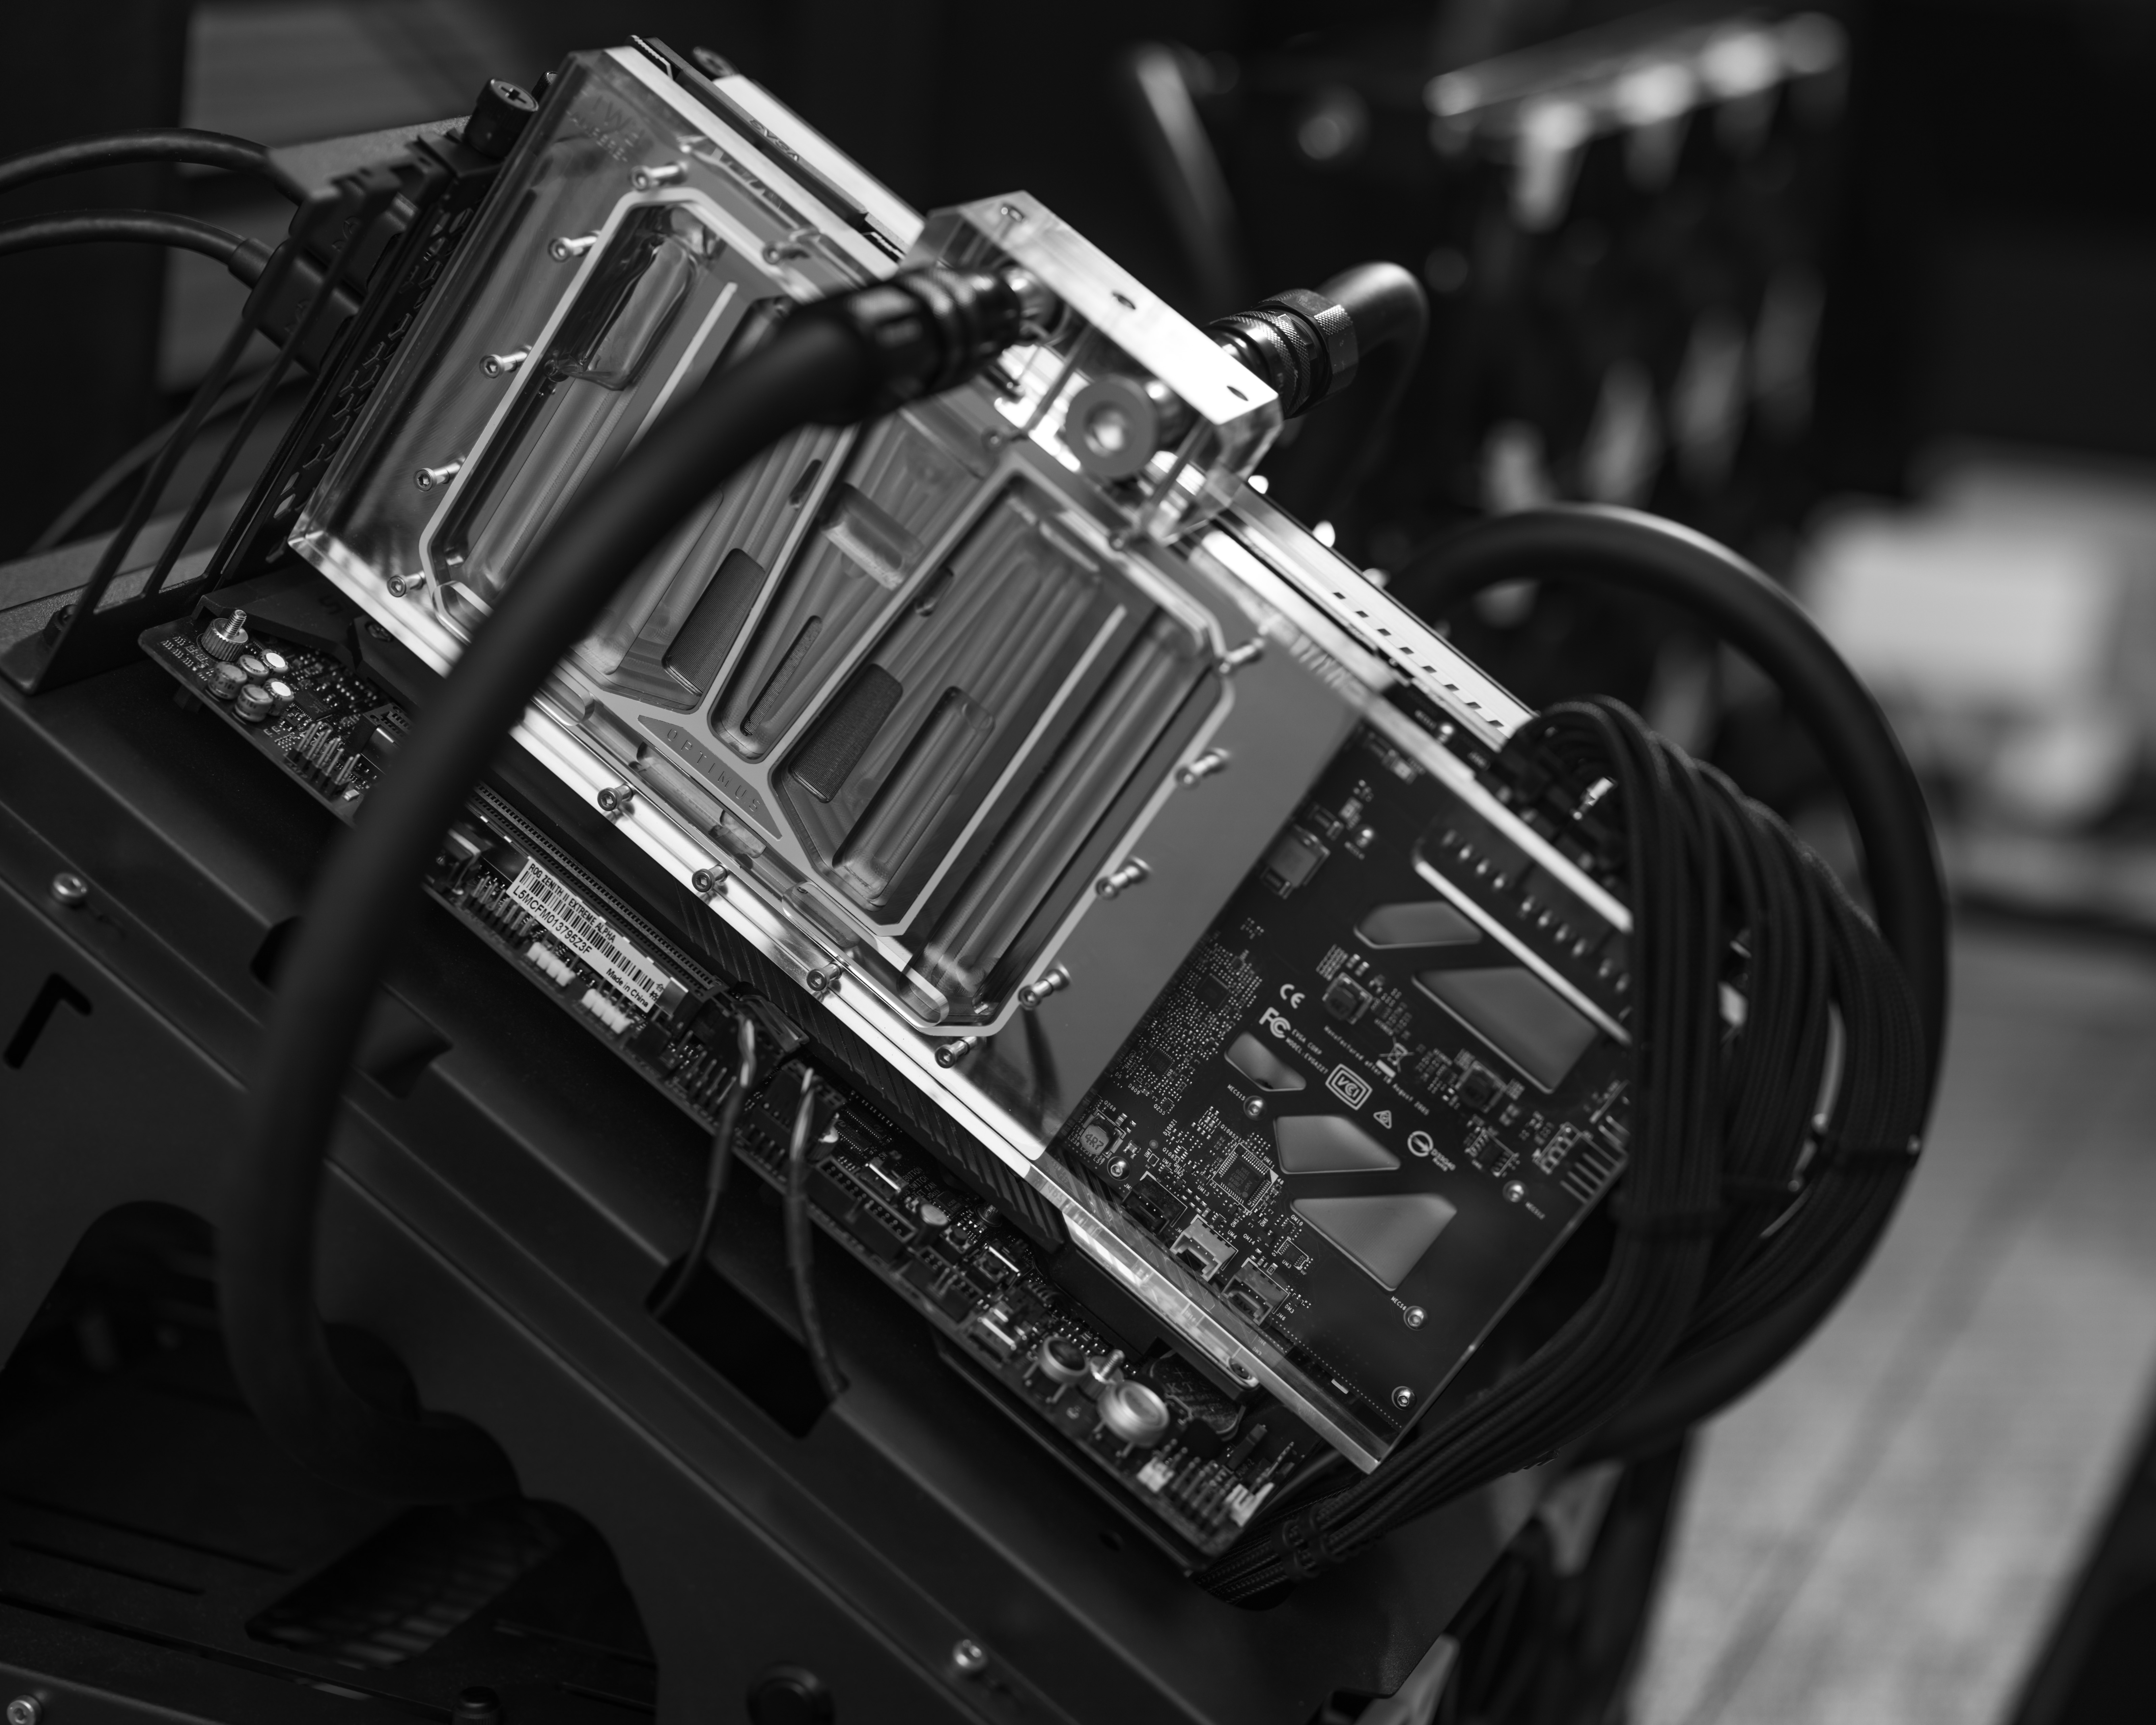
Optimus Absolute GPU Block - FTW3 3080/3090
Watercool MO-RA3 360 PRO Black
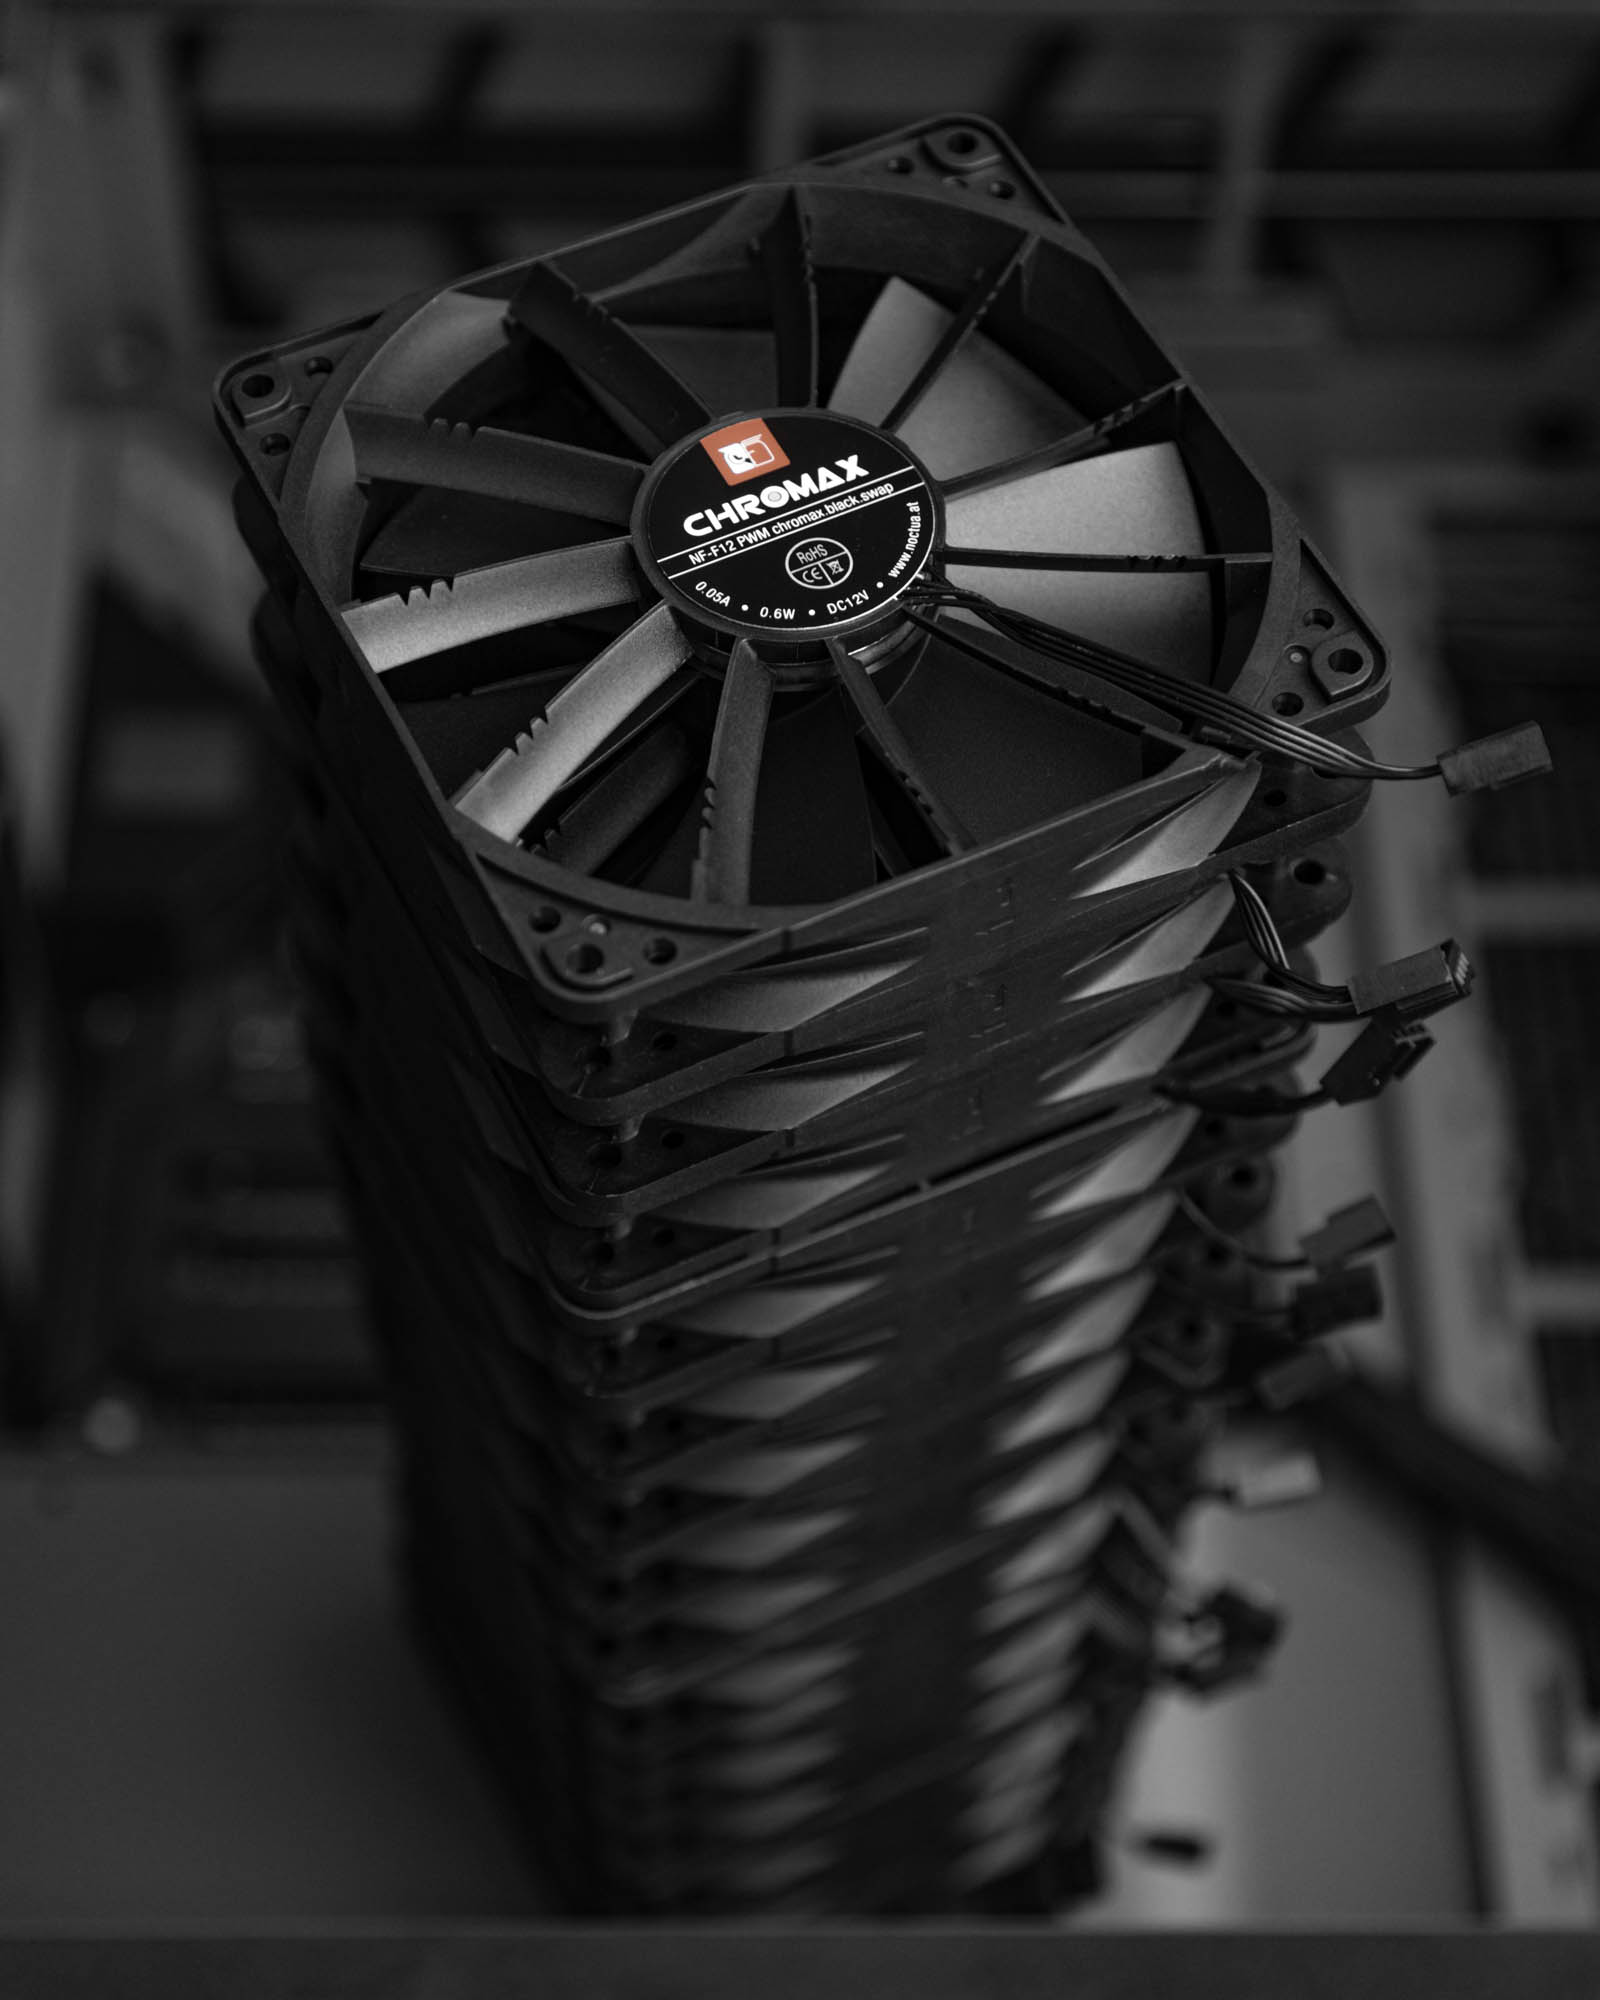
18x Noctua F12 PWM chromax.black.swap 120 mm Fan
Watercool HEATKILLER Tube 150 D5
Watercool HEATKILLER® Tube - Mounting Kit
Watercool MO-RA3 Foot POM
Watercool HEATKILLER® Tube - MO-RA3 Adapter
Watercool HEATKILLER® Tube - MultiPort Top 150
8x Darkside 4-Pin PWM Fan Sleeved 3-Way Splitter Cable, Jet Black
4x Koolance QD3 Male Quick Disconnect Compression Fitting
4x Koolance QD3 Female Quick Disconnect No-Spill Coupling
EK-Tube ZMT Matte Black 15,9/9,5mm
EK Water Blocks EK-AF Ball Valve
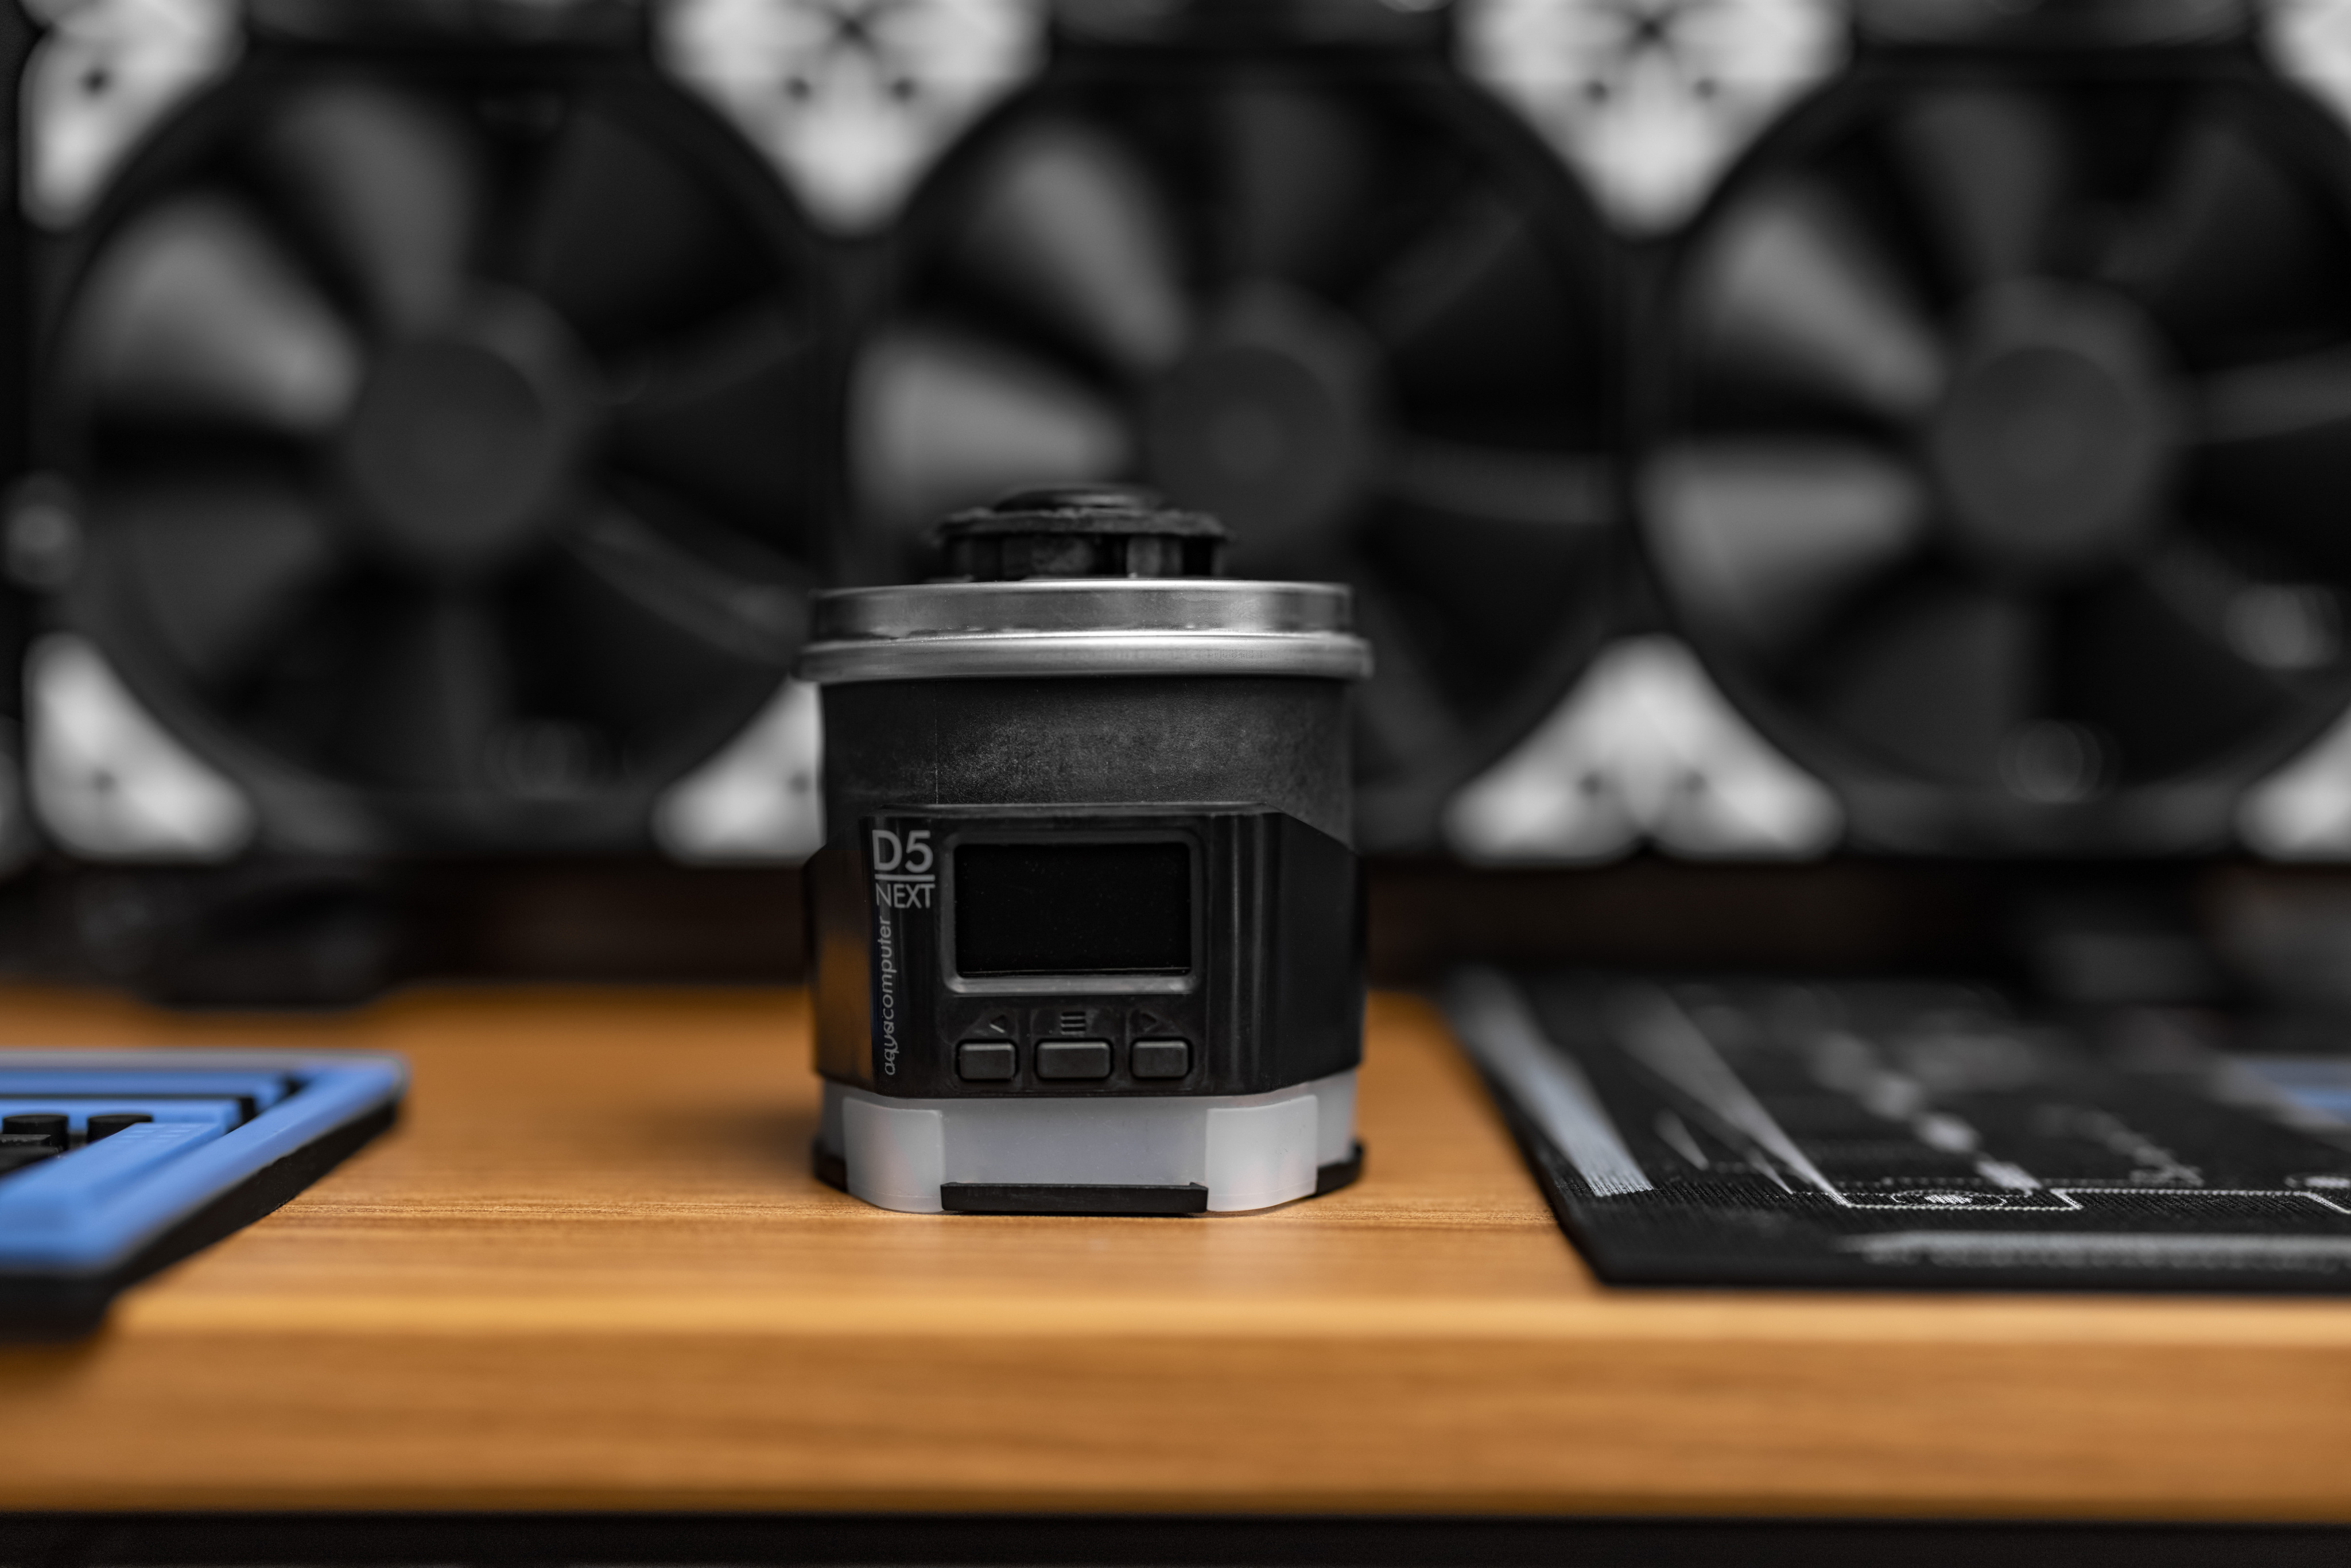
Aquacomputer D5 Next RGB
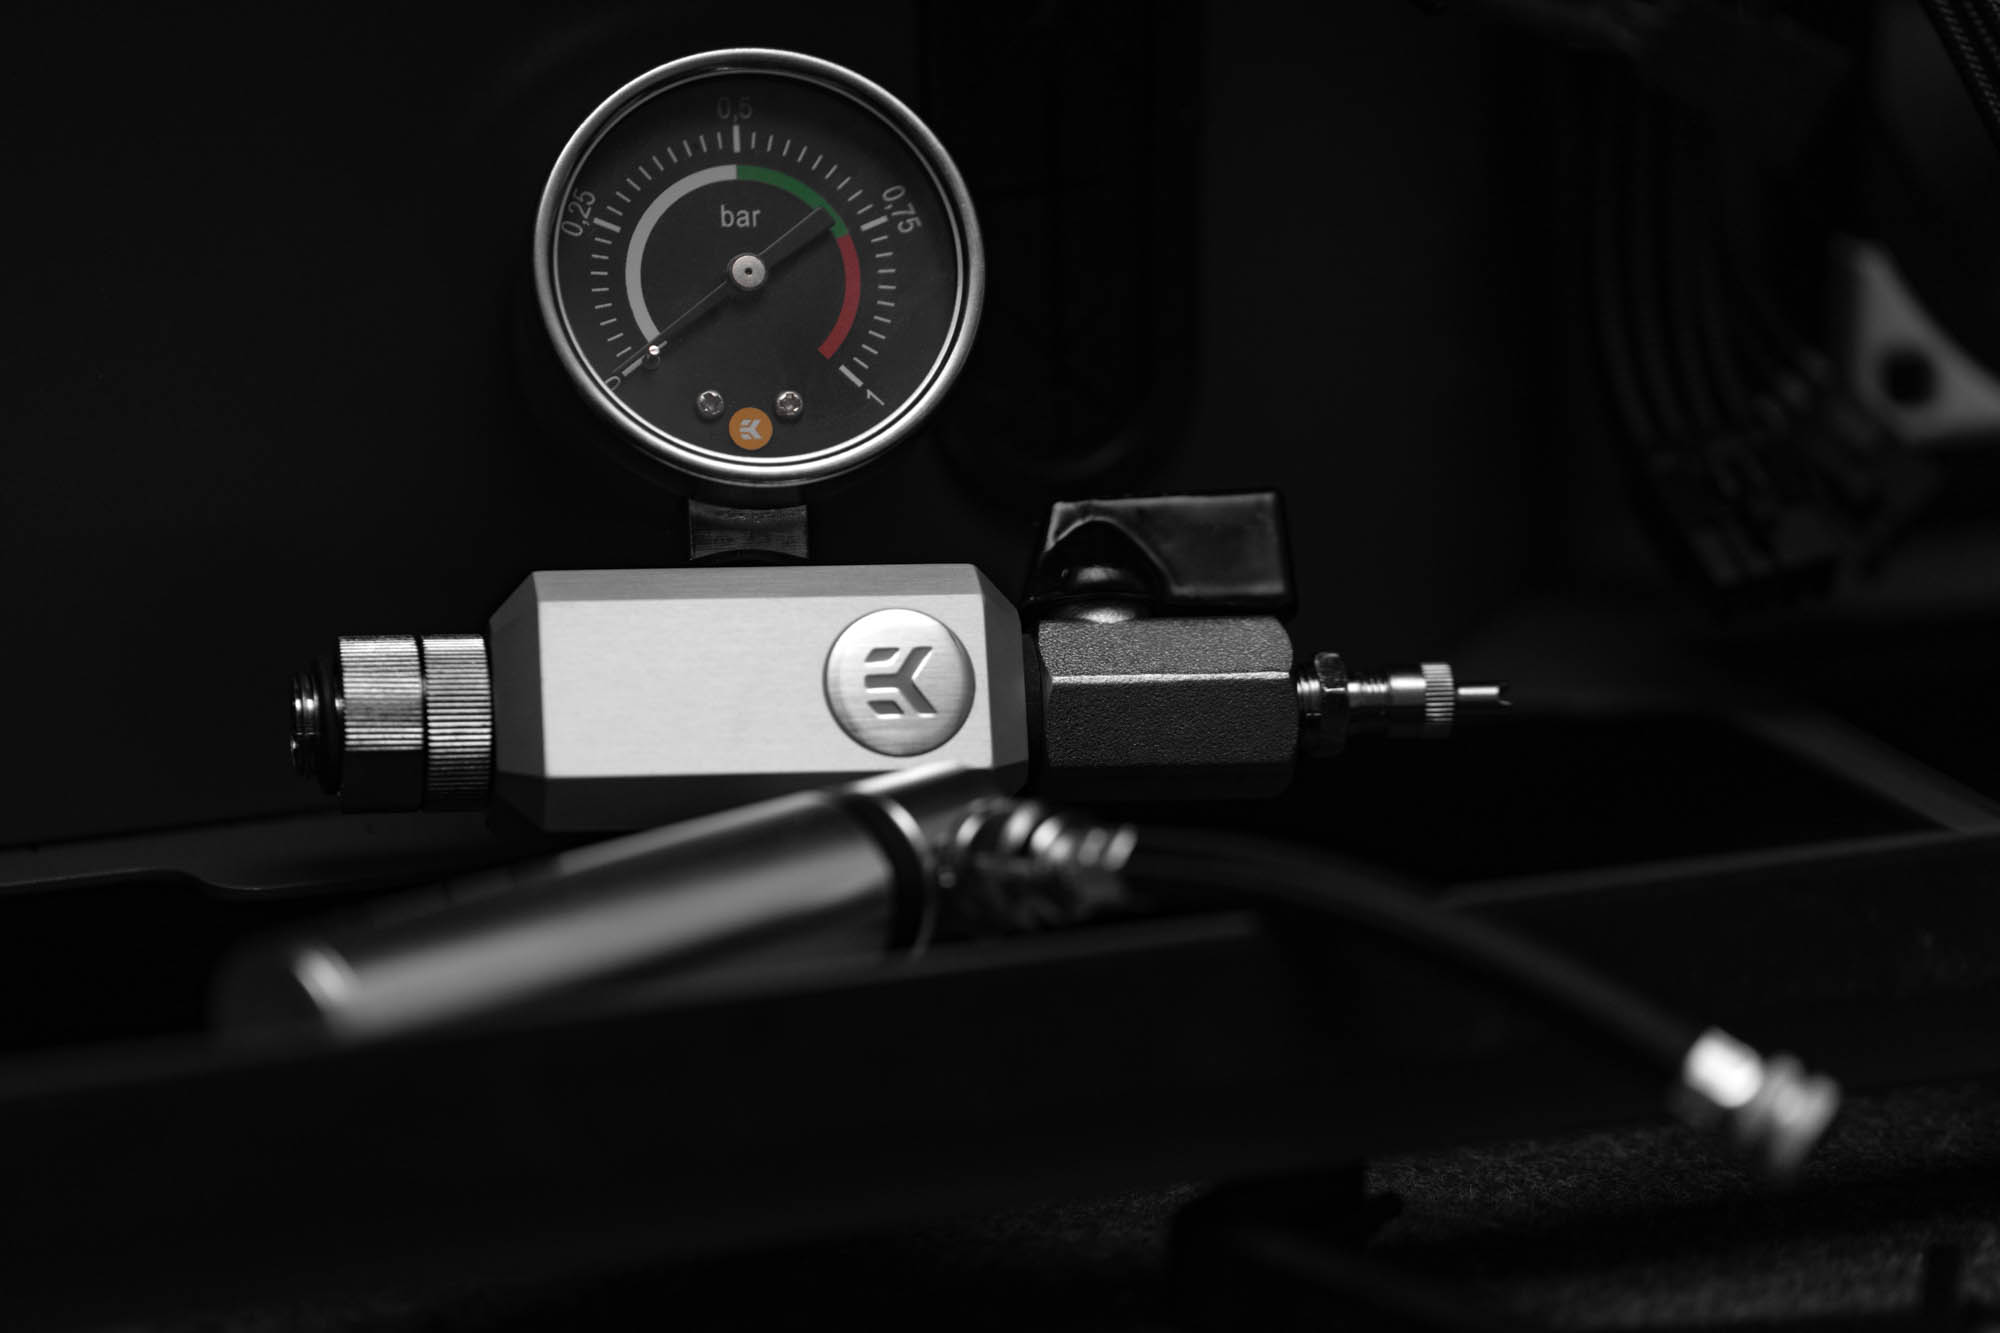
EKWB EK-Leak Tester
This is Part 1 of a major rebuild of my main PC. Part 1 because I am waiting for Heatkiller IV or Optimus FTW3 waterblock for the 3090 FTW. Both are potentially months away.
FAQ/tl;dr:
Q. Is it loud?
A. No, the MO-RA3 has less dense fins than an ordinary radiator. Air moves easier and I can set fans to a minimum. It is not audible over anything else in my office.
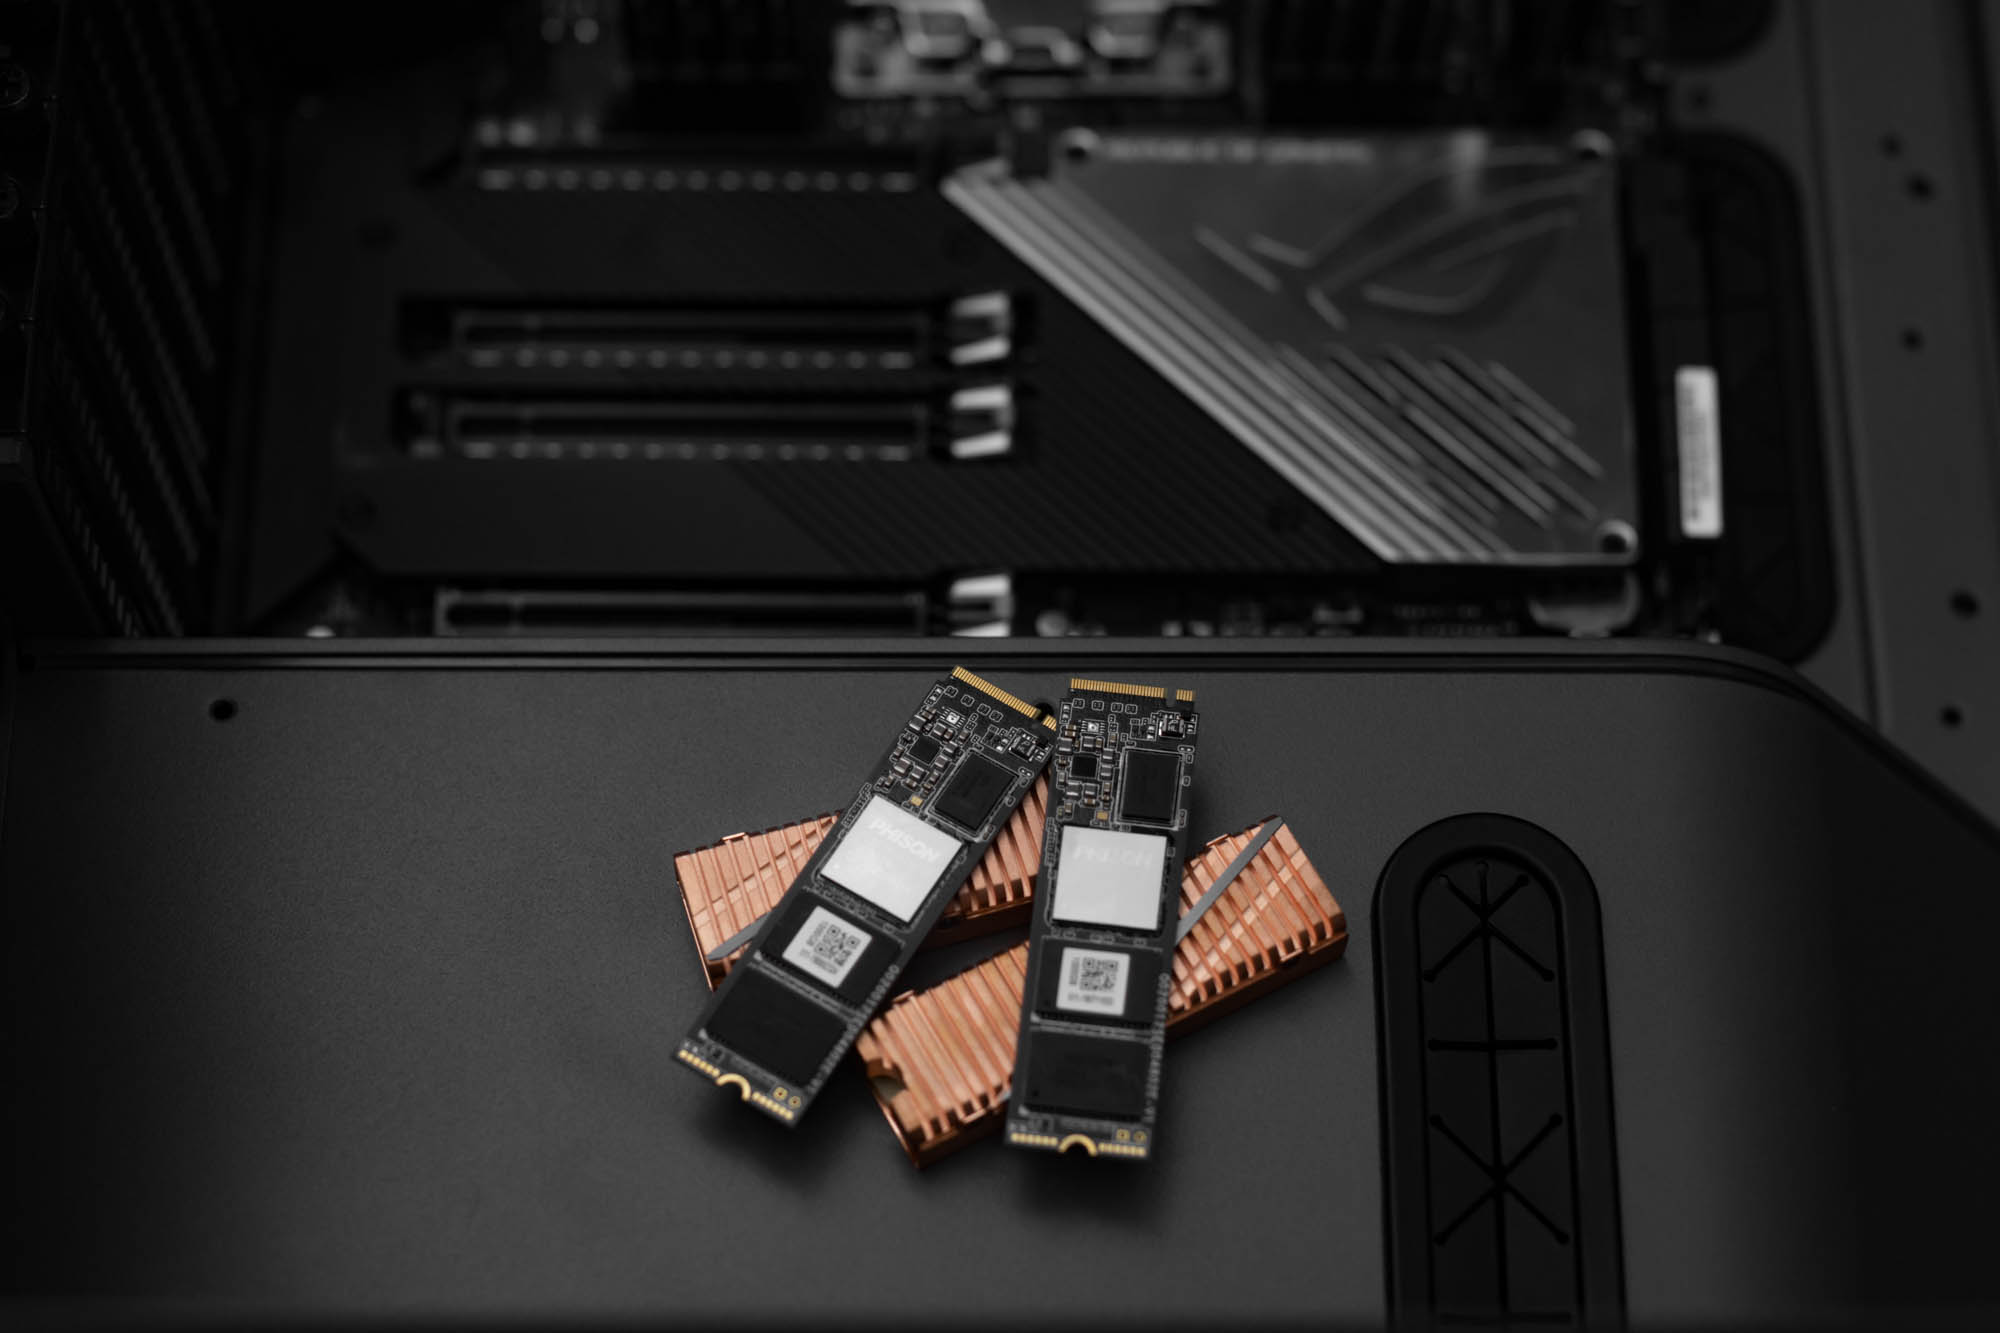
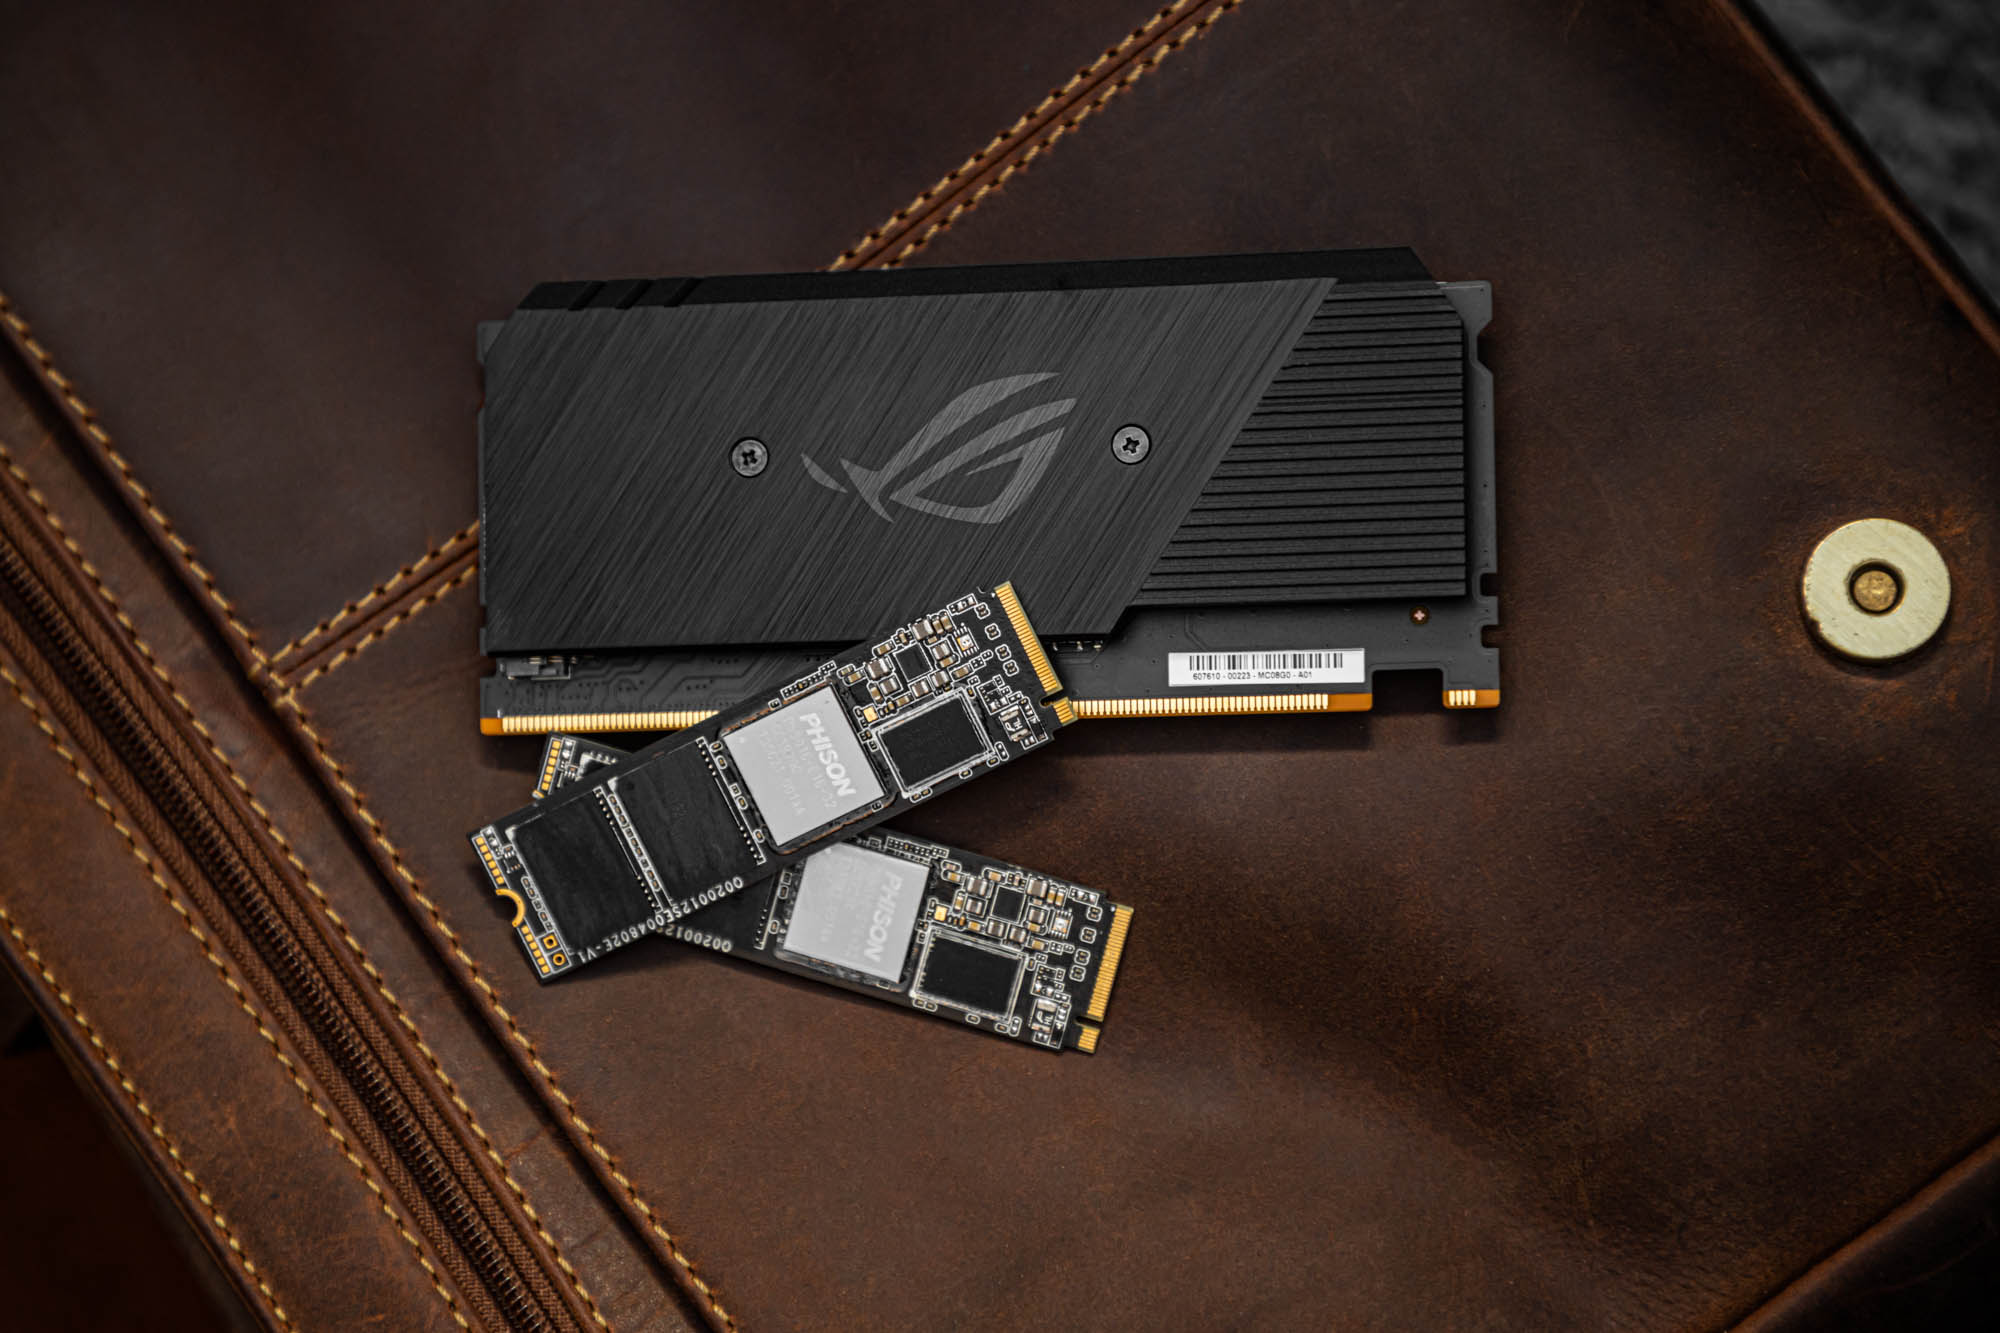
Q. Why all the different NVMe drives?
A. They were all picked up at different times for different sale prices. I am not using them for RAID, each drive has a different task, with my most important storage going to a 10 gig NAS.
Q. Why is the GPU in the second slot?
A. It is in a full Gen 4 16X slot. It will stay this way until I have a water block for the GPU. If I swap the Hyper Card and GPU, the GPU will suffocate.
Q. Why are you only water cooling the 3970X?
A. Waiting for GPU blocks that fit the build aesthetic.
Q. Can it run Crysis, Minsweeper, Task Manager, etc…
A. No.
Q. What do you do to need all of this?
A. The simple answer is… a lot. And all at the same time. I am not using 100% of it 24/7, but when I need the power, I need the power. This build evolves constantly, and the money was not spent all at once.
Things I loved about the build:
Gotta love benches – The previous iteration of this build was in the Enthoo 719. It was a fine case, but it was not long before I realized I swap hardware far too often to be tied down by tubing like this. There was a lot of hardware in the 719, packed very densely. After my experience with the Openbenchtable for my X299 build, I knew I wanted to go bench.
I considered an Openbenchtable in black, but I wanted an angled bench and a studier bench. The open bench table is flat, and since it was made to be broken down/transported easily, it is not super stable. The screws loosen over time. The Z2E Alpha is 9.68lbs alone. Add all the other components and I could easily see this not working out well over time. I remembered the Praxis Wetbench SX from a JayzTwoCents video and went after that. It was only available in white for a few weeks, but finally came back in stock in black.
Overall, I really like the Praxis WetbenchSX. It supports the board well, the angle is just right, and the matte finish refuses to show fingerprints. Amazing compared to the fingerprint magnets most matte finishes become. It has a couple of shortcomings. The metal is rather thin. I have no worries about it collapsing, but it does wiggle if you bump it. With the metal being thin, the finger wells are extremely uncomfortable. When I transport the bench fully loaded, I have about 30 seconds before my fingers feel like they are going to be ripped off. That said, I will not be moving it much now that it is complete. The motherboard standoff system is more cumbersome than it needs to be. Very long threaded thumb screws with nylon standoffs that screw in over them from the bottom, then nuts to hold the board in place. It is an awkward setup, but again, you only need to do it once, so it is at the bottom of the list. Lastly, it is very tall. It accommodates a lot of things, so this is more an observation than a con. None of these things would prevent me from purchasing it again if I had to.
A return to simplicity and modularity – While I absolutely loved the Chīsai iteration of this PC, it did not lend itself well to my upgrade/replacement workflow. I thought my Cascading Moonlight X299 bench would slow my upgrade pace down, but I found myself swapping hardware in and out of this PC and it was nerve wracking pulling the reservoir in and out or reaching around a tube to upgrade the RAM. Going with soft tubing in that build did make upgrading possible, it just was not as painless as I would like. In the future, I will save the complexity for systems I do not depend on so heavily.
Maintenance is also vastly simpler with this setup. There are lots of specific pieces of hardware when it comes to the MO-RA/Heatkiller Tube combo, so I had to get most of them directly from Watercool in Germany. While I waited, I used my 2nd MO-RA3 from the X299 bench temporarily to get this system running so I could get work done. It is set up with the same Koolance quick-disconnect system, so I was able to connect right in and go. I have draining and flushing the MO-Ras down to a science now, so that takes less than an hour. When it comes to dust, I learned from the other bench setup I have that it does not collect much. The fans are on the MO-RA3, and the radiator fins are not nearly as dense as traditional radiators. This keeps dust to a more than manageable minimum.
Still an absolute beast – Performance wise, not much has changed on the CPU end. I did switch from an EK Velocity block to an Optimus Absolute Threadripper 3+ CPU Block. In terms of temps, if I lock down clocks, I see an average of 8C improvement. I do not do static OC though, opting to let PBO do its thing. This means I do not see a change in temps this way, instead I have observed increased frequency in both single and all-core workloads since the extra headroom is there for the algorithm to take.
Challenges:
The urgency of the build – Normally, I like to plan my builds and transition into them. Especially when it comes to my main system. The previous iteration of this system was up and running for almost 2 months before I switched to it completely. The thing that kicked off the build in the first place is my Z2E non-Alpha deciding various PCI-e devices were no longer present. My 2nd GPU would drop out, or an NVMe at random, and the 10 gig ethernet. After various troubleshooting methods (and when the NVMes started dropping out), I opted to replace the motherboard with a Z2E Alpha we had as backup in the office. Luckily, I have plenty of other powerful systems to choose from, so there was not much I could not do in the week or so I wanted for the other parts to show up.
Finding a GPU in stock – This was annoying, as you are all very aware by now. I refused to resort to scalpers. Back in Sept I tried—and failed—to get a 3090 FTW direct from EVGA. Did not think I would beat the bots, but hey… I tried. I signed up for notifications, then in October, EVGA announced their queue system. They automatically converted alerts to a place in the queue, so fast forward to Dec 22, 2020 and I got an email that it was ready. I had 8 whole hours to claim it. What a great system.
The 6900 XT was a different story. I was at Microcenter and heard some commotion about an unexpected delivery. I wandered over to see what all the fuss was about, and walked away with a 6900 XT. Between the two, the 3090 ended up being better for my workflow, so the 6900 XT will be used in a more Linux focused build.
GPU water block scarcity – Just like GPUs themselves, water blocks seem to be a mixed bag in terms of availability. Both EK and Optimus make FTW3 blocks, but they have been trickling out. I know Alphacool and Bykski have blocks out, but they just do not fit the vision. Alphacool diverged heavily from their minimalistic, utilitarian design and wholly embraced RGB. That and the maze of O-rings was not for me. At the time of writing, Watercool’s Heatkiller FTW3 continues to get pushed back. I think it will be what I end up waiting for, though Optimus is a strong contender considering they are releasing weekly batches now. There is a lot more acrylic than I prefer, but the massive, black backplate should bring the look together the way I like.
Conclusion:
Loving the build so far. It was noticeably more difficult to get parts this time around, but it is understandable. Hope it will be a while before 5000 series TR. Looking forward to pushing the 3090 and 6900XT once there are blocks!